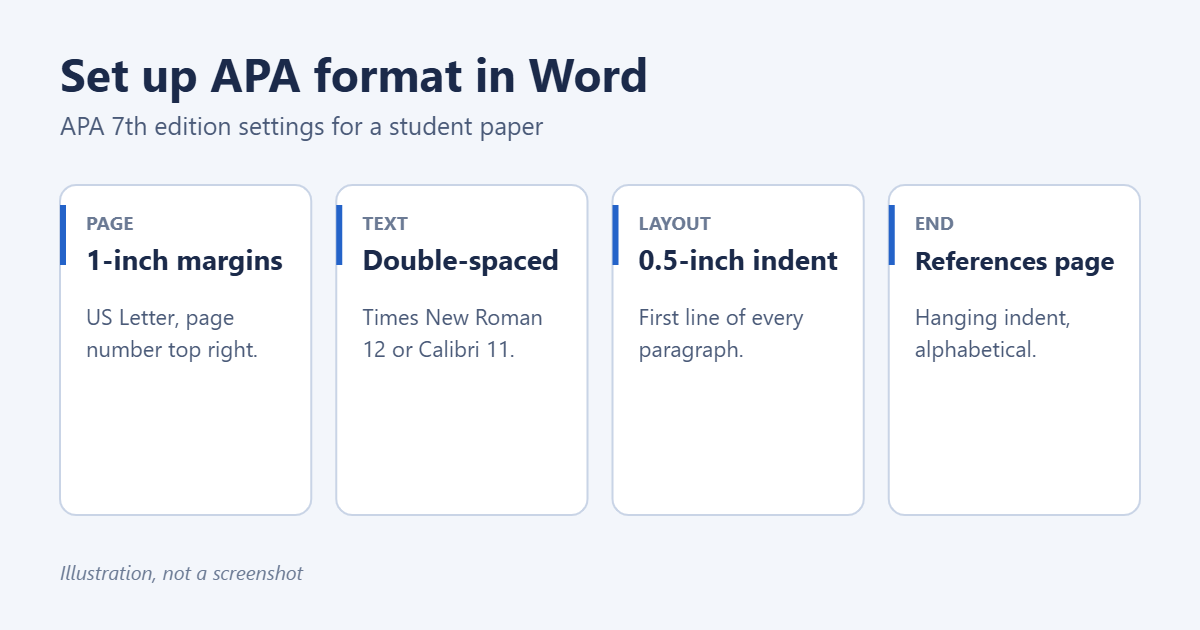
To set up APA format in Word, use 1-inch margins, an accepted font such as 12-point Times New Roman or 11-point Calibri, double spacing with no extra space between paragraphs, a 0.5-inch first-line indent, and a page number in the top-right corner of every page. Add a title page, and end the paper with a References page that uses a hanging indent. The steps below set all of this up in Word for the APA 7th edition.
Applies to: APA Style 7th edition in Word for Microsoft 365, Word 2024, 2021, 2019 and 2016 on Windows and Mac. Your instructor’s requirements come first if they differ. Last reviewed October 7, 2026.
Student paper or professional paper?
APA 7 has two versions of the format. A student paper, the kind most classes ask for, has only a page number in the header. A professional paper, such as a manuscript for a journal, also has a running head and an abstract. The steps below are for a student paper, with the professional extras marked.
Step 1: Set the margins and font
- Select Layout > Margins > Normal. This sets 1-inch margins on every side.
- Press Ctrl + A (Command + A on a Mac) to select everything.
- On the Home tab, choose one of the fonts APA accepts: Times New Roman 12, Georgia 11, Calibri 11, Arial 11 or Lucida Sans Unicode 10.
To make the font the default for the whole document, right-click the Normal style on the Home tab, select Modify, set the font and size, and choose Only in this document.
Step 2: Double-space and indent paragraphs
- With everything still selected, open the Paragraph dialog with the small arrow in the corner of the Paragraph group on the Home tab.
- Set Alignment to Left.
- Under Indentation, set Special to First line and By to 0.5″.
- Under Spacing, set Before and After to 0 pt and Line spacing to Double.
- Select OK.
Leave the right edge ragged. APA doesn’t use justified text.
Step 3: Add page numbers (and a running head)
- Select Insert > Page Number > Top of Page > Plain Number 3. This puts the number in the top-right corner of every page, including the title page.
- Make sure the number uses the same font as the rest of the paper.
- Double-click the body of the page to close the header.
Professional papers only: instead of Plain Number 3, select Insert > Header > Blank, type a shortened title in all capital letters (no more than 50 characters), and press Tab twice to reach the right margin. Then select Insert > Page Number > Current Position > Plain Number. APA 7 doesn’t use the words “Running head” before it.
Step 4: Create the title page
- On the first page, press Enter three or four times so the title sits in the upper half of the page.
- Select Home > Center and remove the first-line indent for these lines.
- Type the paper’s title in title case and make it bold.
- Press Enter twice to leave one blank double-spaced line.
- Type each of these on its own line, not bold: your name, your department and university, the course number and name, your instructor’s name, and the due date.
- Press Ctrl + Enter to start the text of the paper on a new page.
On the first page of text, repeat the title in bold, centered at the top, then start the first paragraph below it.
Step 5: Format headings with styles
Setting up Word’s heading styles to match APA keeps them consistent and lets you add a table of contents if your instructor wants one. Right-click Heading 1 on the Home tab, select Modify, and match the font, size and color (black) of your text. Repeat for each level you use:
- Level 1: centered, bold, title case.
- Level 2: flush left, bold, title case.
- Level 3: flush left, bold italic, title case.
- Level 4: indented, bold, title case, ending with a period. The paragraph text continues on the same line.
- Level 5: indented, bold italic, title case, ending with a period, with the text continuing on the same line.
Don’t label the introduction with a heading. The bold title at the top of the first page does that job. To build a table of contents from these headings, see how to fix a table of contents in Word.
Step 6: Add citations and the References page
- Select References and set Style to the newest APA option in the list.
- To cite a source, select Insert Citation > Add New Source, fill in the details and select OK. Word adds an author-date citation such as (Smith, 2024).
- At the end of the paper, press Ctrl + Enter to start a new page.
- Type References, then make it bold and centered.
- Press Enter, then select References > Bibliography > Insert Bibliography to add the list without Word’s own heading.
Check the list against your sources. Word’s generator gets most entries right but can miss details such as DOIs, italics for journal volumes, and sentence case for article titles. If you type the list yourself, list the entries alphabetically by the first author’s last name.
Add the hanging indent
- Select all the reference entries.
- Open the Paragraph dialog.
- Under Special, choose Hanging and set By to 0.5″. Keep Line spacing on Double.
- Select OK.
Save your setup as a template
Once a blank paper is set up, save the effort for next time. Delete the text but keep the title page and References heading, then select File > Save As and choose Word Template (*.dotx). To start your next paper, open the template and Word creates a new copy. Appendices go after the References page; see how to add an appendix in Word.
Troubleshooting
The spacing looks bigger than double
Word is still adding space after each paragraph. Select everything and set Before and After to 0 pt in the Paragraph dialog.
The page number is in a different font
The header uses its own style. Double-click the header, select the number, and change the font to match the text.
The hanging indent breaks when you add a new reference
Press Enter at the end of an existing entry rather than below the list, so the new entry keeps the same formatting.
Frequently asked questions
Does a student paper need an abstract?
Not unless your instructor asks for one. Abstracts are standard only in professional papers.
Does Word have an APA template?
Search for APA under File > New to find APA-style templates. Check which edition each one follows before you use it, because older templates use the 6th edition’s running head and title page.
Can I use these steps in Google Docs?
The settings are the same, but the menus differ. Google Docs puts margins under File > Page setup and indentation under Format > Align & indent.
Related: How to create sections in Word.
Related: How to set up MLA format in Word.
Related: How to display word count in Word.
Related: How to Make Your Own Template in Word.
Related: how to set 1-inch margins in Word.
Related: how to double space in Word.

Matt Jacobs has been working as an IT consultant for small businesses since receiving his Master’s degree in 2003. While he still does some consulting work, his primary focus now is on creating technology support content for SupportYourTech.com.
His work can be found on many websites and focuses on topics such as Microsoft Office, Apple devices, Android devices, Photoshop, and more.