Last updated on November 17th, 2026 at 03:15 pm
Copilot in Excel isn’t a separate install. It comes with Microsoft 365 Personal, Family or Premium, or a work account with a Copilot license, and appears as a Copilot button on the Home tab. Update Excel, sign in with the account that owns the subscription, and check that Copilot is turned on in Excel’s options. Windows, Mac, the web and the mobile apps all qualify, though Microsoft changes Copilot plans and menus often.
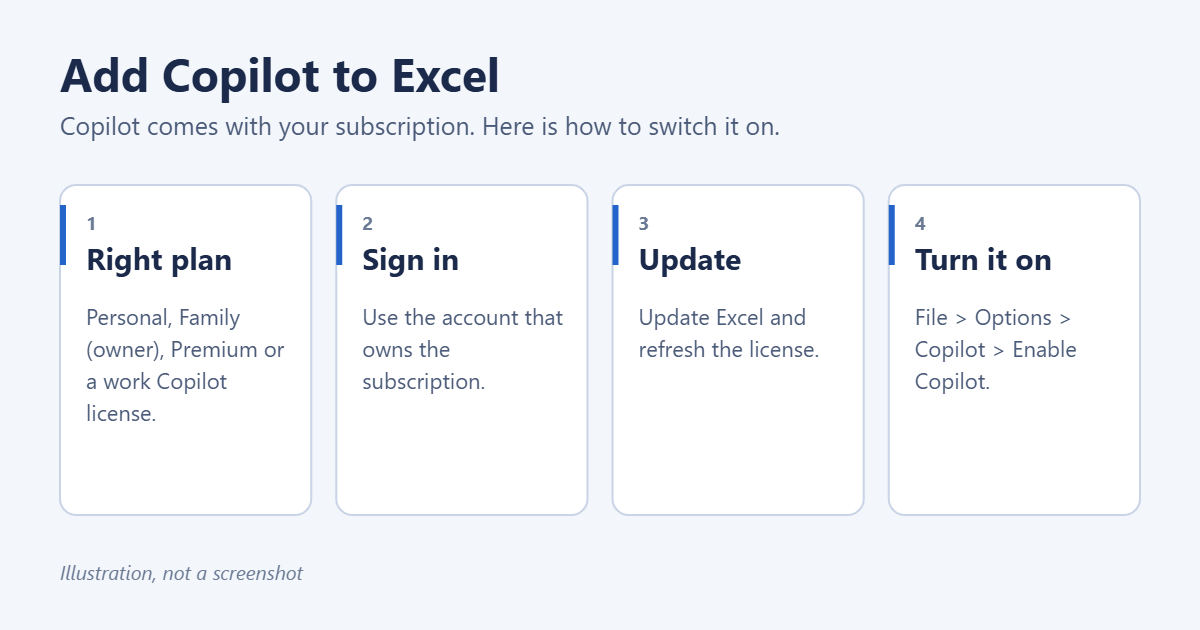
Step 1: Check that your plan includes Copilot
These subscriptions include Copilot in Excel:
- Microsoft 365 Personal: includes Copilot with a monthly allowance of AI credits.
- Microsoft 365 Family: includes the same allowance, but only for the subscription owner. Other people sharing the plan get Excel without Copilot.
- Microsoft 365 Premium: includes Copilot with much higher usage limits and extra tools such as Analyst.
- Work or school accounts: need a Microsoft 365 Copilot license, which your organization buys and assigns. Some business plans include a limited Copilot Chat in Excel without it.
Microsoft 365 Basic, standalone Excel and Office 2021 or 2024 bought with a one-time payment don’t include Copilot in Excel. If you moved to a “Classic” Personal or Family plan to keep the older price, that plan doesn’t include it either.
To check your plan, sign in at account.microsoft.com/services and look at the subscription name.
Is Copilot in Excel free?
No. The free Copilot app and website can answer questions about spreadsheets you paste in, but Copilot inside Excel needs one of the paid subscriptions above.
Does Copilot work offline?
No. Copilot needs an internet connection, because the requests are processed by Microsoft’s servers.
Step 2: Sign in with the right account
- Open Excel and select File > Account.
- Under User Information, check the email address. It must be the account that owns the subscription.
- If it’s a different account, select Switch account or Sign out, then sign in with the right one.
This matters most on Family plans and on PCs where you’re signed in to both a personal and a work account.
Step 3: Update Excel and refresh the license
- In File > Account, select Update Options > Update Now and let Office install any updates.
- If you see Update License on the same page, select it and sign in again when asked.
- Close every Office app, including Word and Outlook, then reopen Excel.
On a Mac, open Excel and select Help > Check for Updates. If you’ve only just bought or upgraded your subscription, it can take a few hours for Copilot to appear.
Step 4: Turn Copilot on in Excel
Copilot can be switched off in Excel’s settings, either by you or by default on some PCs.
- Select File > Options > Copilot.
- Tick Enable Copilot and select OK.
- Close and reopen Excel.
On a Mac, the setting is under Excel > Preferences > Authoring and Proofing Tools > Copilot. This setting only appears when you sign in with a personal Microsoft account, not a work or school account. If you don’t see a Copilot option at all, go to Step 5.
Can I turn Copilot off again?
Yes. Clear Enable Copilot in File > Options > Copilot. This only affects the app you change it in, on that device.
Step 5: Turn on connected experiences
Copilot runs online, so it needs Office’s connected experiences.
- Select File > Options > Trust Center > Trust Center Settings.
- Select Privacy Options > Privacy Settings.
- Turn on Turn on all connected experiences and select OK.
- Restart Excel.
Step 6: Open Copilot and use it
- Open a workbook saved as an Excel Workbook (.xlsx).
- Select Copilot on the right side of the Home tab. A pane opens on the right.
- Type a request in plain English, such as “Add a column that calculates profit” or “Highlight sales over 5,000”.
- Review what Copilot suggests, then select Insert or Apply to add it, or ask it to try again.
Copilot works best when your data has clear column headers and no blank rows. Formatting it as a table first, with Ctrl + T, helps it understand the data.
Things to ask Copilot in Excel
- Formulas: “Create a formula that shows the month from the date in column A.”
- Formatting: “Highlight duplicate email addresses.”
- Sorting and filtering: “Show only orders from last quarter, sorted by total.”
- Summaries: “Make a PivotTable of sales by region” or “Chart revenue by month.”
- Explanations: “Explain what the formula in D2 does.”
Always check Copilot’s results, especially formulas, before you rely on them. It can misread headers or pick the wrong range. Copilot works much the same in other apps, including Copilot in Word.
Copilot greyed out or missing
The Copilot button is greyed out
Check that the workbook isn’t in an older or “Strict Open XML” format; save it as Excel Workbook (.xlsx). Make sure calculation is set to Formulas > Calculation Options > Automatic. If it’s still greyed out, save the file to OneDrive and turn on AutoSave in the top-left corner, which some versions require.
The button is missing after all the steps
Confirm in File > Account that the product name shows Microsoft 365, not Office 2021 or 2024. If you have both installed, uninstall the older Office from Settings > Apps > Installed apps, then reinstall Microsoft 365 from account.microsoft.com/services.
Copilot reports you’ve run out of credits
Personal and Family plans have a monthly limit. Wait for the credits to reset next month, or upgrade to Microsoft 365 Premium.
You use a work account and don’t see Copilot
Your organization controls Copilot. Ask your IT department whether you have a Microsoft 365 Copilot license and whether it’s been turned on for your account.
Related guides

Matt Jacobs writes and maintains the guides on Support Your Tech, which he started in 2017. He spent most of his career keeping small-business PCs running and still takes the occasional consulting job, so the steps here come from fixing the same problems on other people’s computers. Each guide follows Microsoft, Apple and Google’s own documentation and is updated when the steps change. Screenshots marked “Recreated” are illustrations of the real screens.