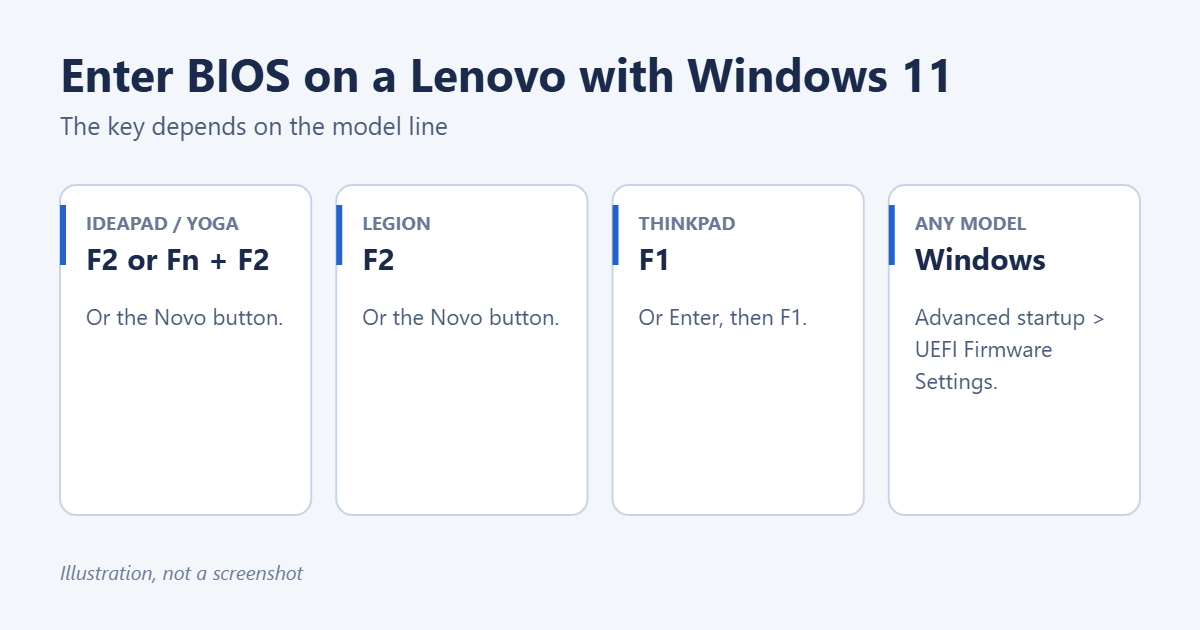
To enter the BIOS on a Lenovo with Windows 11, the most reliable way works on every model: open Settings > System > Recovery, select Restart now next to Advanced startup, then choose Troubleshoot > Advanced options > UEFI Firmware Settings > Restart. You can also press a key as the PC starts: F2 (or Fn + F2) on IdeaPad, Yoga and Legion laptops, and F1 on ThinkPad laptops and ThinkCentre desktops.
Applies to: Lenovo IdeaPad, Yoga, Legion, ThinkPad, ThinkBook, ThinkCentre and IdeaCentre PCs with Windows 11. Last reviewed October 7, 2026.
Method 1: From Windows (works on every Lenovo)
- Save your work and close your apps.
- Open Settings > System > Recovery.
- Next to Advanced startup, select Restart now, then Restart now again.
- On the blue screen, select Troubleshoot > Advanced options > UEFI Firmware Settings.
- Select Restart. The PC restarts straight into the BIOS.
Shortcut: hold Shift while selecting Restart from the Start menu’s power button to reach the same blue screen. For other brands, see how to access BIOS in Windows 11.
Method 2: Press the BIOS key at startup
- Shut down the PC completely. Restarting is better than starting from cold, because Windows’ Fast Startup can skip the key on a cold start.
- Turn it on and immediately tap the key for your model repeatedly until the BIOS appears:
- IdeaPad, Yoga and Legion laptops: F2. On many IdeaPads and Yogas, press Fn + F2.
- ThinkPad laptops: F1. On some models, press Enter at the Lenovo logo, then F1 in the menu that appears.
- ThinkBook laptops: F2 on most models, F1 on some.
- ThinkCentre and ThinkStation desktops: F1.
- IdeaCentre desktops: F1 or F2, depending on the model.
If the laptop’s function keys act as media keys, try both the key on its own and with Fn; see how to turn off Fn Lock in Windows 11.
Many IdeaPad, Yoga and Legion laptops have a Novo button: a small button or pinhole on the side or near the power button, usually marked with a curved arrow.
- Shut down the laptop.
- Press the Novo button, using a straightened paper clip if it’s a pinhole. The laptop turns on and shows the Novo Button Menu.
- Use the arrow keys to select BIOS Setup and press Enter.
The same menu also offers Boot Menu for starting from a USB drive, and System Recovery.
To start from a USB drive without changing BIOS settings, use the boot menu instead: F12 (or Fn + F12) on most Lenovo PCs.
Inside the BIOS
- Use the arrow keys or touchpad to move between tabs such as Configuration, Security and Boot. Newer Lenovo BIOS screens work with the mouse.
- Common settings include virtualization (Intel Virtual Technology or AMD SVM), Secure Boot, boot order and the Fn key behavior.
- Press F10 and confirm to save and exit, or Esc to leave without saving.
Only change settings you understand. To undo changes, choose Load Default Settings (often F9) before saving. To update the BIOS itself, see how to update your BIOS on Windows 11.
Troubleshooting
“UEFI Firmware Settings” is missing
Windows was installed in legacy mode, or the option is hidden. Use the startup key or Novo button instead.
The key does nothing and Windows starts
Start tapping the key as soon as you press the power button, and restart instead of starting from cold. Also check that you’re not using a Bluetooth keyboard, which may not work before Windows loads.
The BIOS asks for a password
A supervisor password was set, often by an employer or a previous owner. Lenovo support can help with proof of ownership; it can’t be bypassed by normal means on ThinkPads.
Related: how to enter BIOS on a Dell.
Related: how to enter BIOS on an MSI.

Matt Jacobs has been working as an IT consultant for small businesses since receiving his Master’s degree in 2003. While he still does some consulting work, his primary focus now is on creating technology support content for SupportYourTech.com.
His work can be found on many websites and focuses on topics such as Microsoft Office, Apple devices, Android devices, Photoshop, and more.