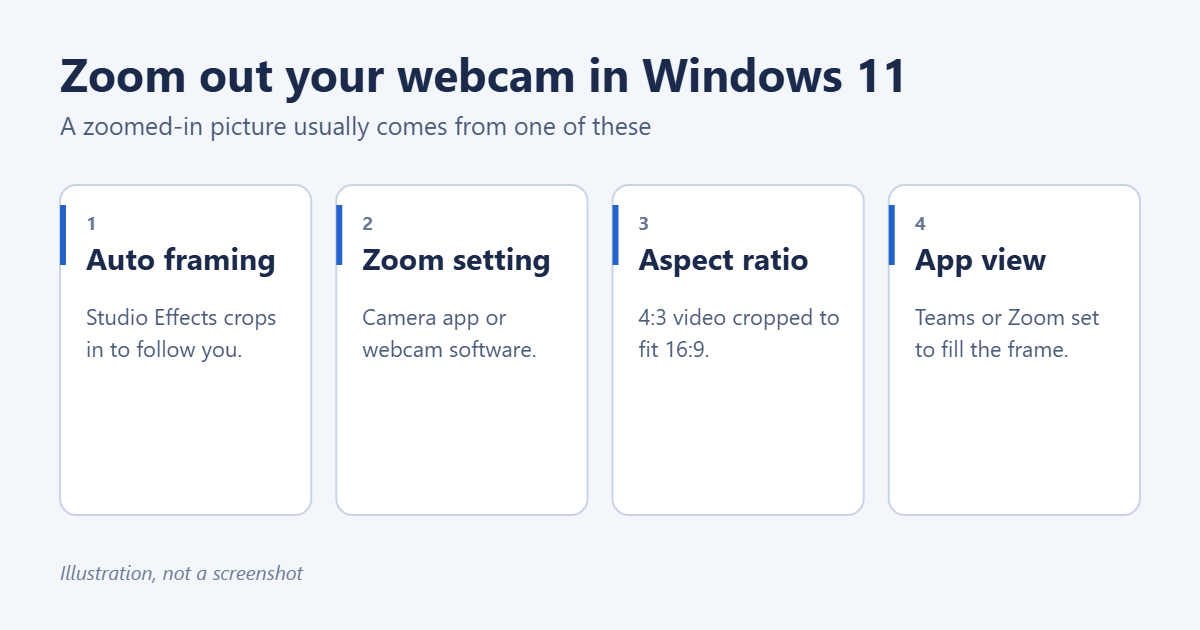
If your webcam looks zoomed in on Windows 11, first turn off Automatic framing, which crops in to follow your face: open Settings > Bluetooth & devices > Cameras, select your camera and turn it off. Then check the zoom control in the Camera app or your webcam maker’s software, and set your video to a 16:9 resolution. If the picture only looks cropped in a meeting app such as Teams or Zoom, change that app’s video settings.
Applies to: Windows 11 with built-in or USB webcams. Some options depend on your camera and PC. Last reviewed October 7, 2026.
Step 1: Turn off Automatic framing
PCs with Windows Studio Effects, mostly Copilot+ PCs and other laptops with an AI chip (NPU), can zoom in and pan to keep you centered.
- Open Settings > Bluetooth & devices > Cameras.
- Select your camera under Connected cameras.
- Turn off Automatic framing. You’ll see the full view in the preview at the top.
You can also turn it off quickly: select the network, volume or battery icon on the taskbar to open Quick Settings, then Studio effects. For more, see how to turn off Windows Studio Effects in Windows 11.
Step 2: Check the camera’s own zoom
In the Windows Camera app
- Open the Camera app from the Start menu.
- If your webcam supports it, a zoom button or slider appears on screen. Zoom all the way out.
In your webcam’s software
Many external webcams have their own app with zoom and field-of-view settings, such as Logitech’s or Razer’s. Open it, set Zoom to the lowest value, and choose the widest Field of view. These settings are stored in the camera and apply in every app.
Step 3: Use a 16:9 resolution
Some webcams record in a squarer 4:3 shape. Video apps that expect 16:9 widescreen crop the top and bottom, which looks zoomed in.
- Open the Camera app and select the gear icon.
- Under Video quality (and Photo quality), choose an option labeled 16:9, such as 1080p 16:9.
In meeting apps, the resolution is usually set in the app’s own video settings, described below.
Step 4: Change the view in your meeting app
- Microsoft Teams: select Settings and more (the three dots) > Settings > Devices and check the camera preview. Turn off any background effects or framing features, and make sure the right camera is selected. In a meeting, other people’s video can show as cropped; right-click it and choose Fit to frame to see all of it.
- Zoom: open Settings > Video, turn on Original ratio so Zoom doesn’t crop your video to fill the window, and turn off Mirror my video if the view looks wrong.
- Google Meet: select the three dots > Apply visual effects and turn off any framing effect.
Step 5: Adjust the camera physically
If none of the settings help, the camera may simply have a narrow lens, which is common on laptops. Sit a little further back, tilt the screen slightly, or raise the laptop so the camera is at eye level. An external webcam with a wider field of view, such as 78° or 90°, shows more of the room.
Troubleshooting
There’s no Automatic framing option
Your PC doesn’t support Windows Studio Effects. Check your webcam’s software and your meeting app instead.
The camera looks zoomed in only after an update
A new driver may have turned on a framing feature. Check the camera’s settings page in Windows and the manufacturer’s app, or roll back the driver in Device Manager.
The camera isn’t working at all
See how to enable a disabled camera in Windows 11. To blur or replace what’s behind you, see how to change your webcam background in Windows 11.

Matt Jacobs has been working as an IT consultant for small businesses since receiving his Master’s degree in 2003. While he still does some consulting work, his primary focus now is on creating technology support content for SupportYourTech.com.
His work can be found on many websites and focuses on topics such as Microsoft Office, Apple devices, Android devices, Photoshop, and more.