To enable FTP in Windows 10, open Control Panel > Programs > Turn Windows features on or off, expand Internet Information Services, tick FTP Server and Web Management Tools > IIS Management Console, and select OK. Then open IIS Manager, right-click Sites, choose Add FTP Site, pick the folder to share, and set who can sign in. Other devices can then connect to ftp:// followed by your PC’s IP address.
Applies to: Windows 10 Home and Pro, version 22H2. The same steps work on Windows 11. Last reviewed October 8, 2026. FTP sends passwords and files unencrypted, so use it only on a trusted home or office network.
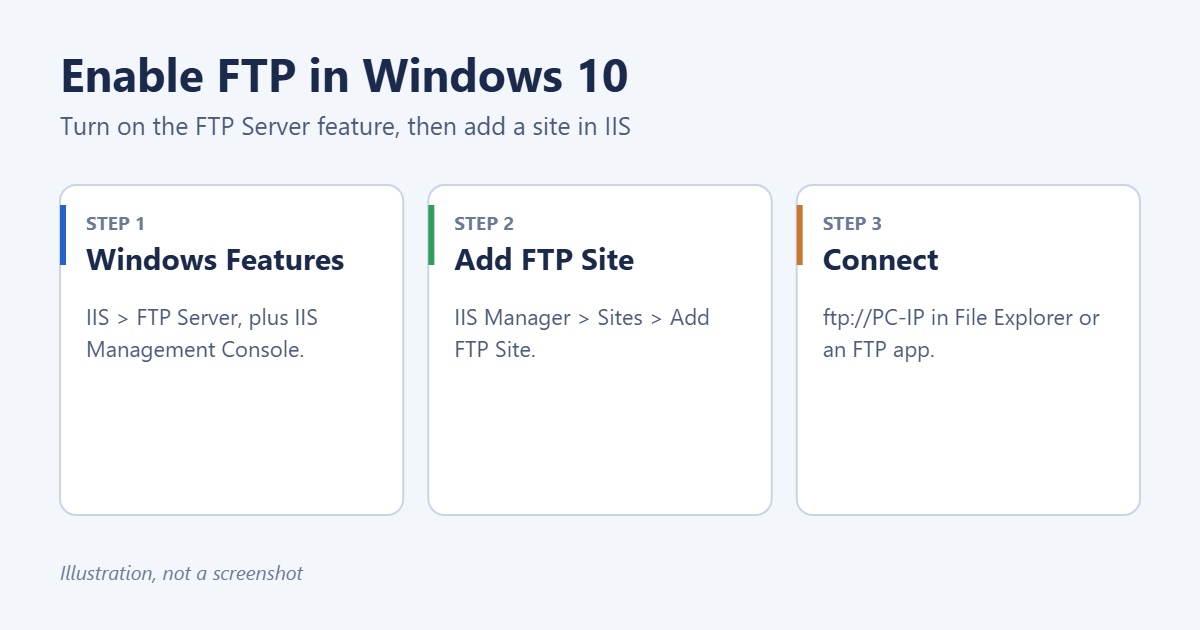
Step 1: Turn on the FTP Server feature
- Press Windows + R, type optionalfeatures and press Enter.
- Expand Internet Information Services.
- Expand FTP Server and tick FTP Service (and FTP Extensibility if you want).
- Expand Web Management Tools and tick IIS Management Console.
- Select OK and wait for Windows to install the features. Restart if asked.
This installs part of IIS, Windows’ built-in web server. For more on IIS itself, see how to enable IIS on Windows 11.
Step 2: Create an FTP site
- Select Start, type IIS and open Internet Information Services (IIS) Manager.
- In the left pane, expand your PC’s name, right-click Sites and choose Add FTP Site.
- Enter a name and choose the Physical path, the folder you want to share, for example C:\FTP. Select Next.
- Under Binding, leave IP address on All Unassigned and port 21. Tick Start FTP site automatically.
- Under SSL, choose No SSL for a simple home setup, or Allow SSL/Require SSL if you have a certificate. Select Next.
- Under Authentication, tick Basic. Under Authorization, choose Specified users and type a Windows user name, then tick Read and, if needed, Write. Select Finish.
It’s safer to create a separate local Windows account just for FTP access than to use your own.
Step 3: Allow FTP through the firewall
Installing FTP Server usually adds firewall rules. To check, open Windows Defender Firewall > Allow an app or feature through Windows Defender Firewall and make sure FTP Server is ticked for Private networks. Port 21 should now be listening; see how to find port numbers in Windows 10 to confirm.
Step 4: Connect from another device
- Find the PC’s IP address by running ipconfig in Command Prompt (IPv4 Address).
- On another PC, open File Explorer and type ftp://192.168.1.25 (your address) in the address bar.
- Enter the user name and password when asked.
FTP apps such as FileZilla give faster, more reliable transfers than File Explorer.
Using FTP as a client only
If you just need to connect to someone else’s FTP server, you don’t need to enable anything. Use File Explorer, the built-in ftp command in Command Prompt, or an FTP app.
Safer alternatives
- SFTP over SSH: encrypted file transfer using Windows’ OpenSSH Server; see how to enable SSH in Windows 10.
- Shared folders: simpler for Windows-only home networks; see how to share folders in Windows 10.
Troubleshooting
“530 User cannot log in”
The account isn’t allowed in Authorization rules, or the password is wrong. In IIS Manager, select the site > FTP Authorization Rules and add the user.
Connection times out from another PC
The firewall is blocking it, or the network is set to Public. Set it to Private in Settings > Network & Internet.
Folder listing fails (passive mode)
Use an FTP app and switch to active mode, or configure a passive port range in IIS under FTP Firewall Support.

Matt Jacobs has been working as an IT consultant for small businesses since receiving his Master’s degree in 2003. While he still does some consulting work, his primary focus now is on creating technology support content for SupportYourTech.com.
His work can be found on many websites and focuses on topics such as Microsoft Office, Apple devices, Android devices, Photoshop, and more.