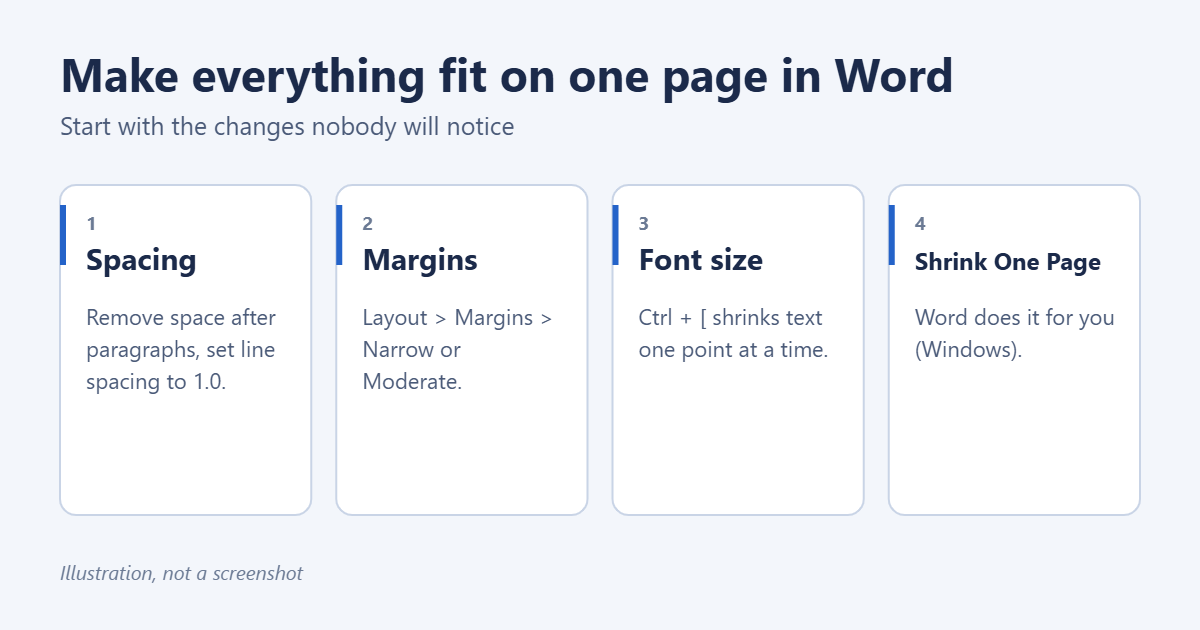
To make a Word document fit on one page, start with changes readers won’t notice. Remove the extra space after paragraphs, set line spacing to 1.0, and choose Layout > Margins > Narrow. If it still spills over, lower the font size by one point, or let Word do the work with the Shrink One Page command. Before you change anything, check whether the overflow is just a blank paragraph at the end.
Applies to: Word for Microsoft 365, Word 2024, 2021, 2019 and 2016. Shrink One Page is in Word for Windows only. Last reviewed October 7, 2026.
Step 1: Check what’s spilling over
Select Home > Show/Hide (¶) to see paragraph marks, then look at the second page.
- Only empty paragraph marks: delete them. If the last one won’t go away, which often happens after a table, select it, click the font size box on the Home tab, type 1 and press Enter.
- A Page Break or Section Break line: delete it, unless you need it.
- One or two lines of text: the small fixes in Steps 2 and 3 are usually enough.
- Several paragraphs: you’ll probably need margins and font size too, or to cut some text.
Step 2: Tighten the spacing
Paragraph spacing takes up more room than most people realize. The default in Word adds 8 points after every paragraph and uses 1.08 line spacing.
- Press Ctrl + A to select everything.
- Select Home > Line and Paragraph Spacing.
- Choose 1.0.
- Open the same menu again and choose Remove Space After Paragraph.
For finer control, select Line Spacing Options and lower Before and After a few points at a time. Headings often have large spacing above them, so trimming those alone can save several lines.
Step 3: Shrink the margins
- Select Layout > Margins.
- Choose Moderate (0.75 inch top and bottom) or Narrow (0.5 inch on every side).
To fine-tune, select Custom Margins and lower the top and bottom margins only. That gains lines without making the text look cramped. If you’re printing, don’t go much below 0.25 inch, because many printers can’t print right to the edge.
Headers and footers also take space. In Custom Margins, open the Layout tab and reduce the From edge distances, or delete the header or footer if you don’t need it.
Step 4: Make the text slightly smaller
- Press Ctrl + A to select everything.
- Press Ctrl + [ to make all the text one point smaller. On a Mac, press Command + Shift + < to go down a size.
- Repeat until the document fits, but stop at 10 points for body text if people need to read it on paper.
Pressing the shortcut keeps headings and body text in proportion, because every size drops by the same amount. A narrower font such as Arial Narrow also fits more words per line.
Step 5: Let Word shrink it with Shrink One Page
Shrink One Page reduces the font sizes in your document a little at a time until it loses a page. It works best when only a few lines spill over. It isn’t on the ribbon, so add it to the Quick Access Toolbar first.
- Select File > Options > Quick Access Toolbar.
- Under Choose commands from, select Commands Not in the Ribbon.
- Select Shrink One Page and then Add, then OK.
- Select the new button at the top of the Word window.
If it can’t shrink the document enough, Word tells you it was unable to shrink by a page. Press Ctrl + Z to undo it if the result is too small to read.
Step 6: Resize pictures, tables and other objects
- Pictures and charts: drag a corner handle inward to make them smaller without stretching them. Changing the wrap to Square or Tight under Layout Options lets text flow beside them.
- Tables: select the table, then Table Layout > AutoFit > AutoFit Contents, and reduce the cell margins in Table Properties > Options.
- Long lines that wrap with one word: turn on Layout > Hyphenation > Automatic so long words split across lines.
If you only need it to print on one sheet
When the document only has to fit on paper and doesn’t need to be one page in the file, print two pages on one sheet. Select File > Print, open the 1 Page Per Sheet menu at the bottom of the settings, and choose 2 Pages Per Sheet. Word prints both pages side by side, smaller.
Troubleshooting
There’s a blank second page that won’t delete
The document probably ends with a table. Word always puts a paragraph mark after a table, and if it doesn’t fit, it goes on a new page. Make that paragraph mark 1 point in size, as described in Step 1.
Changing the spacing does nothing
Some text has spacing set in its style. Check Line and Page Breaks in the Paragraph dialog: Keep with next or Page break before can push text onto the next page even when there’s room.
Shrink One Page made the text too small
Undo it, then use Steps 2 and 3 first. The less text spills over, the less Shrink One Page needs to reduce the font.
Frequently asked questions
Can I make everything fit on one page without changing the font size?
Often, yes. Spacing, margins and resizing pictures free up more room than most people expect. Try them before you change the font.
Does Word have a “fit to page” option like Excel?
Not exactly. Shrink One Page is the closest, and it only removes one page at a time. Printing two pages per sheet is the other option.
Will the document look the same on someone else’s computer?
Not always. A missing font or different printer can change line breaks. Save it as a PDF with File > Save As > PDF to lock the layout.
Related: How to print a Word document without comments.
Related: How to display word count in Word.
Related: how to scale a document in Word.
Related: how to get Word to show one page at a time.

Matt Jacobs has been working as an IT consultant for small businesses since receiving his Master’s degree in 2003. While he still does some consulting work, his primary focus now is on creating technology support content for SupportYourTech.com.
His work can be found on many websites and focuses on topics such as Microsoft Office, Apple devices, Android devices, Photoshop, and more.