To change monitor color in Windows 11, select Start > Settings > System > Display. Turn Night light on or off to make the picture warmer or cooler, or select Color profile to choose a profile or run Calibrate display for that monitor.
Applies to: Windows 11. Checked against Microsoft Support on October 7, 2026.
Which color setting to change
“Monitor color” can mean several things, and Windows 11 has a different control for each one. Find your goal in the table before you change anything, because the wrong control can make colors less accurate without fixing the thing that bothers you.
| What you want | Control to use |
|---|---|
| A warmer picture in the evening, or to remove an orange or yellow tint | Night light |
| Colors that match the monitor’s real capabilities | Color profile |
| To correct a color cast or washed-out picture by eye | Calibrate display |
| Brighter highlights and a wider range of colors in games and video | Use HDR |
| A different picture mode, contrast or color temperature | The buttons and on-screen menu on the monitor itself |
Before you start
- Note what you have now. Write down the current settings, or take a photo of the monitor’s menu, so you can put them back.
- Know which screen you are changing. With two or more monitors, each one has its own color profile. On the Display page, select Identify to show a number on each screen.
- Let the monitor warm up. Dell’s calibration instructions say the display should be on for at least 30 minutes before you calibrate it.
- Keep the room lighting normal. Microsoft recommends calibrating in the lighting you usually work in.
Change monitor color in Display settings
These steps take you to the Windows 11 color controls and cover the two changes most people want: warmth and the color profile.
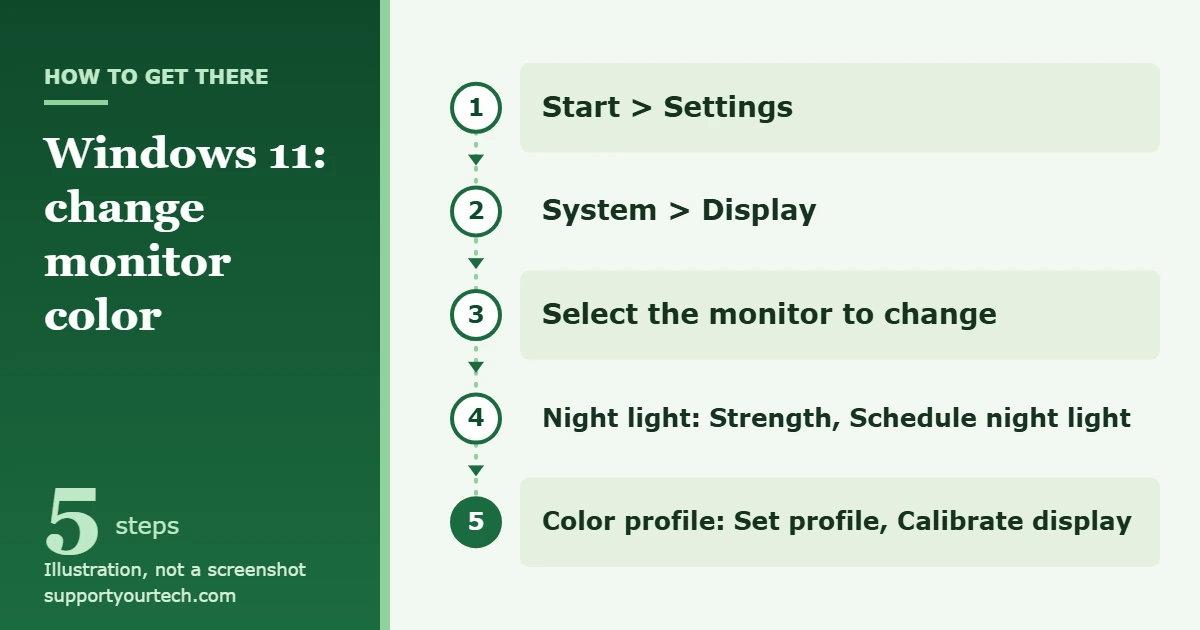
- Select Start > Settings > System > Display. The Display page opens with your screens shown at the top.
- If you have more than one monitor, select the one you want to change. Select Identify if you are not sure which number belongs to which screen.
- Find Night light. Turn it on for warmer colors, or turn it off if the screen looks too orange. The picture changes right away.
- Select Night light to open its page, then move the Strength slider to make the effect milder or stronger.
- Go back to Display and select Color profile. Select the display you want to manage color profiles for.
- Select a profile and then Set profile to make it the default for that display, or select Calibrate display to adjust the color yourself.
Make the screen warmer or cooler with Night light
Night light shifts the display toward warmer colors, which Microsoft describes as easier on your eyes at night. It is the most common reason a Windows 11 screen suddenly looks yellow or orange, so check it first if the color changed without you touching anything.
Turn Night light on or off quickly
- Select the Network or Speakers icon on the right side of the taskbar. Quick settings opens.
- Scroll to Night light and select it to turn it on or off.
Set a Night light schedule
- Select Start > Settings > System > Display > Night light.
- Turn on Schedule night light.
- Choose Sunset to sunrise to let Windows pick the times, or choose Set hours and enter the times you want.
Turn Night light off before you judge colors in photos, compare two monitors or calibrate a display. Otherwise you will be correcting a tint that Windows is adding on purpose. Night light is also separate from dark mode; to darken the Windows interface itself, see how to turn on dark mode in Windows 11.
Choose a color profile for the monitor
A color profile is a file that describes a display’s color characteristics, including the range of colors it can show. Windows uses it to convert colors so they look right on that particular screen. Monitor makers often publish a profile for each model on their support pages, and calibration tools create new ones.
Add a profile and make it the default
- Select Start > Settings > System > Display > Color profile.
- Select the display you want to manage color profiles for.
- Select Add profile and choose the profile file you downloaded from the monitor maker. It appears in the list for that display.
- Select the profile, then select Set profile. Colors on that display may shift slightly as the profile takes effect.
Only use a profile made for your exact monitor model or one created by calibrating that monitor. A profile made for a different screen can make colors worse.
Remove a profile
On the same Color profile page, select the display, expand the profile you no longer want and select Remove. If the colors looked better before, set the previous profile as the default first.
Let Windows manage color automatically
On supported displays, the Color profile page also shows Automatically manage color for apps. Microsoft says this turns on system-level color management so that colors appear accurately across Windows apps. If you do not see the setting, your display or graphics hardware does not support it, and you can skip it.
Calibrate the display by eye
Calibration fixes problems a ready-made profile cannot, such as a slight color cast or a picture that looks flat.
- Turn off Night light and, if you can, reset the monitor to its factory picture settings using its own menu.
- Select Start > Settings > System > Display > Color profile.
- Select Calibrate display. The calibration tool opens. Move its window onto the monitor you want to calibrate, because Microsoft notes the new profile is created for the display where the tool is located.
- Follow the on-screen instructions. Dell’s guide to the Windows tool describes four adjustments in order: gamma, brightness, contrast and color balance. Gamma and color balance use sliders on screen. Brightness and contrast are set with the monitor’s own buttons, so you may have to skip them on a laptop screen.
- At the end, select Previous calibration and Current calibration to compare the before and after. Select Finish to keep the new calibration, or Cancel to discard it.
When you finish, Windows saves the result as a new color profile for that display. This is a visual adjustment, not a measurement. For photo editing, print or video work where color has to be exact, a hardware calibration device and its software give more reliable results.
Dell documents each screen of the tool in How to Calibrate Monitor Color in Windows 11 and Windows 10.
Change color on an HDR monitor
HDR (high dynamic range) gives brighter highlights, deeper shadows and a wider range of colors than a standard picture. It also changes how everything else on the screen looks, so it is worth checking when colors seem off.
- Select Start > Settings > System > Display and select your HDR-capable display.
- Turn Use HDR on or off.
- If ordinary apps and the desktop look washed out, too bright or too dark with HDR on, open the HDR settings and move the SDR content brightness (or HDR content brightness) slider.
Microsoft notes that standard content can look washed out with HDR on, because displays handle the two kinds of signal differently. It also suggests turning off Night light if colors look over-saturated in HDR.
For an HDR display, Calibrate display prompts you to use the Windows HDR Calibration app instead of the standard tool. The app is a download from the Microsoft Store. It needs HDR turned on, runs full screen, and walks you through three test patterns and a color saturation slider before creating a color profile for the display. See Microsoft’s Windows HDR Calibration app instructions and HDR settings in Windows for the hardware requirements.
Use the monitor’s own controls
An external monitor has its own picture settings that Windows cannot see or change. Use the buttons or joystick on the monitor to open its on-screen menu and look for the picture mode, color temperature, contrast and red, green and blue settings. Reading, low blue light and similar modes warm the picture on purpose, in the same way Night light does.
Brightness works the same way. Microsoft notes that the Windows Brightness slider is for built-in screens, and that you use the buttons on an external monitor to change its brightness. On a laptop, see how to change the brightness in Windows 11.
If you want richer or more muted colors rather than a different tint, that is saturation, and it is set in your graphics card’s app. See how to change saturation on Windows 11.
Check the result and undo a change
Look at something familiar, such as a photo of people, a white document and a page of black text. Skin should look natural, white should not look yellow, blue or pink, and you should still see detail in dark and bright areas.
Windows 11 has no single button that resets every color setting. Undo the specific change you made:
- Night light: turn it off, or turn off Schedule night light so it does not come back in the evening.
- Color profile: select the earlier profile and Set profile, then Remove the one you do not want.
- Calibration: set the earlier profile as the default and remove the profile the calibration created, or run Calibrate display again.
- HDR: turn off Use HDR.
- Monitor menu: restore the values you wrote down, or use the monitor’s factory reset. A factory reset also clears other preferences stored in the monitor.
If something is missing or doesn’t work
- Night light is missing or greyed out. Microsoft says Night light is not available with certain display drivers, such as DisplayLink or Basic Display. DisplayLink is common in USB docking stations. Install the graphics driver from your PC maker, or connect the monitor directly to the PC.
- There is no Color profile entry. Your version of Windows 11 may be out of date, so install the latest updates and look again. The older Color Management tool in Control Panel can also select and remove profiles. Search for it from Start.
- Automatically manage color for apps is missing. It appears only on supported displays.
- The whole screen is still yellow. Work through the causes one at a time with our steps to fix a yellow screen on Windows 11.
- Colors change by themselves on a laptop. Under Brightness on the Display page, Change brightness based on content adjusts brightness and contrast to suit what is on screen. Set it to Off if the shifts bother you.
- HDR looks wrong on an external monitor or TV. Make sure HDR is also turned on in the monitor’s own menu. Microsoft suggests DisplayPort rather than HDMI where you have the choice.
- The settings are locked on a work or school PC. Your organization may manage display drivers and settings. Ask your IT administrator.
- The second monitor does not appear. On the Display page, open Multiple displays and select Detect.
Frequently asked questions
Why does my monitor look yellow in Windows 11?
The usual cause is Night light, especially if it is scheduled to come on at sunset. Turn it off in quick settings. If the tint stays, check the monitor’s picture mode and the color profile set for that display.
Can I use different color settings on each monitor?
Yes. Color profiles and calibration are set per display, so select the right display on the Color profile page first. Each external monitor also keeps its own menu settings.
Does changing the monitor color change my photos or files?
No. These settings change how the screen shows colors. The files stay the same, and they will look different again on another screen.
Why do two identical monitors show different colors?
Panels vary slightly, and the two screens may be using different picture modes, cables or color profiles. Match the settings in each monitor’s menu first, then calibrate each display separately.
Is the Windows calibration tool accurate enough for photo editing?
It improves an obviously wrong picture, but it relies on your eyes. For work that depends on exact color, use a hardware calibration device and the profile it creates.
How do I change the color of windows and the taskbar instead?
That is a theme setting, not a monitor color setting. See how to customize Windows 11.
Microsoft’s reference for these settings is Change display brightness and color in Windows. If the picture is also the wrong size or blurry, see how to reset display settings in Windows 11 next.

Matt Jacobs has been working as an IT consultant for small businesses since receiving his Master’s degree in 2003. While he still does some consulting work, his primary focus now is on creating technology support content for SupportYourTech.com.
His work can be found on many websites and focuses on topics such as Microsoft Office, Apple devices, Android devices, Photoshop, and more.