To add a table of contents in Word, format your section titles with the built-in Heading 1, Heading 2 and Heading 3 styles on the Home tab. Then click where you want the table, usually on a page after the title page, and select References > Table of Contents > Automatic Table 1. Word lists every heading with its page number and keeps the entries as clickable links. After you edit the document, select Update Table to refresh it.
Applies to: Word for Microsoft 365, Word 2024, 2021, 2019 and 2016 on Windows and Mac, and Word for the web. Last reviewed October 7, 2026.
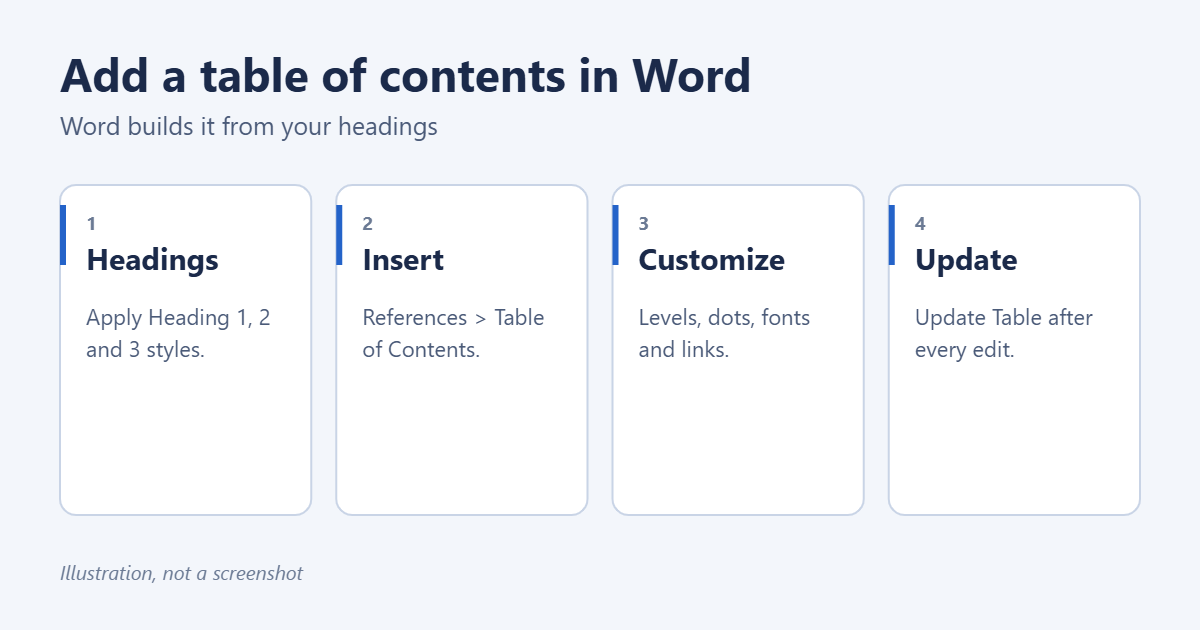
Step 1: Apply heading styles
Word builds the table of contents from heading styles, not from text that only looks like a heading.
- Click in a chapter or main section title.
- On the Home tab, select Heading 1 in the Styles gallery.
- Use Heading 2 for subsections and Heading 3 for the level below that.
- Repeat for every heading you want in the table.
Shortcuts on Windows: Ctrl + Alt + 1, 2 or 3. To change how headings look, right-click the style and select Modify, so every heading changes together. To check your structure, open View > Navigation Pane; the headings listed there are what the table will show.
Step 2: Insert the table of contents
- Click where the table should go. To put it on its own page, click at the start of the first page of text and press Ctrl + Enter to insert a page break, then click on the new blank page.
- Select References > Table of Contents.
- Choose Automatic Table 1 (titled “Contents”) or Automatic Table 2 (titled “Table of Contents”).
Hold Ctrl and click an entry to jump to that section. In a PDF saved from Word, the entries stay clickable.
Step 3: Customize it
- Select References > Table of Contents > Custom Table of Contents.
- Change any of these, watching the preview:
- Show levels: 2 shows only Heading 1 and 2; 3 is the default.
- Tab leader: dots, dashes, a line or nothing between entries and page numbers.
- Show page numbers and Right align page numbers.
- Use hyperlinks instead of page numbers, which affects the Web Layout view.
- Formats: pick a preset look, such as Formal or Simple.
- To change the fonts, select Modify, choose a TOC 1, TOC 2 or TOC 3 style, and select Modify again.
- Select OK and replace the existing table when asked.
Step 4: Update the table after editing
The table doesn’t change by itself when you add headings or pages move.
- Click inside the table and select Update Table at the top of it, or press F9.
- Choose Update page numbers only if you only added text, or Update entire table if you added, renamed or removed headings.
- Select OK.
If entries are missing or wrong after updating, see how to fix a table of contents in Word.
Add or remove individual entries
- Add a heading: apply a heading style to it, then update the table.
- Add text that isn’t a heading: select it, choose References > Add Text and pick a level.
- Remove an entry: click the heading in the document, choose References > Add Text > Do Not Show in Table of Contents, then update. Don’t delete it from the table itself, because updating brings it back.
Manual table of contents
References > Table of Contents > Manual Table inserts a placeholder you fill in yourself. It never updates, so you’ll have to retype titles and page numbers whenever the document changes. Use the automatic table unless you have a reason not to.
Word for the web
Select References > Table of Contents and choose a style. Word for the web has fewer options and may show links instead of page numbers while you edit; page numbers appear when you print or download the document as a PDF. To update it, select References > Update Table.
Remove the table of contents
Select References > Table of Contents > Remove Table of Contents.
Troubleshooting
“No table of contents entries found”
The document has no text formatted with heading styles. Apply Heading 1 and other heading styles, then update the table.
The table shows “Error! Bookmark not defined”
A heading the table points to was deleted. Select Update Table > Update entire table.
Page numbers should start after the table of contents
Add a section break after the table and restart numbering at 1 in the next section. See how to create sections in Word.
Frequently asked questions
Can I link the entries to pages?
They’re linked automatically. See how to link a table of contents to pages in Word if your links don’t work.
Can I have more than three levels?
Yes. In Custom Table of Contents, set Show levels up to 9 and use Heading 4 and lower for those sections.
Related: How to Make Collapsible Sections in Word.
Related: how to make something a heading in Word.
Related: how to use the Navigation Pane in Word.
Related: format a 6×9 book in Word.
Related: print a book in Word.

Matt Jacobs has been working as an IT consultant for small businesses since receiving his Master’s degree in 2003. While he still does some consulting work, his primary focus now is on creating technology support content for SupportYourTech.com.
His work can be found on many websites and focuses on topics such as Microsoft Office, Apple devices, Android devices, Photoshop, and more.