Network credentials are the user name and password for another computer, NAS or server you’re trying to open over the network, not your own PC’s sign-in. To see which ones Windows 10 has saved, open Control Panel > User Accounts > Credential Manager > Windows Credentials, where each saved device and its user name are listed. Windows won’t display saved passwords for these entries, so if you’ve forgotten the password, you’ll need it from the other device’s owner or reset it on that device.
Applies to: Windows 10 Home and Pro, version 22H2. The same applies to Windows 11. Last reviewed October 8, 2026.
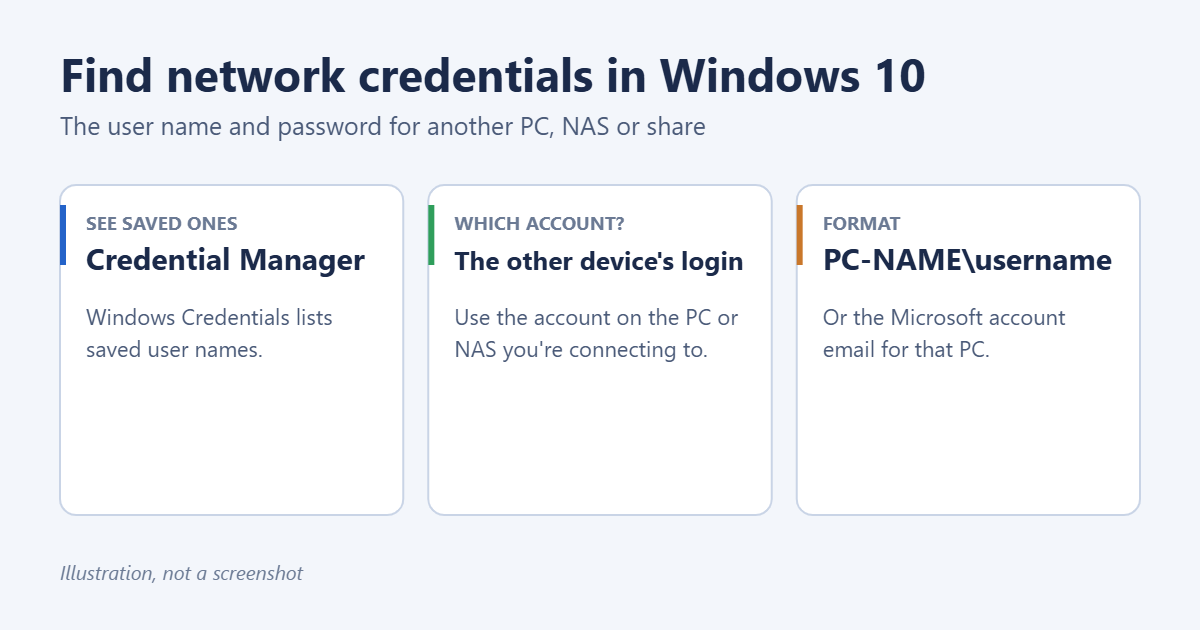
What “Enter network credentials” is asking for
When you open a shared folder on another PC (for example \\LIVINGROOM-PC) or a NAS, Windows asks for an account on that device. Enter:
- Another Windows PC with a local account: PC-NAME\username and that account’s password.
- Another Windows PC with a Microsoft account: the full email address and the Microsoft account password (not the PIN).
- A NAS or router: a user account created on the NAS, often in its web admin page.
- A work network: DOMAIN\username and your work password.
Tick Remember my credentials to save them in Credential Manager.
See saved network credentials
- Select Start, type Credential Manager and open it.
- Select Windows Credentials.
- Expand an entry to see the device name and the User name saved for it.
You can also list them in Command Prompt with cmdkey /list. Each line shows the target (the device) and the user name.
Why the password isn’t shown
For Windows Credentials, Credential Manager only offers Edit and Remove, not Show. That’s by design, to protect passwords for other machines. Passwords saved by Internet Explorer and the old Edge appear under Web Credentials, where Show works after you confirm your own Windows password. See how to find saved passwords on Windows 10.
If you don’t know the password
- Your own other PC: sign in to that PC and check its account. If it’s a Microsoft account, reset the password at account.live.com if needed.
- A NAS: sign in to its admin page and reset the user’s password, or create a new user for sharing.
- Someone else’s device: ask the owner for an account to use.
Once you have the right details, remove the old saved entry and connect again; see how to clear cached credentials in Windows 10.
Make sharing at home easier
- On the PC that shares files, create a local account just for sharing, with a password, in Settings > Accounts > Family & other users > Add someone else to this PC.
- Give that account access to the shared folder.
- On other PCs, connect with PC-NAME\sharinguser and tick Remember my credentials.
For the sharing steps, see How to Share Folders in Windows 10.
Network credentials vs other passwords
- Your Windows sign-in: the account you use on this PC. See how to find your computer username and password.
- Wi-Fi password: the key for your wireless network. See how to see the Wi-Fi password on Windows 10.
- Network credentials: an account on another device on the network.
Troubleshooting
“The user name or password is incorrect” with the right password
Add the PC name before the user name (PC-NAME\user), and for Microsoft accounts use the email and account password, not the PIN. Also check the other PC’s time and date are correct.
Windows keeps using the wrong account
Remove the saved entry in Credential Manager, run net use * /delete in Command Prompt, and reconnect.
No password prompt; access just fails
The other PC may have password protected sharing set differently. Check Control Panel > Network and Sharing Center > Change advanced sharing settings on that PC.
Frequently asked questions
Can I recover a saved network password with software?
Some third-party tools claim to, but many are flagged by antivirus and they won’t work for every entry. Resetting the password on the other device is safer.
Is my network credential the same as my router password?
No. The router’s admin password is only for its settings page.

Matt Jacobs has been working as an IT consultant for small businesses since receiving his Master’s degree in 2003. While he still does some consulting work, his primary focus now is on creating technology support content for SupportYourTech.com.
His work can be found on many websites and focuses on topics such as Microsoft Office, Apple devices, Android devices, Photoshop, and more.