Last updated on November 17th, 2026 at 03:15 pm
To change a Windows 11 keyboard from US to UK, open Settings > Time & language > Language & region, select the three dots next to your language, choose Language options, then select Add a keyboard and pick United Kingdom. After that, hold the Windows logo key and press Spacebar to switch to it.
Applies to: Windows 11.
What changing the layout does
A keyboard layout tells Windows which character each key types. Switching from the US layout to the United Kingdom layout does not change your hardware, and it does not change the language Windows uses for menus. It only changes what some keys produce, mostly symbols. A layout change won’t help an older program that shows boxes or question marks, because that needs you to change the system locale in Windows 11.
You do not need to install a second language for this. A keyboard layout can be added to the language you already use, and a full language pack matching the layout is not always needed.
Add the UK keyboard layout in Windows 11
- Select Start, then Settings. The Settings window opens.
- Select Time & language, then Language & region. Your installed languages are listed on this page.
- Select the three dots next to your current language, then select Language options.
- Look at the Keyboards section. If United Kingdom is already listed, you can skip to the switching section below.
- Select Add a keyboard. A list of layouts opens.
- Scroll through the list and select United Kingdom. It now appears under Keyboards next to the US layout.
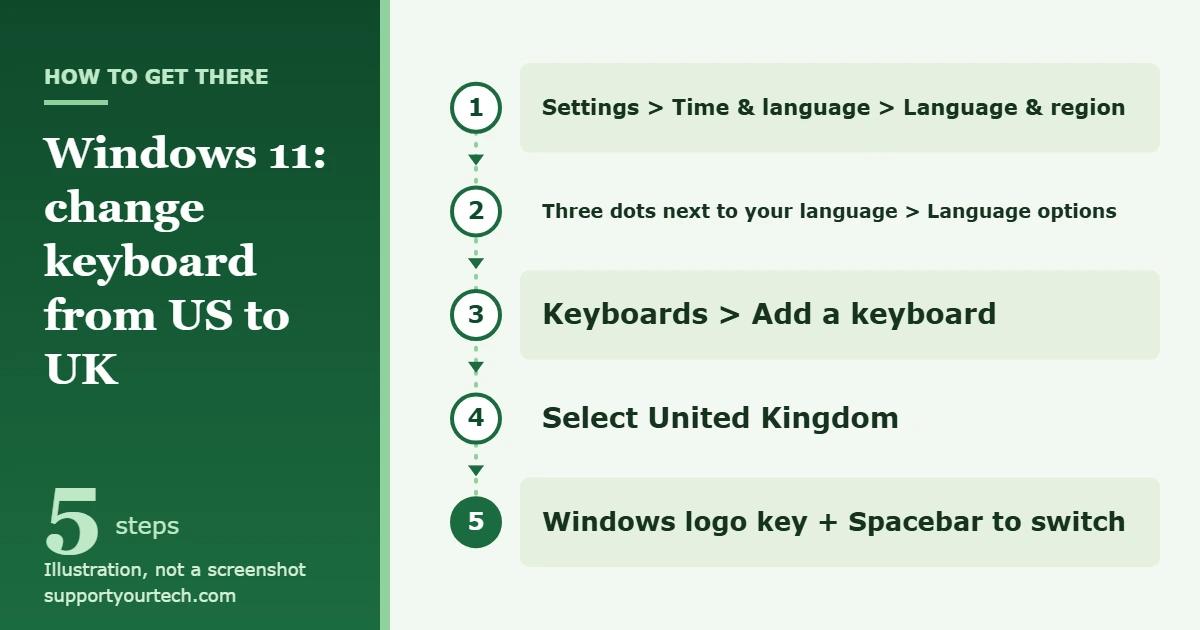
Adding the layout does not make it active. Windows keeps typing with the US layout until you switch.
Does this work for other layouts?
Yes. The same Add a keyboard list contains the other layouts Windows supports. The general steps are in changing the keyboard layout in Windows 11.
Once the UK layout is active, type a line of symbols in Notepad to learn where they are before you rely on it for passwords.
Switch from US to UK
There are two ways to switch between installed layouts. Use whichever you find easier.
- Keyboard: hold the Windows logo key and press Spacebar. Each press of the Spacebar moves to the next installed layout. Release the keys when the UK layout is selected.
- Mouse: select the input language icon in the system tray area of the taskbar, then choose the UK layout from the menu that pops up.
Remove the US layout so Windows stays on UK
If you only want the UK layout, remove the US one. With a single layout installed, there is nothing to switch to by accident. Add the UK layout first, because Windows will not let you remove the only keyboard a language has.
- Open Settings > Time & language > Language & region.
- Select the three dots next to your language, then select Language options.
- Under Keyboards, select the three dots next to the US keyboard.
- Select Remove. The US layout disappears from the list and the UK layout is the only one left.
To undo this later, repeat the steps in the first section and add the US keyboard back.
Check that the UK layout is active
Open any app you can type in, such as Notepad, and press these keys. The results below come from Microsoft’s diagram of the United Kingdom layout.
| Press | UK layout types |
|---|---|
| Shift + 2 | ” (double quotation mark) |
| Shift + 3 | £ (pound sign) |
| Shift + the apostrophe key | @ |
| AltGr + 4 | € (euro sign) |
If Shift + 3 gives you a £, the UK layout is active. AltGr is the UK name for the Alt key to the right of the Spacebar.
Why the printed keys may not match
The layout is software, so the symbols printed on a keyboard sold in the US stay the same while the characters on screen change. For example, the UK layout puts the double quotation mark on Shift + 2 and @ on Shift + the apostrophe key, whatever is printed on those keys.
The UK layout is also designed for a keyboard with one more key than most US keyboards have, placed to the left of Z. In Microsoft’s diagram that key types the backslash and the vertical bar. If you type UK symbols every day, a keyboard with UK printing is easier to live with. For occasional use, the table above covers the keys people ask about most.
Be careful with passwords
Passwords often contain symbols, and you cannot see what you type in a password box. A password with @, ” or # in it can come out differently after you change layouts. Check the input language icon on the taskbar before you type a password, a recovery key or a command with punctuation.
No input icon or Remove greyed out
The input language icon is missing from the taskbar
The icon is on by default. It stops showing when the older desktop language bar is turned on. To bring it back, open Settings > Time & language > Typing, select Advanced keyboard settings, and under Switching input methods clear Use the desktop language bar when it’s available.
Remove is grayed out
That keyboard is the only one installed for the language. Add the United Kingdom keyboard first, then remove the US one.
Windows logo key + Spacebar does nothing
The shortcut cycles through installed layouts, so it has nothing to do when only one is installed. Go back to Language options and confirm that United Kingdom is listed under Keyboards.
The layout changed after you changed the display language
Changing the Windows display language might also change the keyboard layout to match. Switch back with the Windows logo key and Spacebar, then check which keyboards are listed for each language.
The keyboard keeps going back to US
If both layouts are installed, the switching shortcut is easy to press by accident. Remove the US layout as described above. When the keys changed on their own and you want them back the way they were, changing keyboard settings back to normal is the better fit.
You cannot add or remove keyboards on a work or school PC
Your organization may manage these settings. Ask your IT administrator to add the layout for you.
Windows 10
These steps are written for Windows 11. Microsoft’s support page covers Windows 10 on a separate tab, and the names of the settings pages are different there. Open Microsoft’s guide to managing language and keyboard layout settings in Windows and select the Windows 10 tab for that version.
Related guides
- How to Turn On the Keyboard Light in Windows 11
- Change Virtual Memory in Windows 11 After a Low RAM Warning
- How to Get Rid of é on Your Keyboard in Windows 11

Matt Jacobs writes and maintains the guides on Support Your Tech, which he started in 2017. He spent most of his career keeping small-business PCs running and still takes the occasional consulting job, so the steps here come from fixing the same problems on other people’s computers. Each guide follows Microsoft, Apple and Google’s own documentation and is updated when the steps change. Screenshots marked “Recreated” are illustrations of the real screens.