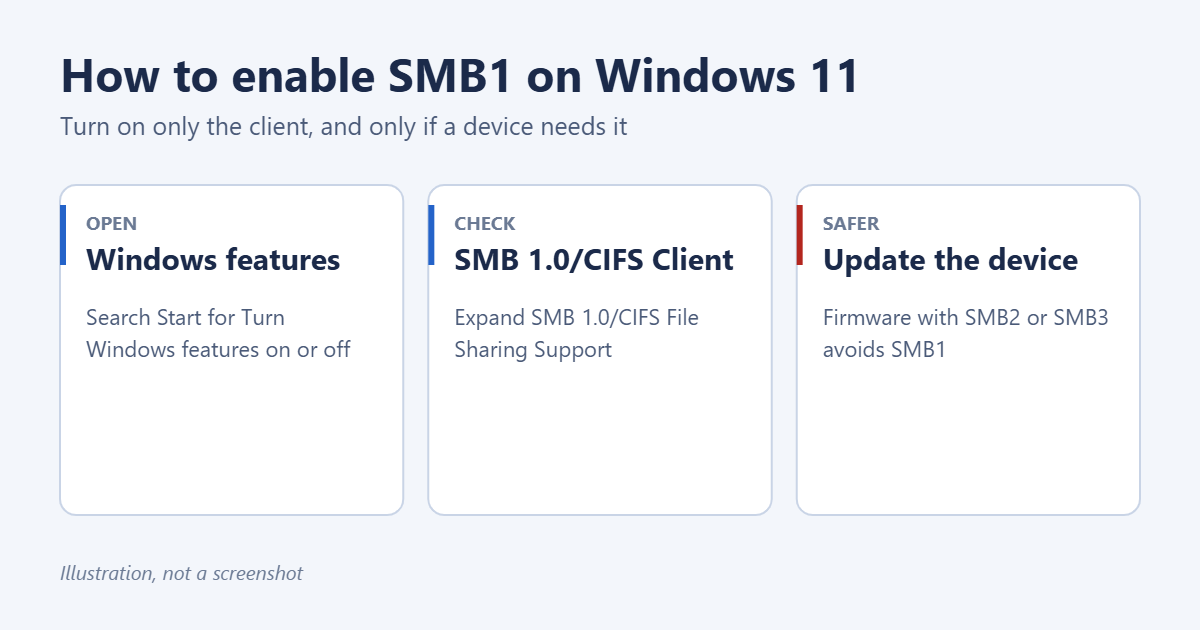
To enable SMB1 on Windows 11, search Start for Turn Windows features on or off and open it. Expand SMB 1.0/CIFS File Sharing Support, select SMB 1.0/CIFS Client, select OK, and restart your PC. Only turn it on if an old device, such as an older NAS drive, router or printer, can’t be reached any other way. SMB1 has serious security flaws, so updating or replacing that device is the safer fix, and you should turn SMB1 off again once you’re done.
Applies to: Windows 11 Home and Pro. The steps also work in Windows 10.
Do you really need SMB1?
SMB (Server Message Block) is the protocol Windows uses for shared folders on a network. Version 1 dates from the 1980s and was exploited by the WannaCry and NotPetya ransomware outbreaks in 2017. Microsoft no longer installs it by default in any edition of Windows 11 and strongly recommends not using it.
You only need SMB1 if a device on your network supports nothing newer. Common examples are NAS drives and routers made before about 2017, some older multifunction printers that scan to a shared folder, and media players. Before turning SMB1 on, rule out these more common problems:
- Guest access or SMB signing errors on Windows 11 24H2. These look like SMB1 problems but aren’t. Windows 11 version 24H2 blocks passwordless guest access and requires signed connections. The fixes are in connecting to an SMB share in Windows 11.
- The device has a firmware update. Most NAS makers added SMB2 or SMB3 years ago. Check the maker’s support page for your model.
- The device has an SMB version setting. Many NAS drives let you choose the minimum SMB version in their file-sharing settings. Set it to SMB2 or higher.
Enable SMB1 in Windows Features
- Select Start, type Turn Windows features on or off, and open it. You can also press Windows logo key + R, type optionalfeatures, and press Enter.
- Scroll down and select the plus (+) next to SMB 1.0/CIFS File Sharing Support.
- Select SMB 1.0/CIFS Client. This lets your PC connect to old devices.
- Leave SMB 1.0/CIFS Server cleared unless an old device needs to connect to shared folders on your PC. Most people don’t need it.
- Leave SMB 1.0/CIFS Automatic Removal selected if you want Windows to remove SMB1 automatically if it goes unused. Clear it if you’ll use the old device regularly.
- Select OK. Windows installs the feature.
- Select Restart now. SMB1 doesn’t work until you restart.
After restarting, open File Explorer and type the device’s path in the address bar, such as \\192.168.1.20\share.
Enable SMB1 with PowerShell
- Right-click Start and select Terminal (Admin).
- To check whether SMB1 is installed, run:
Get-WindowsOptionalFeature -Online -FeatureName SMB1Protocol - To turn on only the client, run:
Enable-WindowsOptionalFeature -Online -FeatureName SMB1Protocol-Client - Type Y when asked to restart.
Turn SMB1 off again
When you’ve copied your files or replaced the old device, remove SMB1:
- Open Turn Windows features on or off.
- Clear SMB 1.0/CIFS File Sharing Support.
- Select OK and restart.
Or run Disable-WindowsOptionalFeature -Online -FeatureName SMB1Protocol in an admin Terminal and restart.
How to reduce the risk while SMB1 is on
- Turn on only the client, not the server, so other devices can’t use SMB1 to reach your PC.
- Use it only on your home network, never on public Wi-Fi.
- Keep Windows and your antivirus up to date.
- Copy what you need, then turn it off. If the old device is only a file store, move its files to a newer drive, a PC or OneDrive.
- Plan to replace the device. Microsoft is phasing SMB1 out, and future versions of Windows may not include it at all.
Alternatives to enabling SMB1
- Update the device’s firmware to a version with SMB2 or SMB3.
- Connect the drive directly. Many NAS enclosures and router USB drives can be removed and plugged into your PC by USB to copy files.
- Use the device’s other features. Some older NAS drives offer FTP or a web interface for downloading files. Printers can often scan to email or to a USB stick instead of a shared folder.
SMB versions explained
Windows supports three generations of SMB. Knowing which one a device uses helps you decide whether SMB1 is really the problem.
- SMB1 (also called CIFS): used by Windows XP and Windows Server 2003 and by many network devices made before about 2017. It has no protection against tampering in transit and was the target of the 2017 ransomware attacks. Off by default in Windows 11.
- SMB2 (2.0 and 2.1): introduced with Windows Vista and Windows 7. Much faster and more secure than SMB1, and supported by almost every NAS made in the last decade.
- SMB3 (3.0 to 3.1.1): introduced with Windows 8 and used by Windows 10 and 11. It adds encryption and stronger signing. This is what Windows 11 uses whenever the other device supports it.
Windows always tries the newest version both devices support. It only falls back to SMB1 if SMB1 is turned on and the other device can’t do anything newer.
Test the connection after enabling SMB1
- After restarting, press Windows logo key + E to open File Explorer.
- Type two backslashes and the device’s IP address in the address bar, such as
\\192.168.1.20, and press Enter. You can find the IP address in your router’s list of connected devices or in the device’s own settings screen. - If the device asks for a user name and password, enter the ones set up on the device, not your Windows account.
- Open a shared folder and copy a small test file to confirm it works in both directions.
- If you’ll use the share often, map it as a drive so it reconnects at sign-in.
Older devices often don’t appear in File Explorer’s Network folder even when SMB1 works, because the feature that lists them uses newer discovery methods. Typing the IP address always works.
Troubleshooting
SMB 1.0/CIFS File Sharing Support isn’t in the list
Some Windows 11 builds, especially managed work PCs, don’t include it. Your organization may have removed it with policy. Contact your IT team, or use one of the alternatives above.
SMB1 is on, but the device still won’t connect
Check that you restarted after enabling it. Then try the device’s IP address instead of its name, because SMB1 devices often don’t show up in File Explorer’s Network folder. If you see a guest access error, the device needs a user account with a password, or you need the 24H2 guest access workaround linked earlier in this article.
SMB1 turned itself off
SMB 1.0/CIFS Automatic Removal removes SMB1 if Windows doesn’t detect it being used for about 15 days. Turn the client on again and clear Automatic Removal if you need SMB1 regularly.
“You can’t connect to the file share because it’s not secure”
This message means the device only supports SMB1 and SMB1 is off. Follow the steps above to turn on the client, or update the device.
Frequently asked questions
Is SMB1 safe to use?
No. It has known flaws that attackers have used to spread ransomware across networks. If you must use it, turn on only the client, use it briefly on a trusted network, and turn it off afterward.
Does Windows 11 Home support SMB1?
Yes. The SMB 1.0/CIFS File Sharing Support feature is available in Windows 11 Home and Pro, though it’s off by default.
How do I check which SMB version a device uses?
Connect to the device, then open PowerShell and run Get-SmbConnection. The Dialect column shows the version, such as 1.5, 2.1 or 3.1.1. Anything starting with 1 is SMB1.
How do I map the device as a drive once it works?
The steps are in mapping a network drive in Windows 11.

Matt Jacobs writes and maintains the guides on Support Your Tech, which he started in 2017. He spent most of his career keeping small-business PCs running and still takes the occasional consulting job, so the steps here come from fixing the same problems on other people’s computers. Every guide is checked on his own Windows 11, Windows 10, Mac, iPhone and iPad before it goes up.