Windows 11 has no button that puts a password on a folder. You can still get the same result four ways. The quickest is to put the folder in a password-protected 7-Zip archive, which works on every edition of Windows 11. On Windows 11 Pro, a small virtual drive locked with BitLocker works like a folder that asks for a password every time you open it. OneDrive’s Personal Vault and Windows’ own file encryption (EFS) are the other two options.
Applies to: Windows 11 Home and Pro. Methods 2 and 4 need Windows 11 Pro, Enterprise or Education. Last reviewed October 7, 2026.
Before you start: write the password down somewhere safe, such as a password manager. The 7-Zip and BitLocker methods use real encryption, so if you lose the password and the recovery key, nobody can open the files for you, including Microsoft.
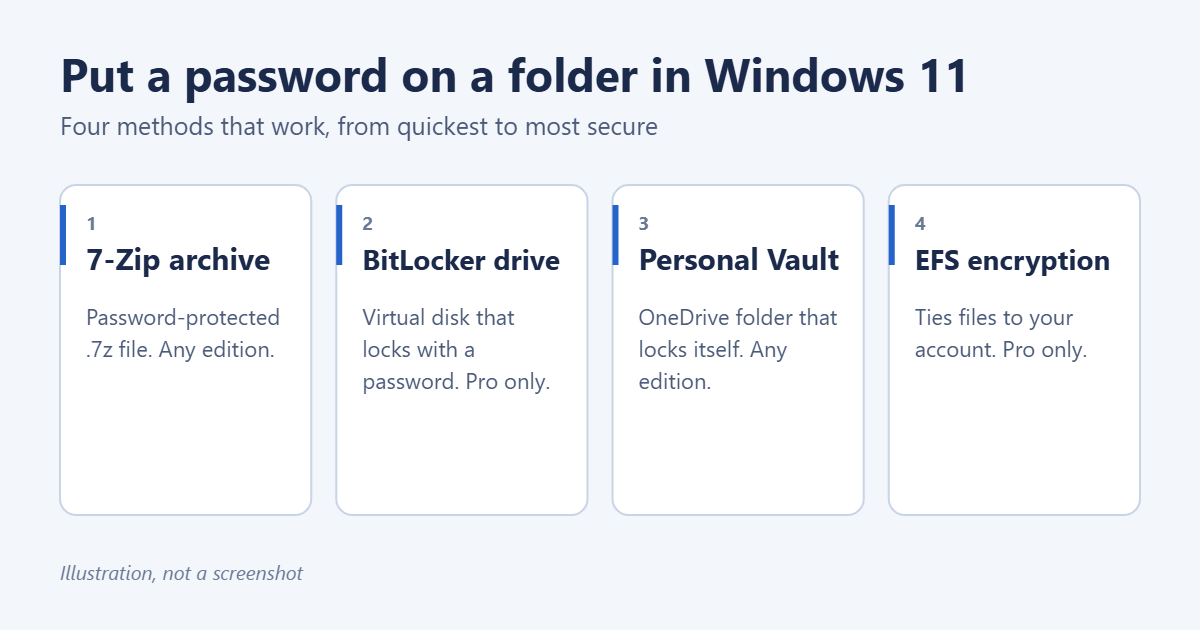
Which method should you use?
- You want to send the folder to someone, or you use Windows 11 Home: use a 7-Zip archive (Method 1).
- You want a folder you open and lock again and again on Windows 11 Pro: use a BitLocker virtual drive (Method 2).
- You already use OneDrive: use Personal Vault (Method 3).
- You only want to stop other accounts on the same PC from opening the files: use EFS (Method 4).
Method 1: Put the folder in a password-protected 7-Zip archive
Windows 11 can create ZIP and 7z files on its own, but it can’t add a password to them. The free 7-Zip program can, and it uses strong AES-256 encryption.
- Download and install 7-Zip from its official site, 7-zip.org.
- In File Explorer, right-click the folder and select Show more options > 7-Zip > Add to archive.
- Set Archive format to 7z.
- Under Encryption, type a password twice. Leave Encryption method on AES-256.
- Tick Encrypt file names so nobody can see what’s inside without the password.
- Select OK. A new .7z file appears next to the folder.
- Open the .7z file to check that it asks for the password, then delete the original folder so only the protected copy is left.
To use the files, open the archive with 7-Zip, enter the password and extract them. When you’re done, add them to a new archive and delete the extracted copy again. If you need a ZIP file instead, see how to password protect a ZIP file on Windows 11.
Method 2: Create a BitLocker-locked virtual drive (Windows 11 Pro)
This is the closest thing to a real password-protected folder. You create a virtual hard disk, which is a single file that opens like a drive in File Explorer, and lock it with a BitLocker password.
Create the virtual drive
- Open Settings > System > Storage > Advanced storage settings > Disks & volumes.
- Select Create VHD.
- Enter a name, choose where to save the file, and set a size large enough for your files, for example 10 GB.
- Choose VHDX and Dynamically expanding, so the file only takes up the space you use. Select Create.
- In the Initialize disk window, choose GPT and select Initialize.
- In the New volume window, give the drive a label, leave the file system on NTFS, and select Format.
Lock it with a password
- In File Explorer, right-click the new drive and select Show more options > Turn on BitLocker.
- Tick Use a password to unlock the drive, type a password twice, and select Next.
- Save the recovery key to your Microsoft account or a file on a different drive. This 48-digit key is the only way in if you forget the password.
- Choose Encrypt used disk space only and Compatible mode, then select Start encrypting.
Lock and unlock it
- To lock: right-click the drive in File Explorer and select Eject. Restarting the PC also locks it.
- To unlock: double-click the .vhdx file to mount it, open the drive, and enter the password.
Method 3: Use OneDrive Personal Vault
Personal Vault is a protected folder inside OneDrive. It asks you to verify your identity with a PIN, fingerprint, face, or a code sent to you, and it locks itself after a period of inactivity, 20 minutes by default.
- Sign in to OneDrive with your Microsoft account if you haven’t already.
- Open your OneDrive folder in File Explorer and double-click Personal Vault.
- Follow the prompts to verify your identity the first time.
- Move your files into the vault.
- To lock it straight away, select the OneDrive cloud icon on the taskbar, then the gear icon, and choose Lock Personal Vault.
The free OneDrive plan lets you keep only three files in Personal Vault. A Microsoft 365 subscription removes that limit.
Method 4: Encrypt the folder with EFS (Windows 11 Pro)
The Encrypting File System locks files to your Windows account. You won’t be asked for a separate password, but anyone who signs in to the PC with a different account can’t open the files.
- Right-click the folder and select Properties.
- On the General tab, select Advanced.
- Tick Encrypt contents to secure data and select OK.
- Select Apply, choose Apply changes to this folder, subfolders and files, and select OK.
- When Windows offers to back up your encryption key, accept it. Save the backup file to a USB drive and give it a password.
A small padlock appears on the folder’s icon. EFS doesn’t protect the files from anyone who knows your Windows password, so use a strong password or PIN. On Windows 11 Home the checkbox is greyed out because EFS isn’t included.
Avoid the “folder locker” batch file trick
Many guides suggest a short script that hides a folder until you type a password. It doesn’t encrypt anything. The password is saved in plain text inside the script, and anyone who turns on hidden and protected system files in File Explorer can open the folder. Use one of the four methods above instead.
Troubleshooting
“Encrypt contents to secure data” is greyed out
You’re on Windows 11 Home, or the drive isn’t formatted as NTFS. Check your edition in Settings > System > About. On Home, use 7-Zip or Personal Vault.
“Turn on BitLocker” doesn’t appear
BitLocker drive encryption is only in Windows 11 Pro, Enterprise and Education. Make sure you right-clicked the virtual drive itself, not the .vhdx file, and opened Show more options.
7-Zip doesn’t ask for a password when you open the archive
If the archive lists its files without asking, Encrypt file names wasn’t ticked. It will still ask when you open a file. If it never asks at all, no password was set. Create the archive again and check the Encryption section.
You forgot the password
For a BitLocker drive, use the recovery key you saved, or find it at account.microsoft.com/devices/recoverykey if you saved it to your Microsoft account. For an EFS folder, import the key backup you made. A 7-Zip password can’t be recovered.
Frequently asked questions
Can I password protect a folder in Windows 11 without software?
On Windows 11 Pro, yes: use the BitLocker virtual drive or EFS. On Windows 11 Home, the built-in option is OneDrive Personal Vault. Otherwise you need a tool such as 7-Zip.
Can I share a password-protected folder?
Send the 7-Zip archive and give the person the password by phone or text, not in the same email. BitLocker and EFS folders are meant for your own PC and don’t travel well.
Does encrypting a folder slow down my PC?
Not noticeably on a modern PC. Encryption and decryption happen as you open and save files.
Can I hide a folder instead?
You can tick Hidden in a folder’s Properties, but anyone can show hidden items from the File Explorer View menu. Hiding isn’t protection. To control who can open a folder without a password, change its file permissions.
Related: how to password protect a PDF in Windows 10.

Matt Jacobs has been working as an IT consultant for small businesses since receiving his Master’s degree in 2003. While he still does some consulting work, his primary focus now is on creating technology support content for SupportYourTech.com.
His work can be found on many websites and focuses on topics such as Microsoft Office, Apple devices, Android devices, Photoshop, and more.