To check RAM timings in Windows 11, open the free CPU-Z utility from CPUID and select the Memory tab. It lists the memory frequency your PC is running right now along with the timing values (CAS latency, tRCD, tRP and tRAS). Windows itself has no screen that shows timings, so a hardware information tool or your PC’s firmware setup screen is required.
Applies to: Windows 11 PCs with DDR4 or DDR5 memory; CPU-Z 3.01 was the current release when this was written. Checked against Microsoft Learn, CPUID and Kingston documentation on October 7, 2026.
What RAM timings are
RAM timings are short delays that your memory waits between operations. They are counted in clock cycles, not in seconds, and they are usually written as a string of numbers such as 16-18-18-36 or 30-36-36-76. Kingston’s memory documentation breaks the four main values down like this:
| Position | Name | What it means |
|---|---|---|
| 1st | CAS latency (CL) | Clock cycles between the processor asking for data and the memory starting to deliver it |
| 2nd | tRCD (row to column delay) | Delay between activating a row and reaching a column in it |
| 3rd | tRP (row precharge time) | Time needed to close one row before another can be opened |
| 4th | tRAS (row active time) | Minimum time a row stays active |
CPUID’s own CPU-Z reports write the string in the same order, and add a fifth value, tRC, at the end.
Before you start
- You need to be able to download and run a program on the PC. On a work or school computer, that may require approval from your IT department.
- Reading timings does not change anything. You do not need to turn on a memory profile or edit firmware settings to look at them.
- If you only need the memory type or capacity, timings are more detail than you need. See our guide to checking what DDR RAM you have in Windows 11 instead.
Check RAM timings with CPU-Z
CPU-Z is a free hardware information tool. CPUID describes its memory coverage as memory type, size, timings and module specifications (SPD).
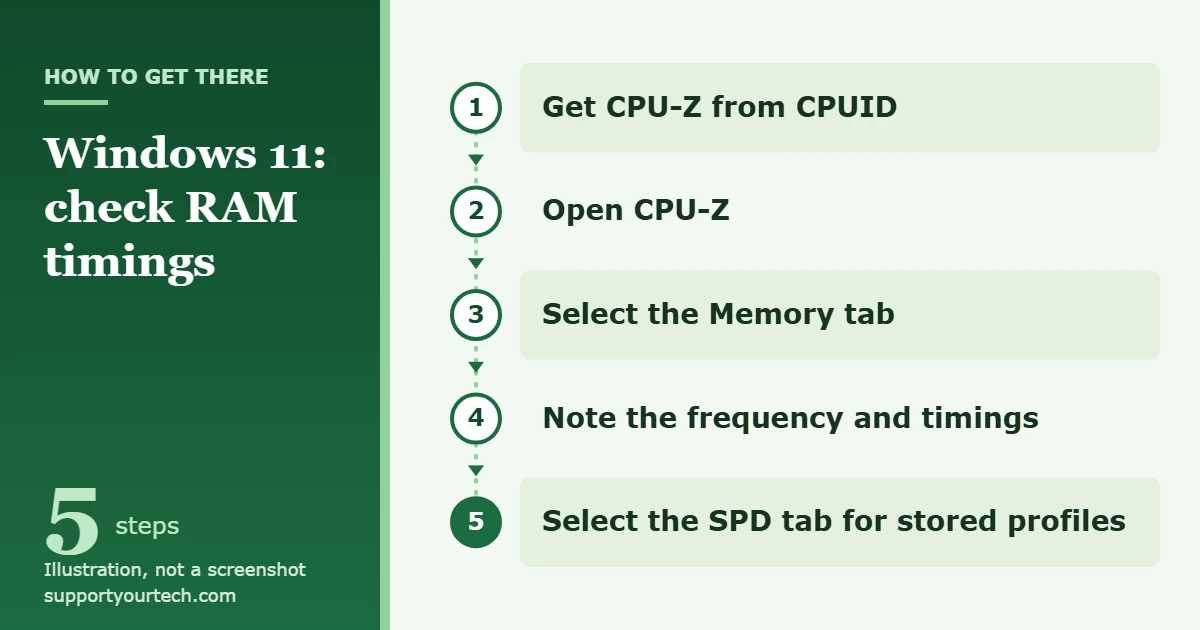
- Go to the CPU-Z page on CPUID’s website and download the current Windows version. Get it only from CPUID so you know the file is genuine.
- Open CPU-Z and wait for its window to appear. The information is split across a row of tabs.
- Select the Memory tab. This tab shows your current memory settings, meaning what the PC is actually running at this moment.
- Find the frequency reading and write it down. It is shown in MHz and is normally about half of the speed printed on your memory’s label (the reason is explained below).
- Read the timing values listed under it, starting with CAS latency, and write them down in order. Put together, they form the timing string, for example 16-18-18-36.
- Select the SPD tab if you also want to see what is stored on each memory module, including any XMP or EXPO profiles. Compare those stored values with the Memory tab to see whether a profile is in use.
How to read the numbers
Why the frequency looks like half
Memory speed is advertised as a data rate in MT/s (megatransfers per second), such as DDR4-3200 or DDR5-6000. DDR memory transfers data twice per clock cycle, so the clock itself runs at half that figure. Kingston gives the example of a DDR4-3200 module running a 1600 MHz clock, and a CPU-Z report published on CPUID’s site shows a DDR5-6006 system at 3003 MHz. A frequency near half of the advertised speed is correct, not a fault.
Turning CAS latency into real time
Because timings are counted in clock cycles, a bigger CL number on faster memory can be the same real delay. Kingston’s formula is: CAS latency × (2000 ÷ speed in MT/s) = latency in nanoseconds.
- DDR4-3200 at CL16: 16 × (2000 ÷ 3200) = 10 ns
- DDR4-3600 at CL18: 18 × (2000 ÷ 3600) = 10 ns
- DDR5-6000 at CL30: 30 × (2000 ÷ 6000) = 10 ns
All three kits wait the same 10 nanoseconds before data starts to arrive, even though their CL numbers are very different. Compare timings only alongside speed; a lower number alone does not make one kit faster than another.
Memory tab versus SPD tab
The two tabs answer different questions. The Memory tab is what your PC is running now. The SPD tab is what each module says it can do, which is information stored on the module itself. Seeing a fast profile on the SPD tab does not mean it is switched on.
If the timings are slower than the label on your RAM
This is normal on a PC where no memory profile has been turned on. By default, memory runs at safe JEDEC settings, the industry-standard values that favor compatibility over performance. The faster speed and tighter timings printed on enthusiast memory are stored as a profile: XMP is Intel’s technology, and EXPO is AMD’s equivalent. These are factory-tuned overclock profiles, and they have to be turned on in the BIOS or UEFI setup screen before the PC uses them.
You cannot switch a profile on from the Windows desktop, but Windows 11 can restart you straight into the firmware screen:
- Save your work, open the Start menu and select Power.
- Hold the Shift key while you select Restart. The PC restarts to an options screen.
- Select Troubleshoot, then Advanced options, then UEFI Firmware settings.
Many PCs also open the firmware screen if you press a key during startup. Microsoft lists Esc, Delete, F1, F2, F10, F11 and F12 as the common ones, and the right key is often shown briefly on screen. Our guide on how to access BIOS in Windows 11 covers this in more detail. The firmware screen is also a second place to view timings on boards that show them, usually in the memory or overclocking section; the menu names differ from one manufacturer to the next.
Changing memory settings can stop a PC from starting if the memory or motherboard cannot run them, so read your motherboard manual first. Our article on changing RAM speed in BIOS was written for Windows 10 desktops, but it walks through turning on a memory profile and recovering if the PC will not start.
What Windows 11 can show without extra software
Windows can report the speed of each memory module, but not its timings. Task Manager (press Ctrl + Shift + Esc, then choose Performance) has a memory view with general information only. For per-module details, open PowerShell and run this command:
Get-CimInstance -ClassName Win32_PhysicalMemory | Select-Object -Property DeviceLocator, Manufacturer, PartNumber, ConfiguredClockSpeed
Each row is one memory module. According to Microsoft’s documentation for this class:
- DeviceLocator is the label of the socket that holds the module.
- Manufacturer and PartNumber identify the module. You can search for the part number on the maker’s website to find its rated speed and timings.
- ConfiguredClockSpeed is the configured clock speed in MHz, or 0 if the speed is unknown.
The Win32_PhysicalMemory class has no property for CAS latency or any other timing, which is why no built-in Windows command can list them.
Older guides tell you to type a command that begins with wmic memorychip. Microsoft’s list of deprecated Windows features states that WMIC is removed and no longer available on Windows 11, version 24H2 and above, and it points to PowerShell as the replacement. The Get-CimInstance command above is the current way to get the same information.
Troubleshooting
A value is blank, or the SPD tab shows nothing for a slot
First make sure you are looking at a slot that has a module in it; empty slots have nothing to report. Then update CPU-Z. CPUID’s version history shows support for newer memory being added over time, such as CUDIMM DDR5 modules and CAMM2 modules, so an old copy may not understand recent hardware. If the fields are still empty, look up the PC or motherboard model on the manufacturer’s site for its memory specifications instead of guessing.
The wmic command is not recognized
That is expected on Windows 11, version 24H2 and later, where WMIC has been removed. Use the PowerShell command in the section above.
You cannot install or run CPU-Z
On a work or school PC, software from outside the organization is often blocked. Ask your IT department; they can read the same information for you or approve the tool. The PowerShell command still gives you the module part number, which you can look up on the manufacturer’s site.
The UEFI Firmware settings option is missing
Restart and use the startup key instead. If no key is shown during startup, check the PC manufacturer’s support site for the correct one.
Frequently asked questions
Can Task Manager show RAM timings?
No. Task Manager and the built-in Windows commands report general memory details such as speed, but Windows has no timing readout. Use CPU-Z or the firmware setup screen.
Can I change RAM timings in Windows 11?
Not from Windows settings. Timings are set by the PC’s firmware, either automatically, by an XMP or EXPO profile, or manually on boards that allow it. Some laptops and prebuilt PCs offer few or no memory options.
Are lower timings always better?
Only at the same speed. Timings are counted in clock cycles, so DDR5-6000 at CL30 and DDR4-3200 at CL16 both work out to 10 ns. Compare the calculated latency along with the speed, not the CL number alone.
Why does CPU-Z show about 1600 MHz for my DDR4-3200 memory?
DDR memory moves data twice per clock cycle, so a 1600 MHz clock delivers 3200 MT/s. The reading is correct.
Why are my timings different from the ones on the box?
The PC is probably running default JEDEC settings. The advertised speed and timings are stored in an XMP or EXPO profile that has to be turned on in the BIOS or UEFI setup screen.
Is CPU-Z safe to use?
CPU-Z is CPUID’s own free tool for reading hardware information, and checking timings with it does not change any setting. Download it from CPUID’s site and not from a download mirror.
Once you have your timing string and frequency written down, compare them with the rated values for your memory’s part number. If they do not match and you want the rated performance, the next step is turning on the memory profile in your PC’s firmware.

Matt Jacobs has been working as an IT consultant for small businesses since receiving his Master’s degree in 2003. While he still does some consulting work, his primary focus now is on creating technology support content for SupportYourTech.com.
His work can be found on many websites and focuses on topics such as Microsoft Office, Apple devices, Android devices, Photoshop, and more.