To check what DDR RAM you have in Windows 11, open Start, type Windows PowerShell, open it, and run Get-CimInstance -ClassName Win32_PhysicalMemory. The MemoryType value tells you the generation when Windows can name it (24 is DDR3, 26 is DDR4), and the PartNumber value lets you confirm the exact type, including DDR5, on the memory maker’s website.
Applies to: Windows 11. Checked against Microsoft Support on October 7, 2026.
What you need to know first
DDR stands for double data rate, and the number after it (DDR3, DDR4, DDR5) is the generation of the memory standard. The generation matters most when you plan to add or replace memory: a new module has to be the same generation your computer was built for, so it is worth confirming before you spend money.
Windows 11 does not print “DDR4” or “DDR5” on any everyday screen. The information is stored in the computer’s firmware, and Windows exposes it through a built-in class called Win32_PhysicalMemory. You read that class with one PowerShell command. Nothing has to be downloaded, the command only reads information, and it changes nothing on your PC.
Many older tutorials use a Command Prompt tool called WMIC instead (commands that start with wmic memorychip). Microsoft has removed WMIC from Windows 11 version 24H2 and later, so those commands no longer work on an up-to-date PC. The PowerShell command below reads the same information and is the replacement Microsoft recommends.
Check your DDR RAM type with PowerShell
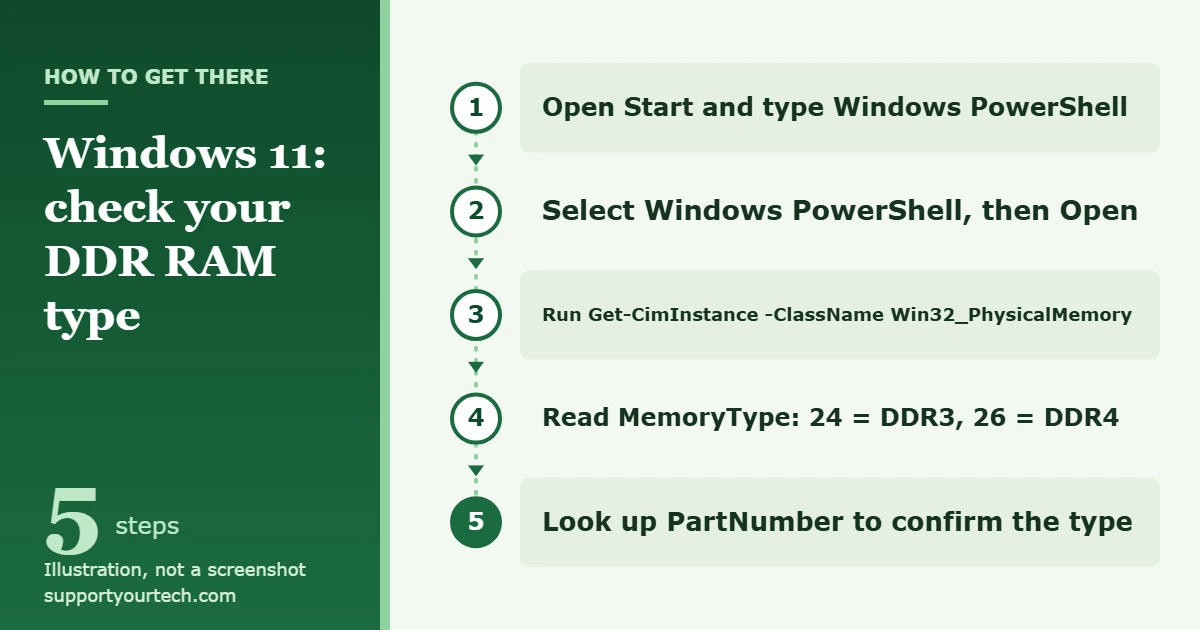
- Open the Start menu and type Windows PowerShell. The app appears in the search results.
- Select Windows PowerShell, then select Open. A window with a text prompt opens.
- Type or paste the following command on one line, then press Enter: Get-CimInstance -ClassName Win32_PhysicalMemory | Select-Object -Property DeviceLocator, Manufacturer, PartNumber, MemoryType, SMBIOSMemoryType, ConfiguredClockSpeed, FormFactor, Capacity
- Read the results. Windows returns one block of values for each memory module it finds, so a PC with two modules shows two blocks.
- Find MemoryType in each block. If it shows 26, the module is DDR4. If it shows 24, it is DDR3.
- If MemoryType shows a different number, write down Manufacturer and PartNumber and use the part number check in the next section. That is the normal route for DDR5, which Microsoft’s table of MemoryType values does not include.
How to read the results
Each line of the output is one property of a memory module. These descriptions come from Microsoft’s documentation for the Win32_PhysicalMemory class.
| Property | What it tells you |
|---|---|
| DeviceLocator | The label of the socket that holds the module, as the computer maker named it. |
| Manufacturer | The company that produced the module. Some PCs report a short code here instead of a name. |
| PartNumber | The maker’s part number for the module. This is the most useful value for confirming the exact memory you own. |
| MemoryType | The type of memory, translated by Windows into the codes in the next table. |
| SMBIOSMemoryType | The raw memory type number exactly as the firmware reports it, before Windows translates it. |
| ConfiguredClockSpeed | The speed the module is currently set to run at, in megahertz (MHz). A 0 means the speed is unknown. |
| FormFactor | The physical style of the module: 8 is a DIMM and 12 is a SODIMM (small outline DIMM), the shorter style common in laptops. |
| Capacity | The size of the module in bytes. Divide by 1,073,741,824 to get gigabytes, so 17179869184 is 16 GB. |
Microsoft lists these MemoryType codes for the DDR family:
| MemoryType value | Meaning |
|---|---|
| 0 | Unknown |
| 20 | DDR |
| 21 | DDR2 |
| 24 | DDR3 |
| 26 | DDR4 |
The list stops at DDR4. There is no entry for DDR5, and Microsoft notes that some values may not be available on every system. Treat a 24 or 26 as a clear answer, and treat anything else, including 0, as “Windows could not name it” rather than as proof of a particular generation.
The SMBIOSMemoryType number is defined by the SMBIOS firmware standard, not by Microsoft, and Microsoft’s documentation does not publish a table for it. It is useful as a second clue, for example when two modules report different numbers, but the part number is the dependable way to settle the question.
Confirm the DDR generation with the part number
The part number identifies the exact module, and the manufacturer’s own product page states its generation, speed, and size. This works for every generation, including DDR5.
- Copy the PartNumber value from the PowerShell window. Ignore any spaces at the end.
- Note the Manufacturer value so you know whose website to check.
- Search that manufacturer’s website for the part number and open the product or specification page for it.
- Read the memory type on that page. It is written out in full, such as DDR4 or DDR5, usually next to the speed and capacity.
If the PC came from a large computer brand, the Manufacturer field may be blank or show a code. In that case, look up your computer’s exact model on the computer maker’s support site instead. The specifications or memory section for the model states which DDR generation it uses and how much memory it supports. For a desktop you built or had built, check the motherboard maker’s specification page for the board model.
Other places to look, and what they cannot tell you
Windows has several screens that mention memory, but they answer different questions.
- Task Manager. Press Ctrl + Shift + Esc to open it. Its performance view for memory is good for seeing how much RAM is installed and how much is in use, but it does not spell out the DDR generation. Guessing the generation from a speed number is unreliable because the speed ranges of neighboring generations overlap.
- Settings. The device information in Settings shows the amount of installed RAM only. Our guide on how to check your PC specs in Windows 11 walks through that screen and the other built-in hardware summaries.
- System Information. Type msinfo32 in the search box and open System Information for a broad hardware and software summary. It reports memory amounts, not the DDR generation.
- The label on the module. Memory modules carry a printed label with the generation and part number. Only use this route if your computer’s manual shows the memory is user-accessible; shut down and unplug the PC first, and follow the maker’s instructions for opening the case.
Troubleshooting
“wmic” is not recognized
This is expected on a current PC. Microsoft states that Windows 11 versions 24H2 and 25H2 no longer include the WMIC utility and that it cannot be added back as an optional feature. Use the PowerShell command in this article instead. Only the WMIC tool was removed; the underlying Windows Management Instrumentation data it read is still there, which is why the PowerShell command works. Microsoft explains the change on its WMIC documentation page.
The command returns an error or nothing at all
Check the spelling first: the class name is Win32_PhysicalMemory with an underscore, and the command must be on a single line. If it still fails, close the window, open Start, type Windows PowerShell, select it, and choose Run as administrator, then run the command again. Microsoft’s reference for the Get-CimInstance cmdlet lists its full syntax.
MemoryType shows 0
Zero is Microsoft’s code for Unknown. It means the firmware did not give Windows a type it could translate; it does not mean anything is wrong with the memory. Use the part number or your computer model to confirm the generation.
Manufacturer or PartNumber is blank or looks like random characters
These values are copied from what the module and firmware report, and some systems leave them empty or use internal codes. Look up the computer or motherboard model on its maker’s support site instead.
You are on a work or school computer
Organizations can restrict PowerShell or administrator access. If the command is blocked, ask your IT department for the memory specification rather than trying to get around the restriction.
You see fewer modules than you expected
The command lists one block per module that the firmware reports. If a module you installed is missing, shut down, unplug the PC, and reseat it following the computer maker’s instructions, then run the command again.
Frequently asked questions
Does Windows 11 show DDR4 or DDR5 anywhere without a command?
Not in plain words. The built-in screens show the amount and speed of memory, while the generation has to be read from the Win32_PhysicalMemory values or confirmed from the part number.
Is the PowerShell command safe to run?
Yes. Get-CimInstance only retrieves information, and this command only reads the properties of your memory modules. It does not change any setting.
Why did the wmic memorychip command stop working?
Microsoft deprecated WMIC years ago and has now removed it from Windows 11 version 24H2 and later. PowerShell’s CIM commands are the supported replacement and read the same data.
Can I tell the generation from the speed alone?
Not reliably. The ConfiguredClockSpeed value is the speed the module is running at right now, and different generations can report similar numbers. Use MemoryType and the part number instead.
What does FormFactor 12 mean?
It means the module is a SODIMM, the small outline style. A value of 8 means a standard DIMM. Form factor is separate from generation, and a replacement module has to match both.
Do I need to know the DDR type before upgrading?
Yes. Confirm the generation, the form factor, and the maximum memory your computer supports on the computer or motherboard maker’s specification page before you buy.
Once you know the generation, note the part number and speed of the modules you already have so a new one can match them. If you also want the timing values for your current memory, see our guide on how to check RAM timings in Windows 11.
Related: How to check PC temps in Windows 11.

Matt Jacobs has been working as an IT consultant for small businesses since receiving his Master’s degree in 2003. While he still does some consulting work, his primary focus now is on creating technology support content for SupportYourTech.com.
His work can be found on many websites and focuses on topics such as Microsoft Office, Apple devices, Android devices, Photoshop, and more.