To find your motherboard model on Windows 10, press Windows logo key + R, type msinfo32, and press Enter. In System Information, stay on System Summary and read BaseBoard Manufacturer and BaseBoard Product. Those two lines are the maker and model of your motherboard, and you don’t need to open the computer case to get them.
Applies to: Windows 10 (desktop and laptop PCs). Checked against Microsoft Support and Microsoft Learn documentation on October 6, 2026.
What you need before you start
You only need a PC that starts and signs in to Windows 10. Nothing in this guide changes a setting. Every method below only reads information that the motherboard’s firmware already reports to Windows, so there is nothing to undo afterward.
Two terms come up throughout this guide:
- Baseboard: the name Windows uses for the motherboard. Microsoft’s documentation describes a baseboard as a motherboard or system board, so the three words mean the same part.
- BIOS or UEFI: the firmware stored on the motherboard that starts the PC before Windows loads. It has its own version number, which is separate from the board’s model name.
Find the motherboard model in System Information
System Information is built into Windows 10 and shows the board details on its first page. This is the best method for most people because there is nothing to type except the name of the tool.
- Press Windows logo key + R on your keyboard. The Run dialog box opens.
- Type msinfo32 in the box and press Enter. The System Information window opens after a moment while it collects details about your PC.
- Make sure System Summary is selected in the category list. It is the page that lists general details such as the processor and the BIOS.
- Find the line named BaseBoard Manufacturer. The value next to it is the company that made the motherboard.
- Find the line named BaseBoard Product. The value next to it is the motherboard’s model name or part number.
- Write down both values exactly as shown, including any dashes, letters, and numbers. Small differences in a model name can point to a different board.
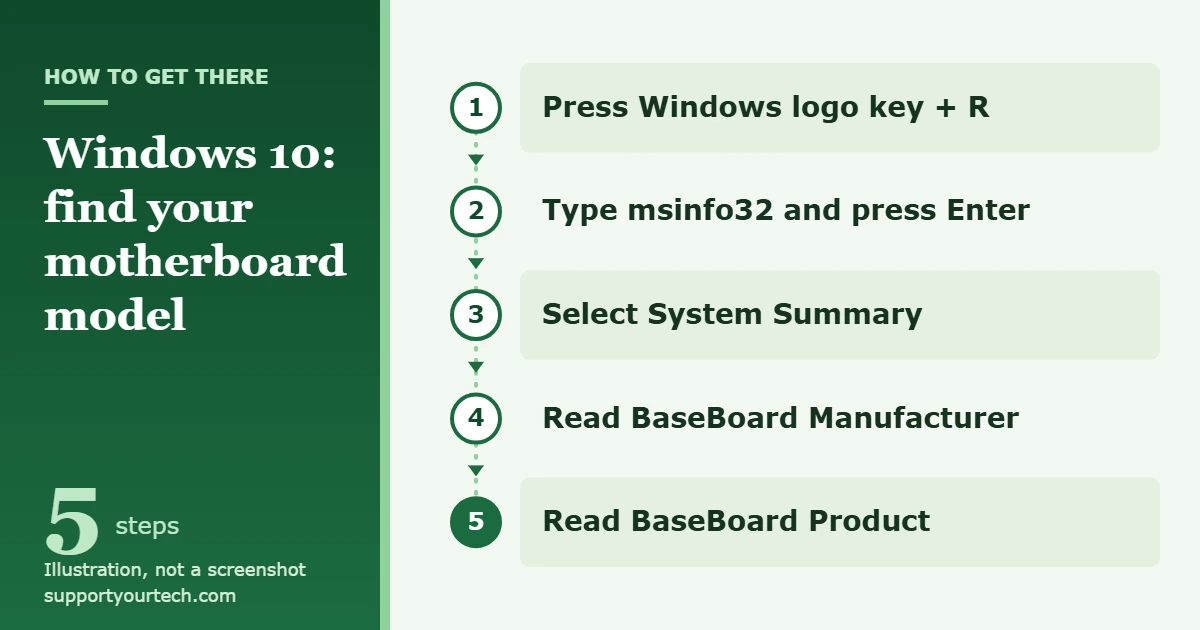
If you prefer not to use the keyboard shortcut, type msinfo32 into the search box on the taskbar and select System Information from the results. You land on the same window.
While you are on this page, also note the BIOS Version/Date line. Motherboard makers ask for that version when you look for firmware updates, so it saves a second trip.
What the motherboard fields mean
Windows reports several pieces of information about the board. Microsoft documents them as properties of the baseboard, and they are easy to mix up with the details of the complete PC.
| Field | What it tells you | When you need it |
|---|---|---|
| Manufacturer | The organization that produced the board | Choosing the right support site |
| Product | The board’s part number as defined by its maker, which is the model you search for | Finding drivers, manuals, and compatibility lists |
| Version | The version of the physical board | Telling apart boards that share a model name |
| Serial number | The number the maker assigned to identify your individual board | Warranty and support requests |
The System Model line in System Information is different. It names the complete computer, such as a specific laptop or prebuilt desktop, and not the board inside it. If you bought a finished PC from a computer brand, the System Model is usually the name to search on that brand’s support site. If you or a shop built the PC from parts, the BaseBoard lines are the ones that matter. To read the whole-computer name, see our guide on how to check your laptop model in Windows 10.
Find the motherboard model with PowerShell
PowerShell gives you the same details as text that you can copy, and it adds the board’s version and serial number in one view. Microsoft recommends the CIM commands shown here for new work in place of the older WMI commands.
- Open the Start menu and type Windows PowerShell.
- Select Windows PowerShell in the results, and then select Open. A command window opens.
- Type or paste this command and press Enter:
Get-CimInstance -ClassName Win32_BaseBoard | Select-Object -Property Manufacturer, Product, Version, SerialNumber - Read the result. PowerShell prints one row with the maker under Manufacturer and the motherboard model under Product.
Two related commands are useful when you are collecting details for a support request or an upgrade:
- Get-CimInstance -ClassName Win32_BIOS | Select-Object -Property SMBIOSBIOSVersion shows the BIOS version that the firmware reports.
- Get-CimInstance -ClassName Win32_ComputerSystem | Select-Object -Property Manufacturer, Model shows the maker and product name of the complete computer.
The Get-CimInstance command is included with PowerShell 3.0 and later, and it works only on Windows. If you also need the number that identifies the whole PC for a warranty claim, follow our steps to find the serial number on Windows 10.
Find the motherboard model with Command Prompt (older method)
Many older tutorials use a tool named WMIC. It still answers on many Windows 10 PCs, so it is fine for a quick check, but it should not be your long-term habit.
- Type cmd in the search box on the taskbar and open Command Prompt.
- Type wmic baseboard get product, manufacturer and press Enter.
- Read the maker and the model in the two columns that appear.
Microsoft deprecated WMIC starting with Windows 10, version 21H1, and names Windows PowerShell as its replacement. Microsoft has also removed the tool from Windows 11, versions 24H2 and 25H2. If the command is not recognized on your PC, use the PowerShell method above. It reads the same information, because only the WMIC tool was retired and not the underlying Windows Management Instrumentation that stores the data.
Save the details to a file
If you need to send your hardware details to a technician or keep them for your records, System Information can write its report to a text file from the Run dialog box.
- Press Windows logo key + R to open the Run dialog box.
- Type msinfo32 /report C:\Users\Public\Documents\system-report.txt and press Enter. You can replace the path with any folder that exists on your PC.
- Wait for the tool to finish, then open the text file from that folder. Search the file for the word BaseBoard to jump to the motherboard lines.
The report holds a large amount of information about your PC, so collecting it can take a while. Read through the file before sharing it, and send it only to people you trust with details about your computer.
If Windows shows a blank or generic motherboard name
Windows does not detect the board by itself. It repeats whatever the board’s maker stored in the firmware. When the maker left a field empty, you may see a blank value or placeholder text such as “To be filled by O.E.M.” in place of a real model. This is common on prebuilt PCs and laptops. Try these options in order.
Search by the computer’s own model
For a laptop or a brand-name desktop, use the System Model line in System Information and search for that name on the computer maker’s support site. The drivers and firmware published there are the correct ones for the board inside, even if the board has no retail name.
Check the firmware setup screen
Restart the PC and press the setup key shown on the screen during startup. The key depends on the board. ASUS documents the Del key for its motherboards and shows the model name in the firmware’s EZ Mode screen. ASRock documents F2 and shows the model with the BIOS version on the Main page. Read the model, then exit without saving changes.
Look at the board, the box, or the manual
Motherboard makers print the model name directly on the board. Shut down the PC, unplug the power cable, and remove the side panel before you look. Do not remove any parts. The same name appears on a sticker on the original retail box and on the cover of the printed manual, which helps if you would prefer not to open the case. See the maker’s own instructions, such as ASUS’s guide to checking a motherboard model name or ASRock’s model name page.
Use the maker’s own app
Some board makers supply a Windows app that reports the model. MSI, for example, shows the motherboard name and BIOS version on the Support tab of its MSI Center app. Install such apps only from the maker’s official website.
Other problems you might run into
- The wmic command is not recognized. The tool is deprecated and may be missing. Use System Information or PowerShell.
- The model shown is not the name on the box of your PC. You are probably comparing the BaseBoard Product line with the name of the complete computer. Check the System Model line for the computer’s name.
- You are on a work or school PC. Your organization manages the device and may restrict some tools. Ask your IT department for the hardware details, and do not install firmware or drivers on a managed PC yourself.
- The PC does not start. Windows tools are not available, so read the model printed on the board or on the retail box.
- The model name matches more than one board on the support site. Compare the Version value from PowerShell with the versions listed by the maker, and confirm it against the board or its box before downloading firmware.
What to do with the model name
Once you have the maker and the model, search for that exact model on the maker’s support site. The product page is where you find the manual, drivers, firmware, and the lists of processors and memory the board supports. Check those lists before you buy a new processor or more memory, because a part that fits the socket is not always supported by the board or by its current firmware.
Take extra care with firmware. Installing a BIOS file made for a different board, even one with a similar name, can stop the PC from starting. Confirm the model, the version of the board, and your current BIOS version first, and then follow our guide on how to update the BIOS in Windows 10 safely.
Keep in mind that Windows 10 reached the end of support on October 14, 2025, and version 22H2 is its final version, according to Microsoft’s Windows 10 lifecycle page. If you are identifying the board to plan an upgrade, check the board maker’s support page to see which versions of Windows it provides drivers for.
Frequently asked questions
Can I find my motherboard model without opening the computer?
Yes. System Information and PowerShell both read the model from the firmware, so you can find it from the Windows desktop. You only need to look at the board itself when Windows shows a blank or placeholder value, or when the PC does not start.
Is BaseBoard Product the same as the motherboard model?
Yes. Microsoft describes the Product value as the baseboard part number defined by the manufacturer. Combine it with the BaseBoard Manufacturer value when you search, because different makers can use similar model names.
What is the difference between System Model and BaseBoard Product?
System Model is the product name of the complete computer. BaseBoard Product is the model of the motherboard inside it. On a PC built from parts, the System Model is often generic, while the BaseBoard lines hold the useful information.
Does the DirectX Diagnostic Tool show the motherboard model?
Not reliably. You can open it by typing dxdiag in the taskbar search box, and its System tab shows a System Model line. That line names the complete computer, so it is helpful on laptops and prebuilt desktops but may not match the board in a custom-built PC. Microsoft explains the tool in its article on how to open and run DxDiag.exe.
Do I need a third-party program to identify my motherboard?
Usually not. The tools built into Windows 10 are enough for most PCs. Some board makers, including ASRock, mention system detection software such as CPU-Z as another option. If you use one, download it only from its developer’s official site.
Why does the wmic baseboard command not work on my PC?
WMIC is a deprecated tool, and Microsoft has removed it from current versions of Windows 11. Microsoft’s WMIC documentation points to Windows PowerShell as the replacement, so use the Get-CimInstance command from the PowerShell section of this guide.
Where is the motherboard’s BIOS version shown?
In System Information, it is on the BIOS Version/Date line of the System Summary page, the same page that holds the BaseBoard lines. You can also read it with the Win32_BIOS command in the PowerShell section.
Do these steps work on Windows 11?
System Information and the PowerShell command are part of Windows 11 too, and Microsoft’s msinfo32 reference describes the same tool. The Command Prompt method is the exception, because WMIC is no longer included in current Windows 11 versions.
Now that you have the exact maker and model, save them in a note along with your BIOS version. Having all three ready makes it much quicker to find the right drivers, manual, and firmware on the maker’s support site.

Matt Jacobs has been working as an IT consultant for small businesses since receiving his Master’s degree in 2003. While he still does some consulting work, his primary focus now is on creating technology support content for SupportYourTech.com.
His work can be found on many websites and focuses on topics such as Microsoft Office, Apple devices, Android devices, Photoshop, and more.