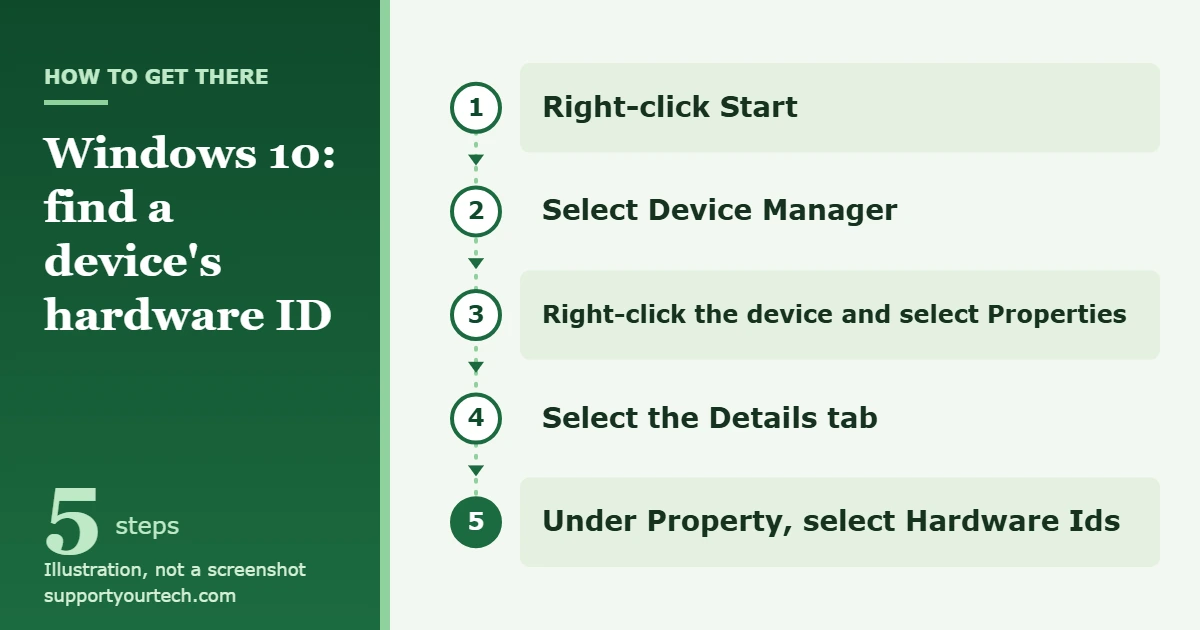
To find a device ID in Windows 10, right-click Start, select Device Manager, right-click the device, and select Properties. Open the Details tab and choose Hardware Ids in the Property list. The strings that appear are the IDs Windows uses to match that device to a driver.
Applies to: Windows 10 (version 22H2, the final release). Keep in mind that Windows 10 support ended on October 14, 2025. Security updates now come only through the Extended Security Updates program, which stops on October 12, 2027.
Which “device ID” do you need?
“Device ID” is used loosely for several different identifiers. Before you start, work out which one your driver search, support form, or IT department is really asking for. The device-level ones break down like this.
| Identifier | What it identifies | Where to find it |
|---|---|---|
| Hardware ID | A vendor-defined string Windows uses to match a device to a driver package. A device usually has several. | Device Manager, Hardware Ids property |
| Compatible ID | A more generic vendor-defined string Windows uses when no driver matches a hardware ID. | Device Manager, Compatible Ids property |
| Device ID | A single string reported by the bus the device is attached to. It has the same format as a hardware ID, and each device has only one. | It forms the first part of the device instance path |
| Device instance ID | A system-supplied string that uniquely identifies one device on this PC. It stays the same across restarts. | Device Manager, Device instance path property, or PowerShell |
| IDs for the whole PC | The computer itself, not a part inside it: for example the product UUID or the maker’s serial number. | Settings or PowerShell (covered below) |
If you are trying to find a driver for one piece of hardware, you want the hardware ID. If you need to tell two identical devices apart, such as two of the same USB drive, you want the device instance path. If a support agent asks for an ID for “your device” meaning the PC, skip to the section on IDs for the PC itself.
Find a hardware ID in Device Manager
Device Manager is part of Windows 10, so there is nothing to install. Connect the device first if it is external.
- Right-click Start and select Device Manager. You can also select Start, type device manager, and select Device Manager from the search results. A window opens with a list of device categories.
- Select the arrow next to the category that contains your device, for example Disk drives. The category expands, and it may list more than one device.
- Right-click the device and select Properties. A properties window for that one device opens.
- Select the Details tab.
- Under Property, open the list and select Hardware Ids. One or more strings appear, such as a line that starts with PCI\ or USB\.
- Note the first string exactly as shown. The list is typically sorted from the most suitable ID for the device to the least suitable, so the first line is the most specific one.
How to read a hardware ID
You do not have to decode the string to use it, but knowing the parts helps you check that you copied the right one. The text before the backslash names the bus the device is connected to.
- PCI devices (graphics cards, network adapters, and other internal parts) use a pattern like PCI\VEN_1414&DEV_00E0&SUBSYS_00000000&REV_04. VEN is a four-character vendor identifier assigned by the PCI SIG, DEV is a four-character device identifier chosen by that vendor, SUBSYS is the subsystem identifier, and REV is a two-character revision number.
- USB devices use a pattern like USB\VID_xxxx&PID_xxxx&REV_xxxx. VID is a four-digit hexadecimal vendor code, PID is the four-digit product code the vendor gave the device, and REV is the revision code.
The lines further down the list are shorter versions of the first one. For a PCI device, for example, the same ID is repeated without the revision, and further down without the subsystem. Each line is more general than the one above it, which is why the top line is the best one to search with.
These strings are meant for exact comparison, not for picking apart. Copy the whole line, including every ampersand and underscore, when you paste it into a manufacturer’s support site or send it to a technician.
Find the device instance path
The device instance path is the ID to use when you need one specific device, not a model. Follow steps 1 to 4 above, and then under Property select Device instance path.
The value looks like a hardware ID with an extra part on the end. In the example PCI\VEN_1000&DEV_0001&SUBSYS_00000000&REV_02\1&08, everything before the last backslash is the device ID, and 1&08 is the instance ID that separates this device from another one of the same kind. Windows keeps a device instance ID the same across restarts.
Find device IDs with PowerShell
PowerShell is faster when you need IDs for many devices, or when you want to paste the result into an email.
- Open the Start menu, type Windows PowerShell, select Windows PowerShell, and then select Open.
- Type Get-PnpDevice -PresentOnly and press Enter. PowerShell lists the devices that are physically in the PC or attached to it, with four columns: Status, Class, FriendlyName, and InstanceId. The InstanceId column is the device instance ID.
- To shorten the list, filter by class or by name. For example, Get-PnpDevice -Class ‘Mouse’ shows only mouse devices, and Get-PnpDevice -FriendlyName ‘Generic USB Hub’ shows only devices with that name. Other example class names include Monitor, DiskDrive, and Processor.
- To see the hardware IDs for the devices you filtered, send them to a second command: Get-PnpDevice -Class ‘Mouse’ | Get-PnpDeviceProperty -KeyName ‘DEVPKEY_Device_HardwareIds’. The Data column holds the hardware IDs.
Swap in DEVPKEY_Device_CompatibleIds to see the compatible IDs instead. If you leave out -KeyName entirely, PowerShell prints every stored property for the device, which is a long list.
List devices with PnPUtil
PnPUtil is a command-line tool that ships with Windows. Most PnPUtil commands need administrator rights, so open the window as an administrator.
- Open the Start menu, type Windows PowerShell, select Windows PowerShell, and then select Run as administrator. Approve the prompt if Windows asks for permission.
- Type pnputil /enum-devices /connected and press Enter. Windows lists only the devices that are currently connected. An enabled device shows the status Started, and a disabled one shows Disabled.
- To list a single class, type pnputil /enum-devices /class “Display” and press Enter.
Two version limits matter here. The /connected and /class filters need Windows 10 version 1903 or later. The /deviceids option, which adds hardware and compatible IDs to the output, is documented as starting in Windows 11 version 21H2, so do not expect it to work on Windows 10. Use Device Manager or the PowerShell command above for hardware IDs on a Windows 10 PC.
Find an ID for the PC itself
Some support forms and management tools want an identifier for the computer, not for a part inside it.
- Right-click Start and select Settings.
- Select System, and then select About.
- Look under Device specifications. This section describes the PC itself, including its processor, installed memory, and whether it is a 32-bit or 64-bit system. Read the identifier your instructions ask for from this section. The Windows specifications section below it shows the Windows edition and version.
For the product identifiers that Windows reads from the computer itself, open Windows PowerShell and run Get-CimInstance -ClassName Win32_ComputerSystemProduct | Select-Object -Property Name, Vendor, IdentifyingNumber, UUID. UUID is a 128-bit identifier for the product, and IdentifyingNumber is a product identification value such as a serial number. A UUID of all zeros means the maker did not provide one.
If the serial number is what you were actually asked for, there are more ways to get it in finding the serial number on Windows 10.
Older instructions often use the wmic command for this. WMIC was deprecated as of Windows 10 version 21H1 and is superseded by PowerShell, so the PowerShell command above is the better habit.
Confirm you have the right ID
Looking up an ID does not change anything on the PC, so there is nothing to undo. It is still worth checking the result before you download a driver based on it.
- Check the prefix. A device you plugged into a USB port should have an ID that starts with USB\, and an internal expansion card should start with PCI\.
- Check the device instance path in PowerShell. Run Get-PnpDevice -InstanceId ‘your-instance-path’, with the path you copied between the single quotes. PowerShell should return one device whose FriendlyName matches the one you chose in Device Manager.
- Compare the top hardware ID with the lines below it. They should all begin with the same vendor and device codes.
Troubleshooting
The device is not in Device Manager
Reconnect the device, and then in Device Manager select View and select Show hidden devices. Devices that Windows knows about but that are not currently attached then appear in the list. A device in this state can show Code 45, which means the hardware is not connected. It clears on its own when you plug the device back in.
The device has an error and you need its driver
Right-click the device, select Properties, and read the Device status area. Code 28 means the drivers for the device are not installed. Use the top hardware ID to confirm the exact model, and then get the driver from Windows Update or the hardware maker’s website. Both routes are covered in updating drivers on Windows 10, and the other error codes are explained in checking drivers in Windows 10.
A PowerShell command returns nothing
The -FriendlyName and -Class values have to match what Windows has stored. Run Get-PnpDevice with no options to list every device Windows knows about, whether or not it is present, and copy the name or class from that list.
A PnPUtil command fails
Make sure you opened the window with Run as administrator. If the command includes /deviceids, /bus, or /properties, remove that option. Those options start in Windows 11.
You are on a work or school PC
Your organization may limit administrator access, which blocks the PnPUtil method. Device Manager and the standard PowerShell window are the ones to try first. If those are restricted too, ask your IT department for the ID.
Frequently asked questions
Is a device ID the same as a hardware ID?
Not quite. Formally, a device has exactly one device ID but usually several hardware IDs. The two share the same format, and for everyday tasks such as finding a driver, the top entry under Hardware Ids is the string to use.
Which hardware ID should I use when several are listed?
Use the first one, as in step 6 above. It carries the most detail about the exact model and revision.
Can two devices have the same hardware ID?
Yes. Hardware IDs describe a kind of device so that Windows can pick a driver for it, which means two identical parts report the same hardware IDs. The device instance path is the value that is unique to each one on your PC.
Is a hardware ID the same as a serial number?
No. A hardware ID identifies a device model for driver matching. A serial number is assigned by the maker to one individual unit, and the PC’s own serial number is reported separately through the Win32_ComputerSystemProduct information described above.
Do these steps work in Windows 11?
Yes. The Device Manager steps are the same in Windows 10 and Windows 11: right-click Start, select Device Manager, and open the device’s properties. Windows 11 also supports the extra pnputil /enum-devices /deviceids option.
Should I install DevCon to list hardware IDs?
You do not need to. The DevCon documentation itself points to PnPUtil instead, because PnPUtil ships with every Windows release.
Do these tools still work now that Windows 10 support has ended?
Yes. Windows 10 reached its retirement date in October 2025, and version 22H2 is the final version, but Device Manager, PowerShell, and PnPUtil remain part of the system. Check that any driver you download lists Windows 10 as supported.
Once you have the top hardware ID, search for it on the device maker’s support site to confirm the model, and then install the matching driver. Microsoft’s reference on hardware IDs and its guide to updating drivers manually in Windows cover the details.

Matt Jacobs has been working as an IT consultant for small businesses since receiving his Master’s degree in 2003. While he still does some consulting work, his primary focus now is on creating technology support content for SupportYourTech.com.
His work can be found on many websites and focuses on topics such as Microsoft Office, Apple devices, Android devices, Photoshop, and more.