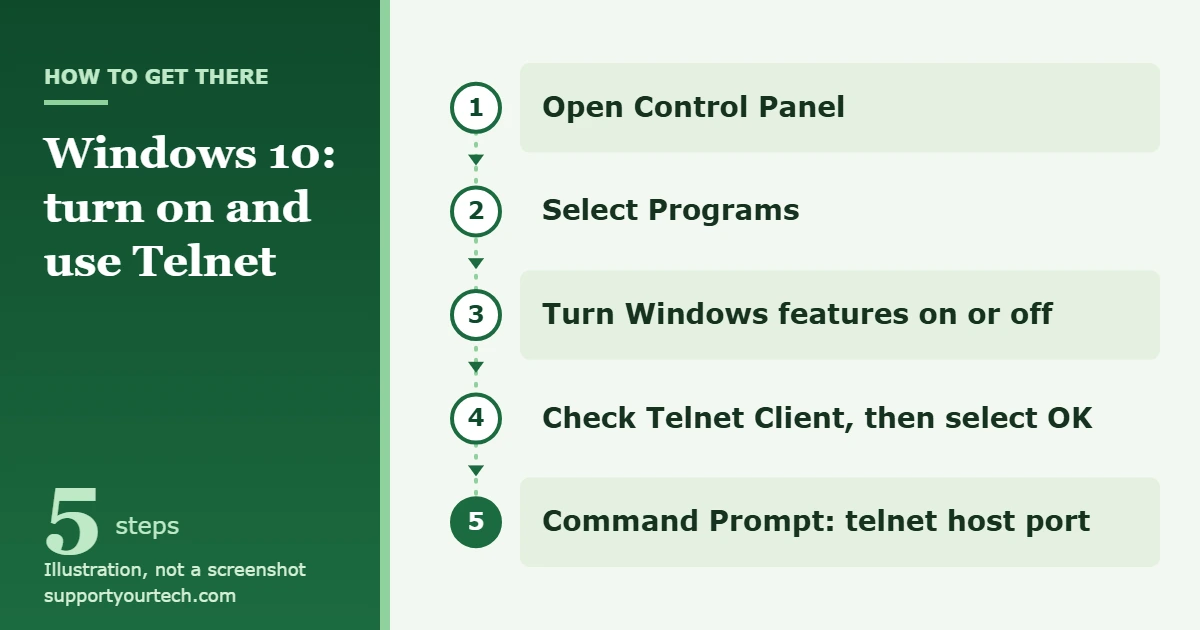
To use Telnet in Windows 10, first turn on the client: open Control Panel, select Programs, select Turn Windows features on or off, check Telnet Client, and select OK. Then open Command Prompt and type telnet followed by the host name and the port, for example telnet google.com 80.
Applies to: Windows 10. Microsoft documents the same telnet command for Windows 11. Checked against Microsoft Learn documentation on October 6, 2026.
What Telnet is and when to use it
Telnet is a text-only way to connect from your computer to a service on another computer. Windows 10 includes a Telnet client, but it is turned off until you add it. Microsoft’s command reference says you must install the Telnet client software before you can run the telnet command.
Most people use it today for two jobs:
- Checking whether a port is reachable. A port is a numbered door that a service listens on. Web servers commonly use port 80, mail servers use port 25, and a Telnet server uses port 23. If Telnet can connect to a host on a given port, something is listening there and nothing in between is blocking it.
- Signing in to older equipment. Some routers, switches and lab devices still offer a Telnet sign-in on port 23.
Warning: Telnet does not encrypt anything. User names, passwords and everything else you type travel across the network as readable text. Use it for port checks and on networks you trust, and do not type a password into a Telnet session over the internet or public Wi-Fi.
Before you start
- An administrator account. Microsoft’s instructions for adding Telnet Client require membership in the local Administrators group. If a User Account Control box appears, confirm it to continue.
- The host and port you want to reach. The host is a name such as mail.example.com or an IP address such as 192.168.1.1. If you leave out the port, Telnet uses TCP port 23.
- Something listening at the other end. The Telnet client only connects out. It cannot reach a computer that has no service running on the port you name.
Windows 10 reached the end of support on October 14, 2025, so these steps mostly matter for computers that are still running it.
Turn on Telnet Client in Windows 10
- Open Control Panel. You can type Control Panel in the search box on the taskbar and select it from the results.
- Select Programs. The Programs page opens with a Programs and Features section at the top.
- Select Turn Windows features on or off. The Windows Features box opens with a list of optional parts of Windows.
- Scroll down the list and check the box next to Telnet Client.
- Select OK. Windows installs the feature and shows a message when it is done.
- Select Close. According to Microsoft’s Windows 10 instructions, you do not need to restart the computer.
Connect to a host with the telnet command
- Open Command Prompt. Press the Windows key + R, type cmd, and press Enter. You can also type Command Prompt in the taskbar search box and select the app.
- Type telnet, a space, the host, a space, and the port, then press Enter. Microsoft’s own example is telnet google.com 80, which tries to reach Google’s web server on port 80.
- Read the result. If the port is closed or blocked, you see a line such as Could not open connection to the host, on port 25: Connect failed. If that error does not appear, the connection was made. What happens next depends on the service: a mail server, for example, answers with a line that starts with 220 and its name.
- When you are finished, press Ctrl+] (hold Ctrl and press the right square bracket key). This is Telnet’s default escape character, and it takes you to the Telnet prompt.
- Type quit and press Enter to close Telnet and return to the normal Command Prompt.
To connect to a real Telnet server, such as a router on your own network, leave out the port: telnet 192.168.1.1. Telnet uses port 23 and the device shows its own sign-in prompt.
Use the Telnet prompt and its commands
If you type telnet with nothing after it and press Enter, Telnet starts without connecting. Microsoft’s documentation shows a welcome line, a reminder that the escape character is Ctrl+], and the Microsoft Telnet> prompt. From there you can type these commands:
| Command | Short form | What it does |
|---|---|---|
| open hostname port | o | Connects to the host. The port is optional and defaults to 23. |
| close | c | Closes the current connection but leaves Telnet open. |
| status | st | Shows status information for the session. |
| set localecho | Shows the characters you type. Microsoft notes that some mail servers need this. | |
| set logfile filename | Saves the session to a file on your computer and starts logging. | |
| u localecho | Turns an option back off. It works the same way for logging. | |
| help | Lists the supported commands. | |
| quit | q | Exits Telnet. |
A typical session looks like this: type telnet, then set localecho, then open mail.example.com 25. When you are done, type quit.
Options you can add when you start Telnet
The full form of the command is telnet [/a] [/e escapechar] [/f filename] [/l username] [/t type] [host [port]]. The options go before the host name:
- /f filename logs the session to a file. Microsoft’s example is telnet /f telnetlog.txt telnet.microsoft.com 44.
- /l username sets the user name to sign in with on the remote computer.
- /a attempts an automatic sign-in with the name of the user who is currently signed in to Windows.
- /e escapechar changes the escape character from the default.
- /t type sets the terminal type. The supported types are vt100, vt52, ansi and vtnt.
- /? shows help for the command.
Turn on Telnet Client with a command instead
If you prefer the keyboard, or you are setting up several computers, DISM can add the feature. DISM is the built-in Windows tool for adding and removing optional features. Microsoft states that these commands must be run with administrator privileges.
- Open Command Prompt as an administrator.
- Type dism /online /Enable-Feature /FeatureName:TelnetClient and press Enter.
- Wait for the command to finish. To check the result, type dism /online /Get-FeatureInfo /FeatureName:TelnetClient and press Enter. If the state shows as pending, restart the computer to finish.
PowerShell has a matching cmdlet. In a PowerShell window opened as an administrator, run Enable-WindowsOptionalFeature -Online -FeatureName TelnetClient.
Confirm it worked, or turn Telnet off again
To confirm the client is installed, open Command Prompt, type telnet, and press Enter. If the Telnet client opens, it is installed. Type help to see the supported commands, or q to exit.
If you only needed Telnet for one test, remove it afterward so there is one less tool on the computer:
- Control Panel: go back to Turn Windows features on or off, clear the Telnet Client box, and select OK.
- Command Prompt as an administrator: run dism /online /Disable-Feature /FeatureName:TelnetClient.
Test a port without installing Telnet
Microsoft notes that PowerShell can be a better way to test a port because it works with what Windows already includes. Open PowerShell and run a command in this form:
Test-NetConnection -ComputerName bing.com -Port 80
Replace bing.com and 80 with your host and port. Look at the TcpTestSucceeded line in the output: True means the port accepted the connection. This is a good choice on a work computer where you are not allowed to add Windows features.
For remote command-line access, rather than a quick port check, use SSH, which encrypts the session. The command takes the form ssh username@servername. Our guide explains how to enable SSH in Windows 10.
Troubleshooting
‘telnet’ is not recognized as an internal or external command, operable program or batch file
The Telnet client is not installed yet. Go back to the Control Panel steps and make sure the Telnet Client box is checked.
Could not open connection to the host, on port …: Connect failed
Telnet is working, but nothing answered on that port. Work through these checks:
- Confirm the host name or IP address and the port number are typed correctly, with a space between them and no colon.
- Make sure the service you are testing is running on the other computer.
- Consider firewalls. A firewall on your computer, on the other computer, or on the network between them can block the port. On a work or school network, your IT team may block outgoing Telnet on purpose.
- Run the Test-NetConnection command from the previous section. If it also fails, the problem is the network or the remote service, not Telnet.
You cannot see what you type
Some services do not send your typing back to the screen. Press Ctrl+], type set localecho, and press Enter to turn on local echo.
Telnet Client will not install, or the option is unavailable
You need an administrator account to add Windows features. On a computer managed by an employer or school, optional features may be restricted, so ask your IT team to add Telnet Client or to run the port test for you. If the DISM command is refused, check that the Command Prompt window was opened as an administrator.
You are stuck in a session and cannot get out
Press Ctrl+] to reach the Telnet prompt, then type quit and press Enter. To drop the connection but keep Telnet open for another test, type close instead.
Frequently asked questions
Is Telnet installed by default in Windows 10?
No. The client is part of Windows 10, but it is turned off until you check Telnet Client in the Windows Features box or enable it with DISM.
Do I have to restart after turning on Telnet Client?
Microsoft’s Windows 10 instructions say a restart is not needed. If you used DISM and the feature state shows as pending, restart to complete it.
What port does Telnet use?
TCP port 23 when you do not name one. You can add any other port number after the host to test a different service, such as 80 for a web server or 25 for a mail server.
How do I exit Telnet?
Press Ctrl+] to get to the Telnet prompt, then type quit or just q and press Enter.
Is Telnet safe to use?
It is fine for checking whether a port is open, because you are not sending anything private. It is not safe for signing in over a network you do not control, because nothing is encrypted. Use SSH for that.
Can other people connect to my PC after I turn on Telnet Client?
No. The client only makes outgoing connections from your computer. It does not make your PC accept Telnet connections.
Does this work the same way in Windows 11?
Yes. Microsoft lists the same telnet command for Windows 10 and Windows 11. See our separate guide to enabling Telnet on Windows 11 for that version’s screens.
For the complete list of options, see Microsoft’s telnet command reference. Once your test is finished, clear the Telnet Client box again if you do not expect to need it.

Matt Jacobs has been working as an IT consultant for small businesses since receiving his Master’s degree in 2003. While he still does some consulting work, his primary focus now is on creating technology support content for SupportYourTech.com.
His work can be found on many websites and focuses on topics such as Microsoft Office, Apple devices, Android devices, Photoshop, and more.