To make Excel cells expand to fit text, select the columns, then double-click the right edge of any selected column heading. Excel resizes each column to fit its longest entry. To make rows grow taller as you type instead, select the cells and select Home > Wrap Text. Wrapped rows adjust their height automatically. Columns don’t widen automatically as you type, but a short macro can make them do that, as shown below.
Applies to: Excel for Microsoft 365, Excel 2024, 2021 and 2019 on Windows and Mac, and Excel for the web. Last reviewed October 7, 2026.
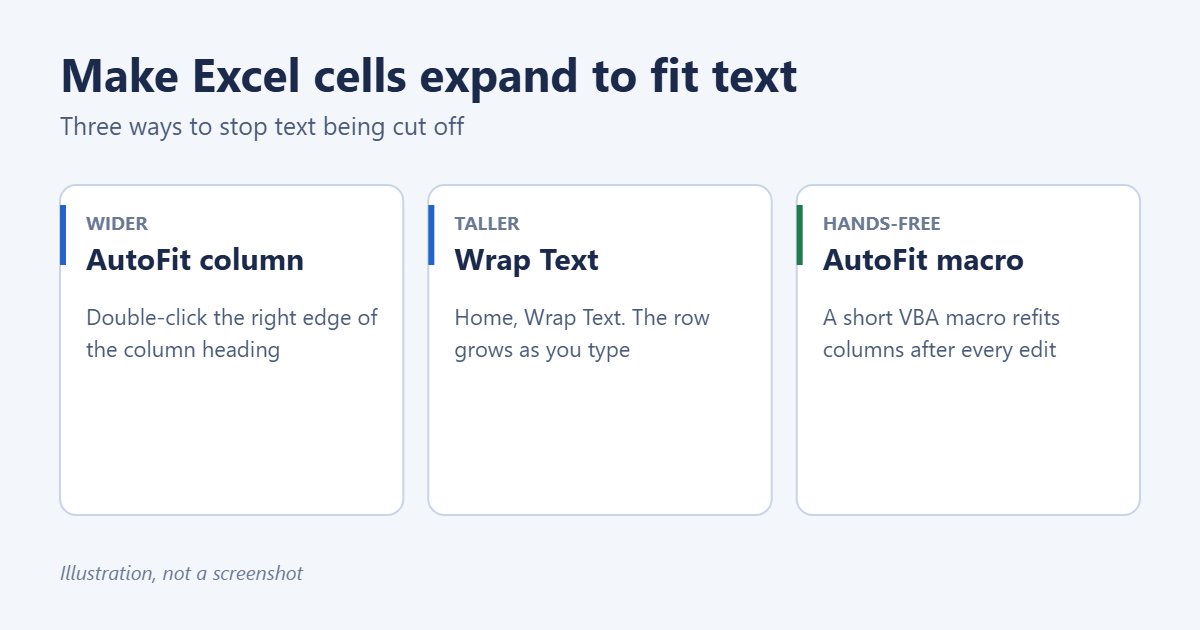
Which method do you need?
- Text spills into the next cell or shows ####: the column is too narrow. Use AutoFit Column Width.
- You want long text to stay in one column: use Wrap Text so the row gets taller.
- You want columns to resize every time you type: use the AutoFit macro.
- You’d rather shrink the text than resize the cell: use Shrink to fit.
AutoFit column width
Double-click the column edge (fastest)
- Point to the right edge of the column heading, such as the line between A and B. The pointer changes to a double-headed arrow.
- Double-click. The column widens or narrows to fit the longest entry in it.
To fit several columns at once, select their headings first (drag across them, or click the first and Shift-click the last), then double-click the edge of any one of them. To fit every column, select the whole sheet with Ctrl + A (twice if your cursor is inside a table) and double-click any column edge.
Use the Format menu
- Select the column or columns.
- On the Home tab, in the Cells group, select Format.
- Select AutoFit Column Width.
Keyboard shortcut
Select the cells, then press Alt, H, O, I one key after another. For row height, press Alt, H, O, A.
Fit to just part of a column
If one long title in row 1 makes the whole column too wide, select only the cells you want to fit, such as A2:A200, and use Home > Format > AutoFit Column Width. Excel sizes the column to the selected cells and ignores the rest.
Wrap text so rows grow automatically
Wrap Text keeps the column width and breaks long text onto extra lines inside the cell. Excel then makes the row taller to show every line, and keeps adjusting it as you edit.
- Select the cells, columns or rows.
- On the Home tab, in the Alignment group, select Wrap Text.
- If you want the text to break at a specific spot, click in the cell’s text and press Alt + Enter (Option + Return on a Mac) to add a line break.
See how to wrap text in Excel for more options, and how to add a line break in a cell for the shortcut on every platform.
AutoFit row height
Excel normally resizes rows by itself. But once you drag a row to a specific height, Excel stops adjusting it, and wrapped text gets cut off. To turn automatic height back on:
- Select the rows.
- Double-click the bottom edge of any selected row number, or select Home > Format > AutoFit Row Height.
Make columns resize automatically as you type
Excel has no setting that widens columns as you type. If you want that, a short VBA macro can run AutoFit every time a cell changes. This works in Excel for Windows and Mac, but not in Excel for the web.
- Right-click the sheet tab at the bottom and select View Code.
- Paste this into the code window that opens:
Private Sub Worksheet_Change(ByVal Target As Range) Target.EntireColumn.AutoFit End Sub - Close the Visual Basic window.
- Select File > Save As and choose Excel Macro-Enabled Workbook (*.xlsm). A regular .xlsx file can’t store macros.
Now any column you type in resizes when you press Enter. When you open the file later, select Enable Content if Excel shows a security bar, or the macro won’t run. To stop the behavior, delete the code.
Shrink text to fit the cell instead
If you’d rather keep the column width fixed, Excel can make the text smaller until it fits:
- Select the cells and press Ctrl + 1 to open Format Cells.
- Select the Alignment tab.
- Under Text control, select Shrink to fit, then OK.
Shrink to fit can make long entries very small. It works best for entries that are only slightly too long. It can’t be used together with Wrap Text.
Excel for the web and Mac
- Excel for the web: double-click the column edge, or select Home > Format > AutoFit Column Width. Wrap Text is on the Home tab too.
- Excel for Mac: double-click the column edge, or use Format > Column > AutoFit Selection in the menu bar.
Example: tidy up an imported list
Say you’ve pasted a customer list from another system and the names, emails and notes are all squeezed into narrow columns. A quick clean-up looks like this:
- Select columns A to C (Name, Email, Phone) and double-click the edge between any two of their headings. Each column now fits its longest entry.
- Click the D column heading (Notes). Drag its right edge to a comfortable width, such as about 50 characters.
- With column D still selected, select Home > Wrap Text. Long notes now wrap onto several lines and each row grows to fit.
- Select View > Freeze Panes > Freeze Top Row so the headings stay visible as you scroll.
The result is a list where short fields are compact and long notes are fully readable without making the sheet extremely wide.
Make columns fit when you print
AutoFit can leave a sheet too wide for one page. To print it at a readable size without resizing columns by hand:
- Select the Page Layout tab.
- In the Scale to Fit group, set Width to 1 page and leave Height on Automatic.
- Select File > Print to check the preview. If the text is too small, switch Orientation to Landscape on the Page Layout tab.
This scales the printout only. Your column widths on screen stay the same.
Troubleshooting
AutoFit doesn’t work on merged cells
Excel can’t AutoFit rows or columns that contain merged cells. Unmerge them, or use Center Across Selection instead of merging: select the cells, press Ctrl + 1, and on the Alignment tab set Horizontal to Center Across Selection. The text looks merged, but AutoFit still works.
Wrapped text is cut off at the bottom
The row has a fixed height. Use AutoFit Row Height to make it automatic again. If the cell is merged, see the previous fix.
The column is still showing ####
The cell contains a number or date that doesn’t fit. AutoFit the column. If it still shows ####, the value may be a negative date or time, which Excel can’t display.
The column becomes far too wide
One long entry, such as a title or a note, is setting the width. Fit only the cells below it, as shown above, or wrap the long entry.
A very long entry won’t fit completely
A column can be at most 255 characters wide and a row at most 409 points tall. Text longer than that can’t be shown in full in one cell. Wrap it, or move long notes to a comment.
Frequently asked questions
Why don’t Excel columns widen automatically?
Excel keeps column widths fixed so your layout doesn’t shift every time you type. Rows are different: they grow automatically when Wrap Text is on, unless you’ve set a fixed height.
How do I AutoFit all columns at once?
Select the whole sheet with the triangle in the top-left corner, or press Ctrl + A, then double-click the edge between any two column headings.
Can I set a default column width?
Yes. Select Home > Format > Default Width and enter a number of characters. It applies to every column you haven’t resized yourself.
How do I make every row the same height?
Select the rows, select Home > Format > Row Height, and enter a value. See how to make all rows the same height in Excel.
Where can I read Microsoft’s instructions?
Microsoft’s guide to changing column width and row height covers setting exact sizes in inches and centimeters.
Related: How to make an Excel spreadsheet.

Matt Jacobs has been working as an IT consultant for small businesses since receiving his Master’s degree in 2003. While he still does some consulting work, his primary focus now is on creating technology support content for SupportYourTech.com.
His work can be found on many websites and focuses on topics such as Microsoft Office, Apple devices, Android devices, Photoshop, and more.