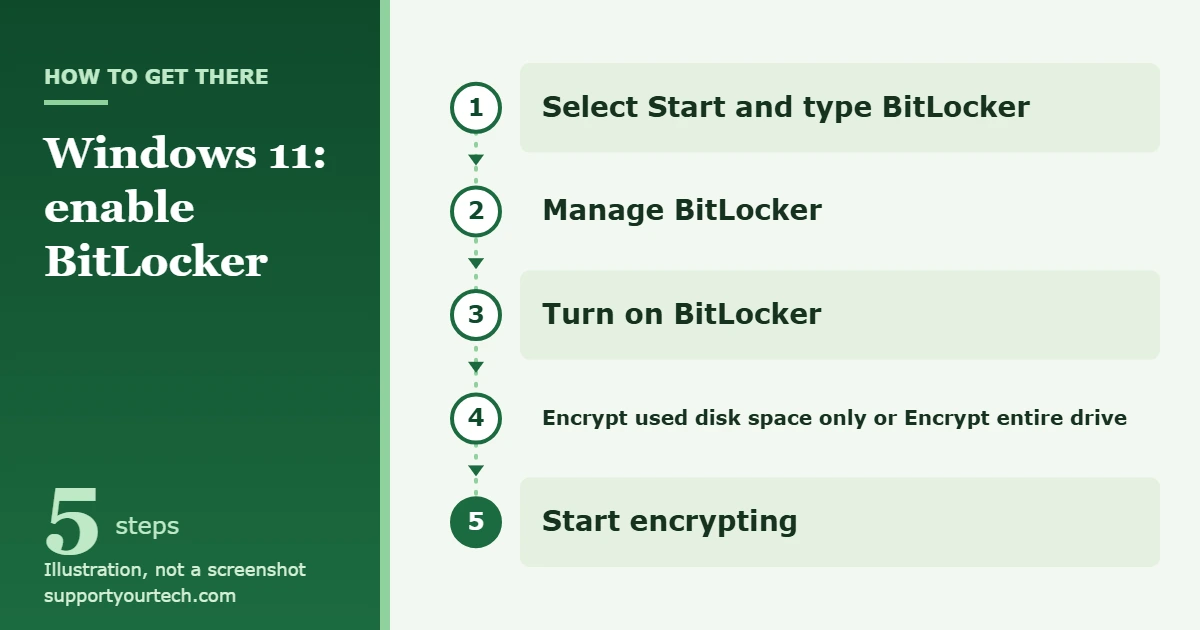
To enable BitLocker in Windows 11, sign in as an administrator, select Start, type BitLocker, select Manage BitLocker, and then select Turn on BitLocker next to the drive you want to protect. Choose how the drive unlocks, back up the recovery key, pick how much of the drive to encrypt, and start the encryption. On Windows 11 Home, use Settings > Privacy & security > Device encryption instead.
Applies to: Windows 11 Pro, Enterprise and Education (BitLocker Drive Encryption) and Windows 11 Home (Device encryption). Checked against Microsoft Support and Microsoft Learn on October 7, 2026.
What BitLocker does, and which version you have
BitLocker is the drive encryption feature built into Windows. It scrambles everything on a drive so the data cannot be read by someone who steals the PC, removes the drive, or starts the computer from another operating system. Microsoft documents that it uses the Advanced Encryption Standard (AES) with 128-bit or 256-bit keys.
Windows 11 offers two versions of the same technology, and the steps depend on which one your PC has:
| Feature | Where it is available | What you control |
|---|---|---|
| BitLocker Drive Encryption | Windows 11 Pro, Enterprise and Education | Each drive separately, including USB drives, plus the unlock method and recovery key backup |
| Device encryption | A wider range of devices, including Windows 11 Home | One on/off switch that encrypts the Windows drive and fixed drives |
To see which edition you have, right-click Start, select Settings > System > About, and look under Windows specifications.
Before you turn on BitLocker
- Use an administrator account. Microsoft requires membership in the local Administrators group to turn on BitLocker for the Windows drive or a fixed data drive. A standard user can turn it on only for removable drives.
- Decide where the recovery key will live. The recovery key is a 48-digit number that unlocks the drive when BitLocker cannot unlock it automatically. If you lose it and Windows asks for it, the data cannot be recovered, and Microsoft Support cannot retrieve or recreate the key for you. Plan to keep at least one copy away from the PC.
- Check for a TPM. A Trusted Platform Module (TPM) is a security chip, or firmware feature, that holds the key and releases it only when the startup files have not been tampered with. BitLocker needs TPM version 1.2 or later for that check. Press the Windows key + R, type tpm.msc, and select OK. The Specification Version line shows the TPM version. A message that says Compatible TPM cannot be found means the TPM may be turned off.
- Back up important files. Encryption is designed to be safe, but a backup protects you if the drive itself fails during a long job.
- Plug in a laptop. Encrypting a large drive can take a long time, so do not rely on the battery.
- Ask first on a work or school PC. On a managed device, the organization usually controls encryption and stores the recovery key.
How to enable BitLocker in Windows 11 (Pro, Enterprise, Education)
These steps turn on BitLocker for the drive that Windows is installed on, which is usually C:.
- Sign in to Windows with an administrator account.
- Select Start, type BitLocker, and select Manage BitLocker from the results. The BitLocker Drive Encryption page of Control Panel opens and lists your drives in three groups: the operating system drive, fixed data drives, and removable data drives (BitLocker To Go).
- Select Turn on BitLocker next to the operating system drive. The BitLocker Drive Encryption wizard starts and checks that the PC meets the requirements.
- Choose an unlock option if the wizard asks for one. On most Windows 11 PCs the TPM unlocks the Windows drive automatically at startup, so there is nothing to type. If your PC is set up to require a startup PIN, password or USB startup key, create it here and write it down.
- Back up the recovery key when prompted. Microsoft lists four places: your Microsoft account, a USB flash drive, a text file saved on a different drive, or a printout. On a work or school PC, the first option may read Save to your Azure AD account. Pick at least one, and add a second copy if you can.
- Choose how much of the drive to encrypt. Encrypt used disk space only is faster and suits a new PC or new drive. Encrypt entire drive takes longer and is the better choice for a PC or drive that has already held private files. Then select Next.
- If the wizard asks which encryption mode to use, pick the newer mode for a drive that stays inside this PC. The older, compatible mode is meant for drives that will be moved to earlier versions of Windows.
- Leave the BitLocker system check selected. It confirms that BitLocker can read the recovery and encryption keys before any data is encrypted. Continue, and restart the PC when Windows asks.
- Sign in after the restart. Encryption runs in the background, and you can keep using the PC while it finishes.
How long it takes depends on the type, size and speed of the drive. Microsoft notes that encrypting only the used space can cut the time by more than 99 percent on a drive that is mostly empty. If the PC is shut down or hibernates partway through, encryption picks up where it stopped the next time Windows starts, even after a sudden loss of power.
How to turn on Device encryption on Windows 11 Home
Windows 11 Home does not include the Manage BitLocker page. It has Device encryption, which turns on BitLocker for the Windows drive and fixed drives with a single switch. On many PCs it is already on, because Windows enables it automatically when you first sign in with a Microsoft account or a work or school account. It does not turn on automatically with a local account.
- Sign in with an administrator account.
- Open Settings and select Privacy & security > Device encryption.
- Switch the Device encryption toggle to On.
- Wait while Windows encrypts the drives. The recovery key is backed up to your Microsoft account automatically.
Device encryption covers the Windows drive and fixed drives only. It does not encrypt external or USB drives; that needs BitLocker To Go on a Pro, Enterprise or Education edition.
How to enable BitLocker on a second drive or a USB drive
Data drives and removable drives use the same wizard, but they unlock with a password instead of the TPM. BitLocker on a removable drive is called BitLocker To Go, and it works with USB flash drives, SD cards and external hard drives formatted with NTFS, FAT16, FAT32 or exFAT.
- Connect the drive if it is external, then open Manage BitLocker from Start. You can also right-click the drive in File Explorer and select Turn on BitLocker.
- Select Turn on BitLocker next to the drive.
- Choose to unlock the drive with a password, then type and confirm a strong password. A smart card is the other option, and it is mostly used in workplaces.
- Back up the recovery key. Windows does not let you save the key for a removable drive onto a removable drive by default, so use your Microsoft account, a file on another drive, or a printout.
- Choose Encrypt used disk space only or Encrypt entire drive, then select Next.
- If you are asked for an encryption mode and the drive will be plugged into PCs running a version of Windows older than Windows 10, choose the compatible mode.
- Select Start encrypting. Do not unplug a removable drive until encryption has finished.
For a fixed data drive, the wizard also offers to unlock the drive automatically on this computer. Microsoft notes that automatic unlocking of fixed data drives works only when the Windows drive is protected by BitLocker too. An encrypted USB drive can be opened on another Windows PC by typing its password.
Where to keep the recovery key
Windows can ask for the recovery key at startup after a hardware change or when it detects a possible security risk, and a data drive asks for it if you forget the password. Each storage choice has a trade-off:
- Microsoft account: the easiest option for a personal PC. You can read the key later from any device by signing in to your account, as described in Microsoft’s guide to finding your BitLocker recovery key.
- USB flash drive: works offline, but Microsoft warns not to store that flash drive with the computer. A thief who takes both gets past the encryption.
- Text file: save it anywhere except the drive you are encrypting, then copy it somewhere protected.
- Printout: keep the page somewhere safe and away from the PC.
To make another copy later, open Manage BitLocker, find the drive, select Back up your recovery key, choose a method, and select Finish. If you end up with several keys, the first eight digits of the key ID shown on the recovery screen tell you which one to use.
Enable BitLocker with a command
Commands are useful when the Control Panel page will not open or when you set up several PCs. Open Command Prompt or PowerShell as an administrator first, because every BitLocker command needs administrator rights. Replace the drive letter with your own.
manage-bde
- Type manage-bde -on C: -recoverypassword and press Enter. This turns on BitLocker for drive C and adds a recovery password as a protector. Record the recovery password before you continue.
- Restart if Windows asks, so the hardware test can run.
- Type manage-bde -status C: and press Enter to follow the progress.
Add -usedspaceonly to the first command to encrypt only the used space. For a data drive protected by a password, Microsoft’s example is manage-bde -on E: -pw, which prompts you for the password.
PowerShell
- Type Add-BitLockerKeyProtector -MountPoint C -RecoveryPasswordProtector and press Enter. Microsoft recommends adding a recovery password before you enable BitLocker so that a recovery option always exists. Record the recovery password and store it away from the PC.
- Type Enable-BitLocker C: -TpmProtector and press Enter. Add -UsedSpaceOnly to encrypt only the used space.
- Type Get-BitLockerVolume C: | fl and press Enter to check the status.
The full list of options is in Microsoft’s BitLocker operations guide.
How to confirm BitLocker is on
- Control Panel: open Manage BitLocker again. An encrypted drive no longer offers Turn on BitLocker; it offers management options such as Back up your recovery key and Turn off BitLocker.
- PowerShell: run Get-BitLockerVolume C: | fl. A finished drive shows FullyEncrypted for VolumeStatus, 100 for EncryptionPercentage, and On for ProtectionStatus. The KeyProtector line lists what unlocks the drive, for example Tpm and RecoveryPassword.
- manage-bde: run manage-bde -status C: and read the Conversion Status, Percentage Encrypted and Protection Status lines.
Changed your mind? Decrypting is done from the same page, and our guide on how to remove BitLocker in Windows 11 covers it, including the difference between turning BitLocker off and only suspending it.
Troubleshooting
Manage BitLocker does not appear in search
BitLocker Drive Encryption is not included in Windows 11 Home. Check your edition under Settings > System > About. On Home, use Device encryption, or upgrade the PC to Windows 11 Pro if you need to encrypt USB drives or manage each drive yourself.
Device encryption is missing from Settings
Microsoft gives two reasons: the feature is unavailable on your device, or you are signed in with a standard user account. To find out why it is unavailable, run System Information as an administrator and look for the Device Encryption Support line (on some PCs it reads Automatic Device Encryption Support). The value tells you what to fix:
- Meets prerequisites: Device encryption is available.
- TPM is not usable: the PC has no TPM, or it is turned off in the firmware.
- WinRE is not configured: the Windows Recovery Environment is missing.
- PCR7 binding is not supported: Secure Boot is off, or peripherals were connected during startup.
Windows 11 version 24H2 removed two of the older hardware prerequisites, so more PCs qualify than before. Installing the current version of Windows 11 is worth trying before you give up on an older device.
Windows says a compatible TPM cannot be found
The TPM is often present but switched off. Open the UEFI firmware settings and look in the menus named Advanced, Security or Trusted Computing. Microsoft lists the setting under names such as Security Device Support, TPM State, AMD fTPM switch, Intel PTT or Intel Platform Trust Technology. Your PC maker’s support site has the exact steps for your model. A PC with TPM 2.0 must also start in native UEFI mode, not Legacy or CSM mode, for BitLocker to use it.
Your PC has no TPM at all
BitLocker can still protect the Windows drive with a password or a USB startup key, but a policy has to allow it. In the Local Group Policy Editor, go to Computer Configuration > Administrative Templates > Windows Components > BitLocker Drive Encryption > Operating System Drives, open Require additional authentication at startup, enable it, and select the Allow BitLocker without a compatible TPM check box. After that, the wizard asks for a password or a USB drive every time the PC starts. You lose the TPM’s tamper check on the startup files, and if the USB key is lost or the password is forgotten, you need the recovery key.
Turn on BitLocker is missing for one drive
Microsoft’s list of reasons a drive cannot be encrypted: the drive is too small, it uses an incompatible file system, it is a dynamic disk, or it is the system partition that Windows starts from. Drives without a letter are not shown properly on the BitLocker page either, so give the drive a letter first.
The option is greyed out or blocked on a work PC
Sign in with an administrator account. If the PC belongs to an employer or school, BitLocker settings are normally set by policy, and your IT department is the right place to ask.
The PC asks for the recovery key after you enable BitLocker
BitLocker asks for the key when the startup environment changes. Microsoft’s examples include changing the boot order so another drive starts before the hard drive, adding or removing hardware, turning off or clearing the TPM, and updating the BIOS or UEFI firmware. Enter the 48-digit key to get in. To avoid a repeat, keep the internal drive first in the boot order and suspend BitLocker before a firmware update from your PC maker, then resume it afterward. Normal Windows updates need no action.
Frequently asked questions
Does BitLocker slow down my PC?
Slightly. Microsoft describes a small performance overhead, often in single-digit percentages, that depends on how fast the drive is.
Can I use my PC while BitLocker is encrypting?
Yes. Encryption runs in the background and the PC stays usable. If you shut down or lose power, it resumes from the same point the next time Windows starts.
Should I choose used disk space only or the entire drive?
Choose used disk space only for a brand-new PC or drive; everything you save afterward is encrypted as it is written. Choose the entire drive if the drive has held private files, because traces of old, deleted data in the free space can otherwise be read with disk-recovery tools until they are overwritten.
Is a startup PIN worth adding?
For most home PCs the TPM alone is the simplest setup, because the drive unlocks without any typing. Microsoft says a PIN significantly increases protection for devices that hold highly sensitive data. A startup PIN is 6 to 20 digits long by default, and it has to be entered every time the PC starts.
What happens if I lose my recovery key?
Nothing, as long as the PC keeps unlocking normally. Back the key up again right away from Manage BitLocker while you can still sign in. If Windows is already asking for the key and you cannot find any copy, the data on that drive cannot be recovered.
Do I need to turn off BitLocker before a Windows update?
No. Microsoft states that no user action is required for Windows quality updates and feature updates, and you can upgrade Windows with BitLocker turned on.
Can I open a BitLocker USB drive on another computer?
Yes. Plug it into another Windows PC and type the password you created, or use the recovery key if you have forgotten the password.
Once the status shows the drive as fully encrypted, BitLocker is doing its job in the background. Take one minute now to confirm that you can actually open the saved recovery key, because that is the moment you will be glad you checked.

Matt Jacobs has been working as an IT consultant for small businesses since receiving his Master’s degree in 2003. While he still does some consulting work, his primary focus now is on creating technology support content for SupportYourTech.com.
His work can be found on many websites and focuses on topics such as Microsoft Office, Apple devices, Android devices, Photoshop, and more.