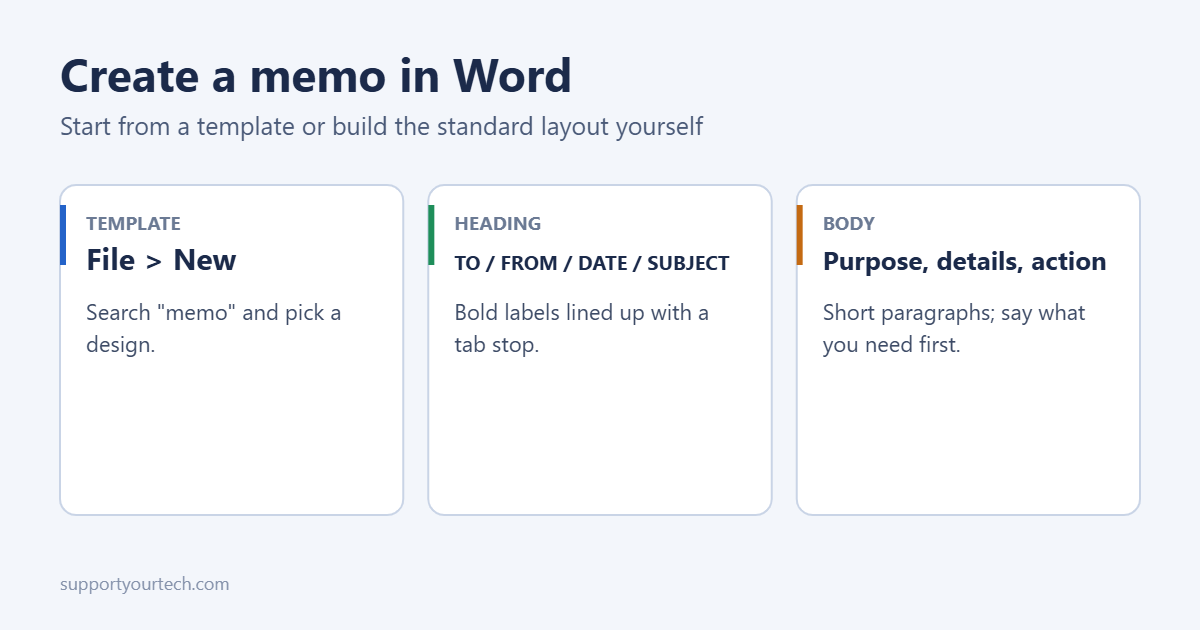
To create a memo in Word, go to File > New, type memo in the search box, pick a template and fill in the fields. To build one yourself, type the standard heading lines (TO, FROM, DATE and SUBJECT) in bold, line up the entries with a tab, add a horizontal line, then write a short body that states the purpose first. Both approaches, plus a ready-to-copy example, are below.
Method 1: Use a memo template
- Open Word and click File > New.
- Type memo in the search box and press Enter.
- Click a design to preview it, then click Create.
- Click each placeholder (such as [Recipient Name]) and type your text.
More designs are on Microsoft’s memo template page. Templates handle fonts and spacing for you, which is handy if your organization doesn’t have its own format.
Method 2: Create a memo from scratch
- Open a blank document. Keep the default 1-inch margins, or adjust them in Layout > Margins (details are in Microsoft’s margin training).
- Optional: type MEMORANDUM or MEMO at the top in bold, 14 to 16 pt, and press Enter twice.
- Type the heading lines, each followed by a Tab and the entry: TO:, FROM:, CC: (if needed), DATE:, SUBJECT:.
- Bold the labels. If the entries don’t line up, select the heading lines, click on the ruler at about 1 inch to add a tab stop, and Word aligns them.
- On the line after SUBJECT, type three hyphens (
---) and press Enter. Word turns them into a horizontal line. - Write the body in single-spaced paragraphs with a blank line between them.
- If you’re attaching documents, add Attachments: and list them at the end.
Memo structure
| Part | What to include |
|---|---|
| TO | Names and job titles, or a group such as “All Staff” |
| FROM | Your name and title. Some offices add initials by hand after printing |
| CC | Anyone who should be informed but isn’t the main audience |
| DATE | Written out in full, such as October 14, 2026 |
| SUBJECT | A specific summary, such as “New expense approval process from November 1” |
| Opening | The purpose in one or two sentences |
| Details | Background, facts and changes, in short paragraphs or bullets |
| Closing | The action you need and any deadline, plus who to contact |
Example memo
TO: All Office Staff
FROM: Dana Lee, Office Manager
DATE: October 14, 2026
SUBJECT: Kitchen closed for repairs, October 20 to 22
The second-floor kitchen will be closed from Monday, October 20 to Wednesday, October 22 while the plumbing is replaced.
During this time, please use the first-floor break room. The coffee machine and fridge will be moved there on Friday afternoon, so remove any food from the second-floor fridge by 4 p.m. Friday. Anything left will be thrown away.
If you have questions, contact me at extension 214. Thank you for your patience.
Tips for a clear memo
- Keep it to one page when you can.
- Put the request or main point in the first paragraph.
- Use bullets for steps, dates or lists.
- Use a plain font such as Calibri, Aptos or Times New Roman at 11 to 12 pt.
- Skip greetings like “Dear” and sign-offs like “Sincerely”; memos don’t need them.
Save your memo as a template
Once you have a layout you like, delete the specific text, then choose File > Save As, set the type to Word Template (*.dotx), and save. It appears under File > New > Personal next time. More template options are covered in making your own template in Word.
- Print: File > Print.
- PDF: File > Save As > PDF, so it looks the same for everyone.
- Email: paste the memo into the email body, or attach the PDF.
Frequently asked questions
What’s the difference between a memo and a letter?
Memos are for internal communication, use a TO/FROM heading and have no greeting or signature. Letters go outside the organization and include addresses, a salutation and a signature.
How do I add a border or company logo?
Insert your logo with Insert > Pictures in the header so it appears on every page. A border takes a few more steps, explained in adding a border in Word.
Related: creating a resume in Word without a template.

Matt Jacobs has been working as an IT consultant for small businesses since receiving his Master’s degree in 2003. While he still does some consulting work, his primary focus now is on creating technology support content for SupportYourTech.com.
His work can be found on many websites and focuses on topics such as Microsoft Office, Apple devices, Android devices, Photoshop, and more.