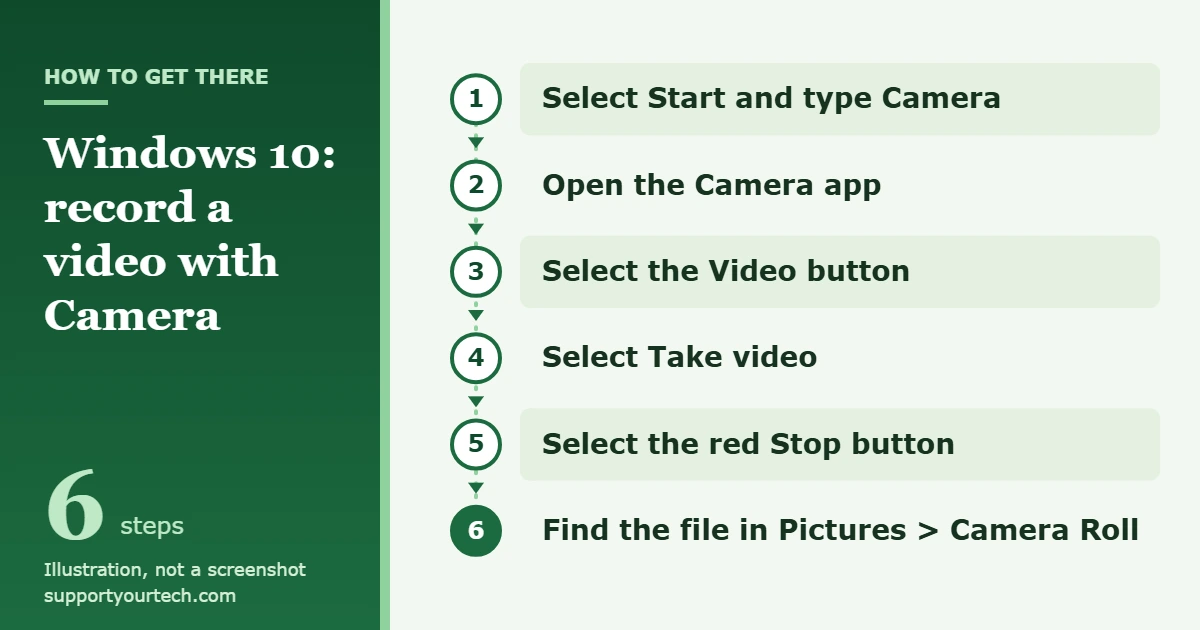
To record a video on Windows 10, select Start, type Camera, and open the Camera app. Select the Video button, select Take video to start, and select the red Stop button when you’re done. To record a game or app instead of yourself, press Windows logo key + Alt + R to start and stop an Xbox Game Bar recording.
Applies to: Windows 10 PCs with a built-in or USB webcam. Checked against Microsoft Support on October 7, 2026.
Which recording method to use
Windows 10 has two built-in recorders, and they do different jobs. Pick the one that matches what you want in the video.
| You want to record | Use | Where the video goes |
|---|---|---|
| Yourself, a room, or anything in front of the webcam | Camera app | Camera Roll folder in Pictures |
| A game or an app window on your screen | Xbox Game Bar | Captures folder in Videos, as an MP4 file |
| Your screen and your webcam together | Microsoft Clipchamp | Your downloads folder, then an MP4 when you export |
Before you start
- A camera. Most laptops have one above the screen. On a desktop PC, plug in a USB webcam first.
- A clear lens. Some laptops have a sliding shutter over the lens, a camera switch on the side, or a camera key on the keyboard. Open the shutter or switch the camera on.
- Camera and microphone permission. If Windows asks whether Camera can use your camera or microphone, allow it. The steps for checking these settings yourself are in the next section.
- Free space. Video files grow quickly, so make sure the drive that holds your Pictures folder has room before a long recording.
Allow camera and microphone access
The Camera app can’t record if Windows 10 is blocking the camera, and your video will be silent if the microphone is blocked. Check both once and you won’t need to do it again.
- Select Start > Settings > Privacy > Camera.
- Under Allow access to the camera on this device, select Change and make sure camera access for the device is turned on.
- Turn on Allow apps to access your camera.
- Under Choose which Microsoft Store apps can access your camera, make sure the switch next to Camera is on.
- Go to Start > Settings > Privacy > Microphone.
- Turn on Allow apps to access your microphone, and under Choose which apps can access your microphone, make sure Camera is on.
The Camera app should now show a live picture when you open it. Microsoft lists these settings in Manage app permissions for a camera in Windows.
Record a video with the Camera app
- Select Start, type Camera, and select the Camera app in the search results. The app opens and shows what your webcam sees.
- If your PC has more than one camera and the wrong one is showing, select the Change camera icon at the top right of the app. The picture switches to the next camera.
- On the right-hand side of the app, select the Video button. The button changes to Take video, which means the app is in video mode but isn’t recording yet.
- Check the picture. Move the laptop lid or the webcam until you’re framed the way you want, and face a window or lamp so your face isn’t in shadow.
- Select Take video. Recording starts, and the button turns into a red Stop button.
- When you’ve finished, select the red Stop button. The video is saved automatically, and a thumbnail of it appears at the bottom right corner of the app.
If your device has a camera light, it stays on for as long as the camera is in use. That light is a quick way to tell whether the camera is still running after you’ve stopped.
Watch the video and find the file
- In the Camera app, select the thumbnail at the bottom right corner. The video opens inside the app.
- Use the Play controls at the bottom of the video to watch it and check the picture and sound.
- Select the three dots (the ellipsis menu), then select Open Folder. File Explorer opens the folder that holds the video.
By default that folder is Camera Roll, inside Pictures. You can also get there without the Camera app: open File Explorer, select Pictures, and open Camera Roll. From there you can copy the file to a USB drive, attach it to an email, or upload it.
If the start or end of the recording has dead time, you don’t need to record again. Follow our guide on how to trim a video in Windows 10 to cut it off.
Change video quality or the save location
The Camera app’s Settings has a Video settings section where you can set the video quality and the flicker reduction. Higher quality gives a sharper picture and a bigger file. Flicker reduction helps when indoor lights cause bands or flickering in the picture. The choices you see depend on your camera, so a basic webcam will offer fewer than a newer one. Our article on how to change camera settings in Windows 10 walks through the rest of that screen.
To save new videos on a different drive, for example a second internal drive with more space:
- Select Start > Settings > System > Storage.
- Select Change where new content is saved.
- Find New photos and videos will save to and pick a drive from the drop-down menu.
- Select Apply. New recordings go to the drive you picked. Videos you already made stay where they are.
If you choose an external drive, keep it plugged in. The Camera app shows an error when the save location is missing.
Record an app or game with Xbox Game Bar
Xbox Game Bar is the screen recorder that comes with Windows 10. It records the game or app you have open, not your webcam. Microsoft describes it in its Xbox Game Bar recording instructions.
- Open the game or app you want to record and click inside it.
- Press Windows logo key + Alt + R. Recording starts.
- To add or remove your voice, press Windows logo key + Alt + M. This turns the microphone on or off during the recording.
- Press Windows logo key + Alt + R again to stop.
- Open File Explorer, select Videos, and open Captures. The recording is an MP4 file named after the game or app, with the date and time.
If you want the recording to include every sound the PC plays and not only the game’s, press Windows logo key + G to show the Game Bar, open its Settings, select Capturing, and choose All for the audio to record. Press Windows logo key + G again to hide the Game Bar.
For the Game Bar’s own record button, recording length, and what to do when the shortcut does nothing, see how to record your screen in Windows 10.
Record your screen and webcam together with Clipchamp
Neither built-in recorder puts your face and your screen in one video. For that, Microsoft points Windows 10 users to Clipchamp, its own video editor. It suits tutorials and presentations where viewers need to see both.
- Open the Clipchamp video editor and start a video.
- On the toolbar, select the record & create tab.
- Select screen & camera. Select screen instead if you only want the screen.
- When a pop-up asks for camera and microphone access, allow it.
- Choose your microphone, then select the red button to start.
- Choose what to share: a browser tab, a window, or your entire screen. Recording begins.
- Stop the recording, then select save and edit to add it to your video. Select retake recording if you want another try.
- When the video is ready, select export at the top right to save it as an MP4 file.
Two limits are worth knowing. Clipchamp records the computer’s own sound only when you share a browser tab; your microphone works with every choice. There is also a maximum recording time, shown next to the elapsed time while you record. For a longer video, make several short recordings and join them in the editor. A copy of each recording also lands in your downloads folder in WebM format. Full details are in Microsoft’s Clipchamp screen recording guide.
Check sound before an important recording
Bad sound ruins more videos than a soft picture does. Before a recording that matters, such as a job application video or a class assignment, record ten seconds, stop, and play it back with the Play controls. Listen for three things: whether your voice is there at all, whether it is loud enough, and whether a fan or the room is drowning it out.
If the test is silent, go back to Start > Settings > Privacy > Microphone and confirm that Allow apps to access your microphone is on. If the setting is on and there is still no sound, work through our guide to fixing a microphone that isn’t working in Windows 10.
Troubleshooting
The Camera app shows a black screen or says it can’t find a camera
Check the simple causes first: a closed shutter, a camera switch that is off, or a USB webcam that has come loose. Then recheck the Privacy settings above. Some antivirus programs also block camera access; look for a camera or webcam protection setting in yours.
Error 0xA00F4244 means Windows doesn’t recognize any camera, and the cause is usually the driver, which is the small piece of software that lets Windows talk to the camera. Microsoft suggests running the camera troubleshooter in the Get Help app first. If that doesn’t work, switch to the standard driver:
- Open Device Manager and expand Cameras.
- Right-click your camera and select Properties.
- On the Driver tab, select Update driver.
- Select Browse my computer for drivers, then Let me pick from a list of available drivers on my computer.
- Select USB Video Device, then Next. Open the Camera app again when the driver has installed.
Our guide on how to test your camera on Windows 10 covers more checks.
A camera or microphone switch is greyed out
On a work or school PC, the top of the Camera or Microphone settings page may say Some settings are managed by your organization. Your IT department controls those switches, so ask them to allow the camera or use a personal PC.
The Camera app says the Camera Roll is missing
Errors 0xA00F4275 and 0x200F4244 appear when the Camera app can’t save to its folder. Microsoft’s fix has three parts; stop as soon as one works.
- Go to Start > Settings > System > Storage > Change where new content is saved. Under New photos and videos will save to, pick a different drive and select Apply, then switch back to the original drive and select Apply again.
- If the save location is an external drive, make sure it is connected.
- In File Explorer, open Pictures, right-click Camera Roll, and select Properties. On the Security tab, select your user name and confirm that Allow is checked next to Write.
Pressing Windows logo key + Alt + R does nothing
Xbox Game Bar may be turned off. Press Windows logo key + I to open Settings, type xbox in the search box, select Enable Xbox Game Bar, and turn it on. Then click inside the app you want to record and press the shortcut again.
The video has no sound
In the Camera app, this is almost always the microphone permission described earlier. In a Game Bar recording, press Windows logo key + Alt + M while recording to switch the microphone on.
Frequently asked questions
Does Windows 10 have a built-in video recorder?
Yes, two. The Camera app records from your webcam, and Xbox Game Bar records a game or app on your screen. Both come with Windows 10 and are free.
Where are my recorded videos saved?
Camera app videos go to the Camera Roll folder inside Pictures. Xbox Game Bar recordings go to the Captures folder inside Videos.
What file type does Windows 10 record in?
Xbox Game Bar saves MP4 files, which play on almost any phone, computer, or website. Clipchamp also exports MP4. You can check any recording’s type by right-clicking the file and selecting Properties.
Can I record a video on a PC without a webcam?
You can record your screen with Xbox Game Bar or Clipchamp, because neither needs a camera. To record yourself, you need a built-in camera or a USB webcam.
How do I know the camera has stopped recording?
The red Stop button changes back, and a new thumbnail appears at the bottom right corner of the Camera app. If your PC has a camera light, it turns off when you close the app.
Is it OK to record other people?
Ask first. Rules about recording people, calls, and meetings differ from place to place, and many workplaces and schools have their own policies. Getting consent keeps you on the right side of both.
Is Windows 10 still supported?
Microsoft ended support for Windows 10 on October 14, 2025. The Camera app and Xbox Game Bar still work as described here, but Windows 10 is past the end of its regular monthly security updates, so plan a move to a supported version of Windows.
Once your first test clip plays back with a clear picture and sound, you’re ready to record the real thing. Keep the clip short, check it, and then copy the file from Camera Roll to wherever you need it.

Matt Jacobs has been working as an IT consultant for small businesses since receiving his Master’s degree in 2003. While he still does some consulting work, his primary focus now is on creating technology support content for SupportYourTech.com.
His work can be found on many websites and focuses on topics such as Microsoft Office, Apple devices, Android devices, Photoshop, and more.