To give someone edit access to an Excel sheet, save the workbook to OneDrive or SharePoint, select Share in the top-right corner of Excel, enter the person’s name or email, make sure the permission shows Can edit, and select Send. They can then open the workbook and edit it with you at the same time. If they can open it but still can’t type in it, the sheet is probably protected, and you need to unprotect it or unlock the cells they should change.
Applies to: Excel for Microsoft 365 on Windows and Mac, Excel 2024 and 2021, and Excel for the web.
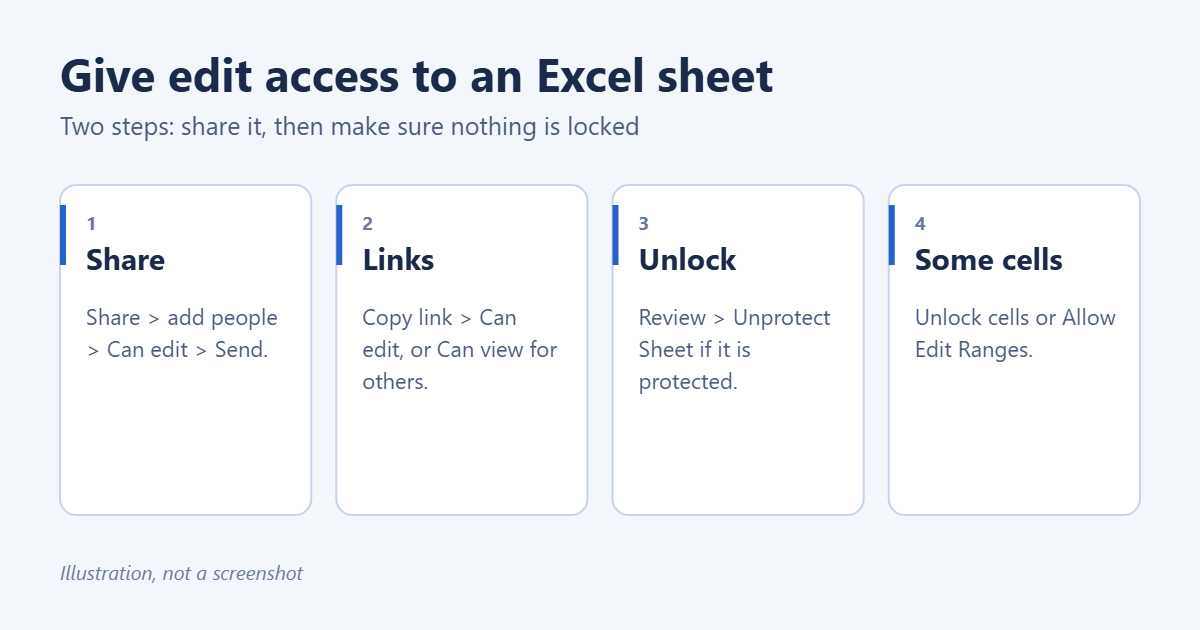
Sharing needs the file to be in the cloud, so everyone works on the same copy.
- Open the workbook in Excel and select Share in the top-right corner.
- If the file is saved on your PC, Excel asks you to upload it. Choose your OneDrive or a SharePoint site.
- Type the names or email addresses of the people you want to share with.
- Check the permission next to the names. Select it and choose Can edit if it shows Can view.
- Add a message if you like, then select Send.
Each person gets an email with a link. When they open it, they can edit in Excel for the web or select Editing > Open in Desktop App. Other ways to invite editors are covered in sharing an Excel spreadsheet for editing.
A link is handy for posting in a chat or giving to a group.
- Select Share > Copy link. In some versions, select Share, then the link settings (the gear or the line describing who the link works for).
- Choose who the link works for: Anyone, People in your organization, People with existing access or Specific people.
- Set the permission to Can edit, then select Apply or Copy.
- Paste the link wherever you want to share it.
Anyone links work for whoever has them, so use Specific people for anything private. Work and school accounts may not offer Anyone links if your organization turned them off. There’s more in how to share an Excel file as a link.
Give some people edit access and others view only
Share twice: once with the editors set to Can edit, and once with everyone else set to Can view.
Step 2: Unprotect the sheet if they still can’t edit
Sheet protection blocks editing even for people who have edit permission. If someone sees a message that the cell is on a protected sheet:
- Open the sheet and select the Review tab.
- Select Unprotect Sheet. In newer versions, it’s under Review > Protect.
- Enter the password if one was set, and select OK.
Repeat on each protected sheet. If the problem is that people can’t add, rename or delete sheets, select Review > Protect Workbook to turn off workbook structure protection.
Let people edit only certain cells
To keep formulas and headings safe while others fill in the rest, unlock just the cells they should change, then protect the sheet.
- Select the cells people should be able to edit.
- Press Ctrl + 1 (Command + 1 on a Mac) to open Format Cells.
- On the Protection tab, clear Locked and select OK.
- Select Review > Protect Sheet, add a password if you want, and select OK.
Now everyone with edit access can change the unlocked cells, and nothing else.
Use a password for specific ranges (Windows)
To let only some people change a range, select Review > Allow Edit Ranges > New, choose the range, set a range password and select OK. Then protect the sheet. Only people who know that password can edit the range. This option is in Excel for Windows only.
Fix files that open as read-only
- Protected View: files from email or the internet open in Protected View. Select Enable Editing in the yellow bar.
- Read-only recommended: if Excel asks whether to open the file as read-only, the owner turned that on. Select No, then turn it off under File > Info > Protect Workbook > Always Open Read-Only. Other read-only causes are covered in changing read-only mode in Excel.
- Password to modify: some files ask for a password before you can edit. Without it, you can only open a read-only copy.
Change or remove someone’s access
- Select Share > Manage access. In some versions, select the three dots in the Share window first.
- Find the person or link.
- Change Can edit to Can view, or select Remove access or Stop sharing.
Troubleshooting
The Share button is greyed out
Sign in to Excel with a Microsoft account under File > Account. Older one-time-purchase versions of Excel also can’t share from inside the app; upload the file to OneDrive in a browser and share it from there.
Someone is told they don’t have permission
They may be signed in with a different email from the one you shared with. Share again with the address they use, or send an Anyone link if that’s allowed.
The file is locked for editing by another user
The file is on a shared drive or attached to an email rather than in OneDrive, so only one person can edit at a time. Move it to OneDrive and share it from there.
Frequently asked questions
Do people need Excel to edit a shared workbook?
No. They can edit in Excel for the web in any browser. A free Microsoft account is enough.
Can I see who made each change?
Yes. In Excel for Microsoft 365, select Review > Show Changes, or check File > Info > Version History.
Is there an old “Share Workbook” option?
The legacy Share Workbook feature still exists but is hidden, and co-authoring through OneDrive has replaced it. Use the steps above unless you need it. If you do, here is how to enable Share Workbook in Excel.
Sharing a document too? The steps for sharing a Word document are almost the same. For shared sheets, a multi-select drop-down helps keep entries consistent.

Matt Jacobs has been working as an IT consultant for small businesses since receiving his Master’s degree in 2003. While he still does some consulting work, his primary focus now is on creating technology support content for SupportYourTech.com.
His work can be found on many websites and focuses on topics such as Microsoft Office, Apple devices, Android devices, Photoshop, and more.