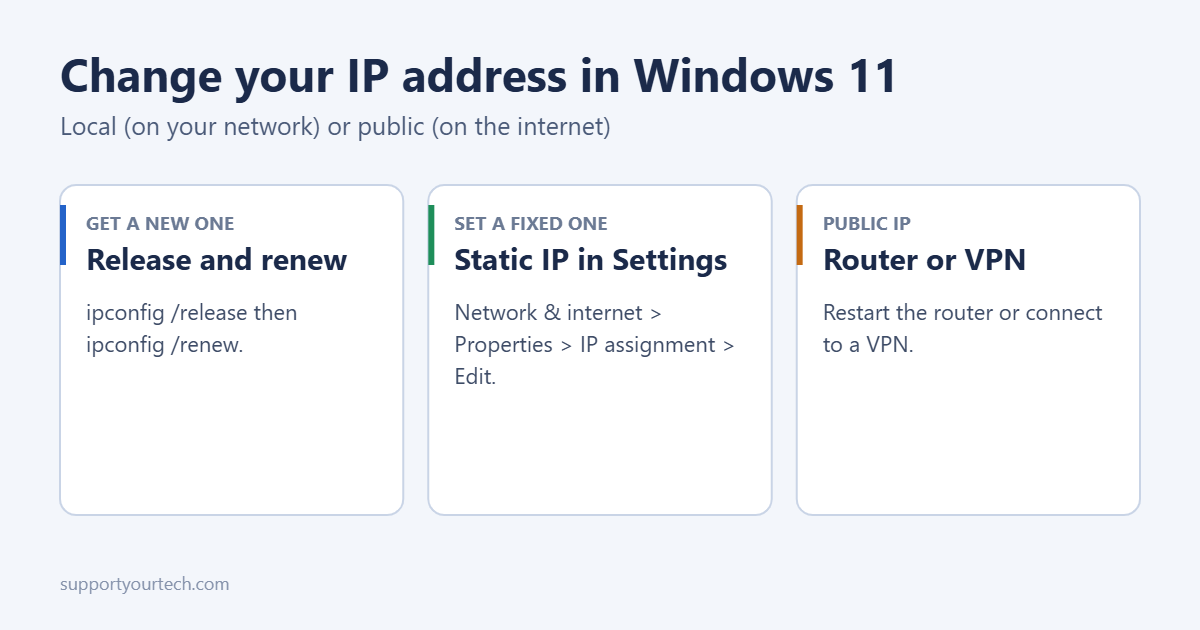
To set a specific IP address in Windows 11, go to Settings > Network & internet, click Wi-Fi or Ethernet, open your connection’s properties, and click Edit next to IP assignment. Choose Manual, turn on IPv4, enter the IP address, subnet prefix length, gateway and DNS, and click Save. If you just want a different address from your router, run ipconfig /release and ipconfig /renew instead. Changing your public internet IP is done on the router or with a VPN, not in Windows.
Local IP vs public IP
| Local (private) IP | Public IP | |
|---|---|---|
| Looks like | 192.168.1.25 or 10.0.0.15 | A number assigned by your internet provider |
| Who sees it | Devices on your home or office network | Websites and services on the internet |
| How to change | Windows settings or the router | Restart the router, contact your provider, or use a VPN |
Check your current local IP in Settings > Network & internet > Wi-Fi (or Ethernet) > Hardware properties, or with ipconfig. See how to find your IP address in Windows 11.
Method 1: Get a new IP automatically
- Right-click Start and open Terminal (Admin).
- Run
ipconfig /release. Your connection drops briefly. - Run
ipconfig /renew.
The router may give you the same address again; that’s normal. This mainly fixes IP conflicts and connection problems.
Method 2: Set a static IP in Settings
First note your current settings with ipconfig /all: the IPv4 address, subnet mask, default gateway and DNS servers.
- Open Settings > Network & internet.
- Click Wi-Fi and choose your network’s properties, or click Ethernet.
- Next to IP assignment, click Edit.
- Change Automatic (DHCP) to Manual and turn on IPv4.
- Enter the IP address you want, such as 192.168.1.50. Pick one outside your router’s DHCP range so it won’t be given to another device.
- Enter the Subnet prefix length: 24 for the common 255.255.255.0 mask.
- Enter the Gateway, usually your router’s address, such as 192.168.1.1.
- Enter a Preferred DNS, such as your router’s address or your provider’s DNS.
- Click Save.
To undo it, go back to IP assignment, click Edit, and choose Automatic (DHCP).
A better option: reserve the IP on your router
If you want a PC, printer or game console to always get the same address, set a DHCP reservation in your router’s admin page instead. The device keeps getting its address automatically, but always the same one, and you avoid conflicts. Look for “DHCP reservation”, “Address reservation” or “Static lease” in the router settings.
Change your public IP
- Restart the router: unplug it for a few minutes. Many providers assign a new public IP, though some keep the same one for days.
- Use a VPN: websites see the VPN server’s address instead of yours.
- Ask your provider: for a new or static public IP.
Troubleshooting
No internet after setting a static IP
The gateway or DNS is wrong, or the address is on a different subnet. Switch back to Automatic (DHCP), check the values with ipconfig /all, and try again.
“Windows has detected an IP address conflict”
Another device has the same address. Choose a different one outside the router’s DHCP range, or use DHCP.
Still having network problems
Flush DNS with ipconfig /flushdns (see how to flush the DNS cache), or reset network settings as a last resort (see how to reset network settings in Windows 11).
Frequently asked questions
Is changing my MAC address the same thing?
No, but a new MAC address can lead the router to assign a new IP. See how to change your MAC address on Windows 11. On Windows 10, see how to change your IP address in Windows 10.
Summary
- New local IP: ipconfig /release, then ipconfig /renew.
- Fixed local IP: Settings > Network & internet > IP assignment > Edit > Manual.
- Best for always-same addresses: a DHCP reservation on the router.
- Public IP: restart the router, use a VPN or ask your provider.

Matt Jacobs has been working as an IT consultant for small businesses since receiving his Master’s degree in 2003. While he still does some consulting work, his primary focus now is on creating technology support content for SupportYourTech.com.
His work can be found on many websites and focuses on topics such as Microsoft Office, Apple devices, Android devices, Photoshop, and more.