The Navigation Pane in Microsoft Word is a sidebar that lets you jump around a long document, reorganize it by dragging headings, and see search results in context. To open it, go to the View tab and tick Navigation Pane, or press Ctrl + F. It has three tabs: Headings, Pages, and Results. Here’s what each does, how to move whole sections with a drag, and why your headings might not be showing up.
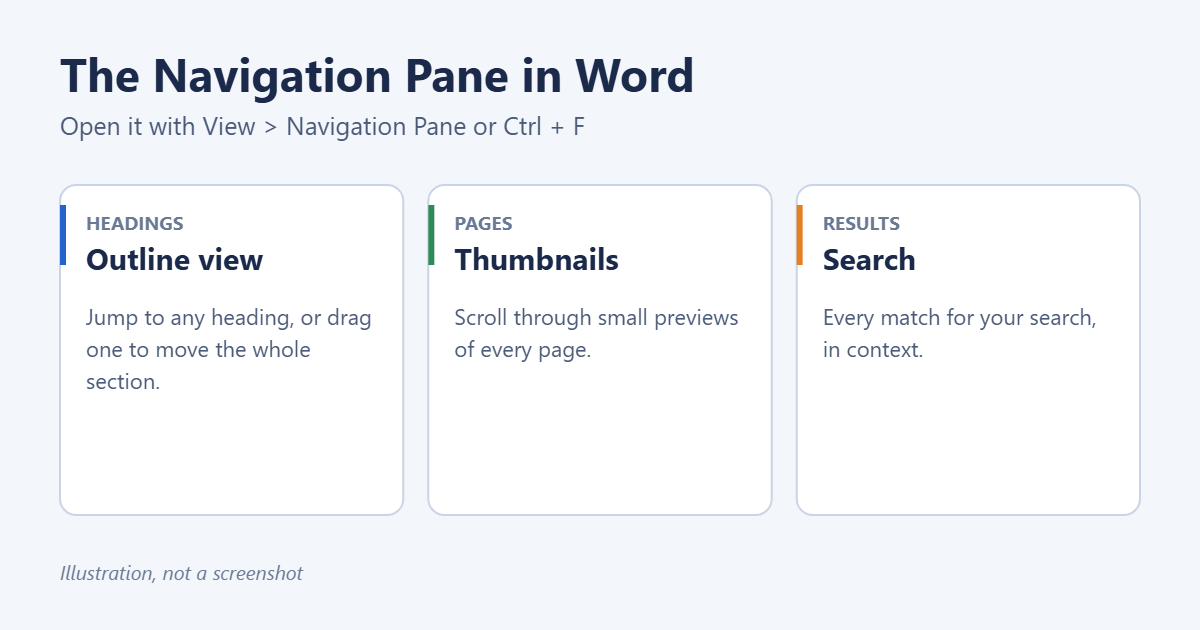
- From the ribbon: click View, then tick Navigation Pane in the Show group. Untick it to close.
- With the keyboard: press Ctrl + F. The pane opens with the cursor in the search box.
- Close it: click the X at the top right of the pane.
The pane opens on the left by default. Drag its title bar to float it or dock it on the right, and drag its edge to make it wider.
The Headings tab: jump and reorganize
The Headings tab shows an outline built from text formatted with Word’s heading styles (Heading 1, Heading 2, Heading 3, and so on).
- Jump to a section: click any heading and Word scrolls straight to it.
- Collapse and expand: click the small triangle next to a heading to hide or show its subheadings. Right-click a heading and choose Collapse All or Expand All for the whole outline.
- Show fewer levels: right-click and choose Show Heading Levels, then pick a level, such as Heading 2, to hide deeper ones.
- See where you are: the heading for the section you’re reading is highlighted as you scroll.
Move a section by dragging
Drag a heading up or down in the pane and drop it in a new spot. Word moves the heading and all the text, images, and subheadings under it. It’s the quickest way to reorder chapters or sections in a long report without cutting and pasting.
More right-click options
- Promote and Demote change a heading’s level, for example from Heading 2 to Heading 1.
- New Heading Before, New Heading After, and New Subheading add headings in the right place.
- Select Heading and Content selects the whole section so you can format, copy, or delete it.
- Delete removes the heading and its entire section. Use Ctrl + Z to undo if you click it by mistake.
- Print Heading and Content prints just that section.
The Pages tab: browse by thumbnail
Click Pages to see a small preview of every page. Click one to jump to it. It’s useful for finding a page by how it looks, like the one with the big chart, and for spotting blank pages or awkward page breaks. To see full pages side by side instead, see how to view multiple pages in Word.
The Results tab: search in context
- Type a word or phrase in the search box at the top of the pane.
- Word highlights every match in the document. The Results tab lists each one with the text around it.
- Click a result to jump to it, or use the up and down arrows under the search box to step through them.
The Headings tab also highlights which sections contain matches, which helps you see where a term is used most. Click the magnifying glass’s drop-down arrow for Options such as Match case and Find whole words only, or to search for tables, graphics, footnotes, and comments. To replace text, click the arrow and choose Replace, or press Ctrl + H.
Why don’t my headings show up?
The Headings tab only lists text formatted with heading styles. Bold, large text that looks like a heading isn’t enough. To fix it:
- Click in the line you want as a heading.
- On the Home tab, in the Styles gallery, click Heading 1 for main sections or Heading 2 for subsections.
The heading appears in the pane immediately. See how to make something a heading in Word. The same heading styles also power an automatic table of contents; see how to add a table of contents in Word.
Troubleshooting
The pane says “Create an interactive outline of your document”
There are no heading styles in the document. Apply Heading 1 and Heading 2 as shown above.
Some headings are missing
They may be collapsed, hidden by Show Heading Levels, or formatted with a custom style that isn’t set to an outline level. Right-click and choose Expand All, and check the levels setting.
Frequently asked questions
Is the Navigation Pane in Word for Mac?
Yes. Go to View and turn on Navigation Pane (in some versions it’s under View > Sidebar). It shows thumbnails and a document map of headings.
Does Word for the web have it?
Yes. On the View tab, click Navigation. It offers headings and search.
Can I keep the pane open for every document?
Word usually remembers whether the pane was open when you last closed a document, so leave it open and it should appear next time.
Summary
Open the Navigation Pane with View > Navigation Pane or Ctrl + F. Use Headings to jump between and drag around sections, Pages to browse thumbnails, and Results to see search matches. Apply heading styles so your sections show up.
Related: How to Remove Expand and Collapse in Word.
Related: How to Delete Multiple Pages in Word.
Related: How to Link a Table of Contents to Pages in Word.
Related: How to Make Collapsible Sections in Word.

Matt Jacobs has been working as an IT consultant for small businesses since receiving his Master’s degree in 2003. While he still does some consulting work, his primary focus now is on creating technology support content for SupportYourTech.com.
His work can be found on many websites and focuses on topics such as Microsoft Office, Apple devices, Android devices, Photoshop, and more.