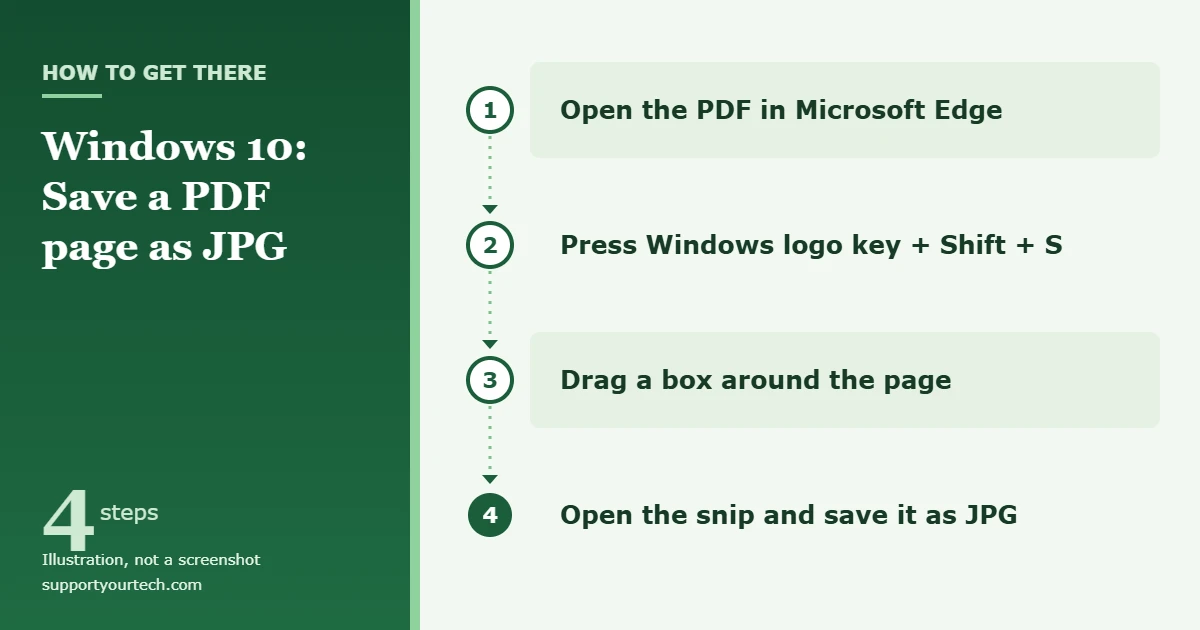
Windows 10 has no built-in “Save as JPG” option for PDF files, but you can still turn a PDF page into a JPG in a few minutes. For one or two pages, open the PDF in Microsoft Edge, press Windows logo key + Shift + S, capture the page, and save the snip as a JPG. For a long PDF, use Adobe’s free online PDF to JPG converter, which turns every page into its own image in one go.
Applies to: Windows 10 (the same steps work in Windows 11). Last reviewed October 7, 2026.
Which method should you use?
Pick the method that fits your PDF:
- One or two pages, and the file must stay on your PC: take a screenshot with Snip & Sketch or Snipping Tool. Nothing is uploaded and nothing needs installing.
- Part of a page, such as a chart or a signature: paste a screenshot into Paint, crop it, and save it as a JPEG.
- Every page of a long PDF: use Adobe’s online converter, which gives you one image per page in a ZIP file.
- Print-quality images or regular conversions: use Adobe Acrobat Pro, which lets you set the resolution and export every page at once.
One thing to know first: a PDF is a document, not a picture, so every method here creates a new image of the page. The screenshot methods capture what is on your screen, which means the result is only as sharp as your display. If you need a crisp image for printing or an official upload, use a converter instead.
Save a PDF page as a JPG with Snip & Sketch
This is the quickest free option and uses only tools that come with Windows 10.
- In File Explorer, right-click the PDF and select Open with > Microsoft Edge. Edge has a built-in PDF reader, so you don’t need Adobe Reader.
- Select Fit to page on the PDF toolbar so the whole page is on screen. If the text looks small, maximize the Edge window or zoom in and capture the page in two parts instead.
- Press Windows logo key + Shift + S. The screen dims and a small snipping bar appears at the top.
- Choose Rectangular snip (the first icon), then drag a box around the PDF page.
- Select the notification that appears in the bottom-right corner. The snip opens in Snip & Sketch.
- Select Save as (the disk icon) or press Ctrl + S.
- Pick a folder and type a file name. In Save as type, choose JPG, then select Save.
Repeat these steps for each page you need. If you miss the notification, open Snip & Sketch from the Start menu and select New to take the snip from there.
Using the classic Snipping Tool instead
Windows 10 also includes the older Snipping Tool. Open it from Start, select New, drag around the page, then select File > Save As and choose JPEG file as the type. The result is the same as with Snip & Sketch.
Capture part of a page and save it with Paint
Paint is handy when you only want a section of a page, or when you want to check the image before saving.
- Open the PDF in Microsoft Edge and scroll to the part you want.
- Press Windows logo key + Shift + S and drag around the area. The snip is copied to the clipboard.
- Open Paint from the Start menu and press Ctrl + V.
- Use Select and then Crop if you need to trim the edges.
- Select File > Save as > JPEG picture, name the file, and select Save.
Convert every page with Adobe’s free online converter
For a PDF with many pages, a screenshot for each page gets tedious. Adobe, the company that created the PDF format, offers a free browser-based converter that handles all pages at once.
- Open Adobe’s PDF to JPG converter in any browser.
- Select Select a file, or drag your PDF onto the page.
- Make sure the output format is set to JPG. You can also choose PNG or TIFF.
- Select Convert to JPG.
- When the conversion finishes, select Download. Adobe may ask you to sign in with a free Adobe, Google, or Apple account first.
- For a multi-page PDF you get a ZIP file. Right-click it in File Explorer, select Extract All, and you’ll find one JPG for each page.
Because this method uploads your file, skip it for documents that contain personal or financial information, such as tax forms, bank statements, or passport scans. Use a screenshot or a desktop app for those.
Export high-quality JPGs with Adobe Acrobat Pro
If you have a paid Acrobat subscription, you can export pages without uploading anything and choose the image quality. The free Acrobat Reader can’t do this.
- Open the PDF in Acrobat Pro.
- Select Convert in the top toolbar, or open All tools and select Export a PDF.
- Choose Image, then pick JPEG from the drop-down.
- Select the gear icon if you want to change the resolution or color settings, then select OK.
- Select Convert to JPEG, pick a folder, and select Save. Acrobat creates one JPG per page.
Troubleshooting
The JPG looks blurry
A screenshot can only be as sharp as your screen. Zoom in on the PDF before you capture it, capture a tall page in two halves, or use the Adobe online converter or Acrobat Pro, which create the image from the PDF itself rather than from your screen.
Nothing happens when I press Windows logo key + Shift + S
Your copy of Windows 10 may be older than the October 2018 Update, which added the snipping bar. Open Snipping Tool from the Start menu and use New instead. Also check that you are pressing all three keys at the same time.
JPG isn’t listed when I save
Open the Save as type drop-down under the file name. Snip & Sketch offers PNG, JPG, and GIF; Paint lists it as JPEG picture. JPG and JPEG are the same format, so either works when a website asks for a JPG.
The PDF opens in another program instead of Edge
Right-click the PDF, select Open with, and pick Microsoft Edge from the list. Any PDF reader works with the screenshot method, so you can also use the one you already have.
I only need the photo that’s inside the PDF
If the PDF was made from a photo, such as a scanned ID or a passport picture, the best result is the original image file. Check the email or folder where the PDF came from. If you don’t have it, Acrobat Pro’s Export all Images option saves the pictures inside a PDF as separate files, or you can use the snip method and drag only around the photo.
Frequently asked questions
Does Windows 10 have a built-in PDF to JPG converter?
No. Windows 10 can create PDFs with Microsoft Print to PDF, but it can’t convert a PDF into an image. The built-in workaround is to open the PDF in Edge and save a screenshot as a JPG.
Can I convert a PDF to JPG without losing quality?
Use a converter rather than a screenshot. Adobe’s online tool and Acrobat Pro render each page directly from the PDF, and Acrobat Pro lets you raise the resolution.
How do I convert a multi-page PDF to JPG?
Adobe’s online converter or Acrobat Pro turns every page into its own JPG in one step. With the screenshot method you have to capture and save each page separately.
Can I turn the JPG back into a PDF?
Yes. See how to convert JPG to PDF on Windows 10, which uses the built-in Microsoft Print to PDF printer.
Related: How to combine PDF files in Windows 11.
Related: How to Show PDF Thumbnails in Windows 10.

Matt Jacobs has been working as an IT consultant for small businesses since receiving his Master’s degree in 2003. While he still does some consulting work, his primary focus now is on creating technology support content for SupportYourTech.com.
His work can be found on many websites and focuses on topics such as Microsoft Office, Apple devices, Android devices, Photoshop, and more.