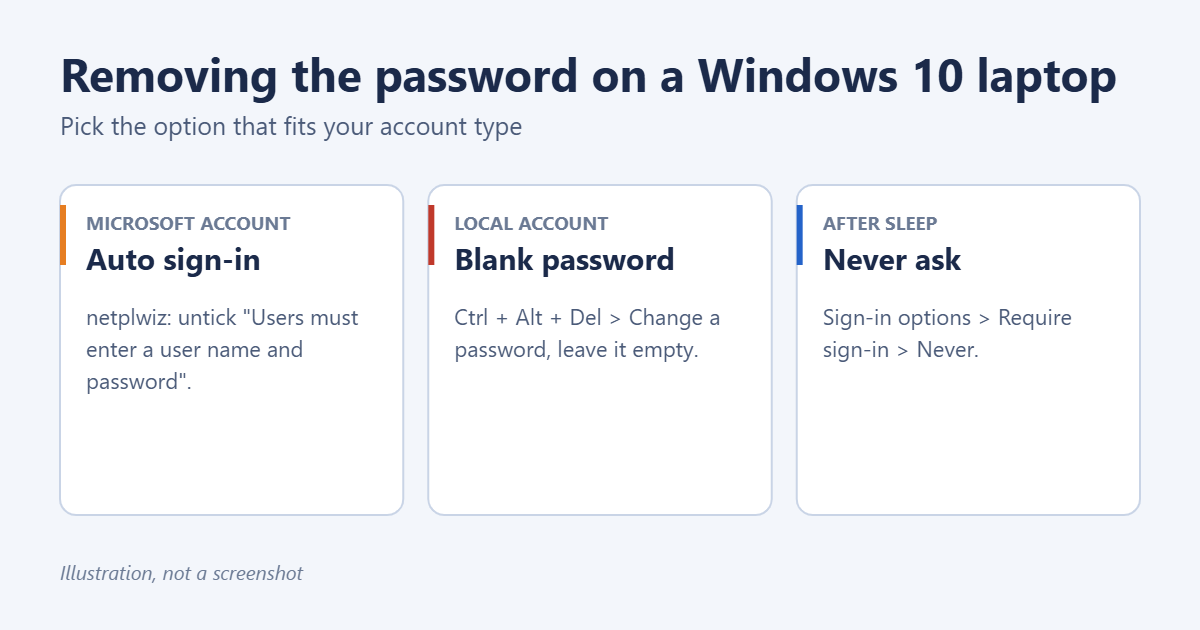
To stop your Windows 10 laptop asking for a password, you have two options. If you sign in with a Microsoft account, turn on automatic sign-in: run netplwiz and untick Users must enter a user name and password to use this computer. If you use a local account, you can remove the password completely by changing it to a blank one. Either way, also set Require sign-in to Never so the laptop doesn’t ask again after sleep. Since a laptop can be lost or stolen, read the security note first.
Read this first: laptops and passwords
Without a password, anyone who picks up your laptop can open your email, files, browser passwords, and banking sites. If the laptop has BitLocker or device encryption, automatic sign-in also means a thief can get to your data. Consider a short PIN or fingerprint sign-in instead: it’s nearly as fast and keeps the laptop protected. Set one up in Settings > Accounts > Sign-in options.
Check which account you use
Go to Settings > Accounts > Your info. If an email address appears under your name, it’s a Microsoft account. If it says Local Account, it’s a local account.
Option 1: Automatic sign-in (works with any account)
- Go to Settings > Accounts > Sign-in options. If you see Require Windows Hello sign-in for Microsoft accounts, turn it Off.
- Press Windows + R, type netplwiz, and press Enter.
- Select your account.
- Untick Users must enter a user name and password to use this computer, then click Apply.
- Enter your password twice. For a Microsoft account, use the full email address as the user name and its password, not your PIN.
- Click OK and restart to test.
Your password still exists, but Windows enters it for you at startup.
Option 2: Remove the password from a local account
- Press Ctrl + Alt + Delete and choose Change a password.
- Type your current password.
- Leave New password and Confirm password empty and press Enter.
Or go to Settings > Accounts > Sign-in options > Password > Change, enter your current password, and leave the new password fields blank. You can’t do this with a Microsoft account; to switch, see how to create a local account on Windows 10.
Stop the password prompt after sleep
- Go to Settings > Accounts > Sign-in options.
- Under Require sign-in, choose Never.
To remove the lock screen picture too, see how to remove the lock screen password in Windows 10.
Turn the password back on
- For automatic sign-in, run netplwiz again and tick the box.
- For a local account, set a new password in Settings > Accounts > Sign-in options > Password > Add.
- Set Require sign-in back to When PC wakes up from sleep.
Troubleshooting
The netplwiz checkbox is missing
Turn off Require Windows Hello sign-in for Microsoft accounts in Sign-in options, close netplwiz, and open it again. On work laptops, the option may be blocked.
Windows still asks for a PIN
Windows Hello PIN is separate. Remove it under Settings > Accounts > Sign-in options > Windows Hello PIN > Remove.
Automatic sign-in doesn’t work
The password typed into netplwiz was probably wrong. Repeat Option 1 carefully.
I forgot my password and can’t get in
That’s a different problem. See how to unlock your laptop when you forgot the password.
Frequently asked questions
Is this the same on Windows 11?
Very similar. See how to turn off the password on Windows 11.
Will removing the password delete my files?
No. It only changes how you sign in.
Summary
Use netplwiz to sign in automatically with any account, or set a blank password on a local account with Ctrl + Alt + Delete > Change a password. Set Require sign-in to Never so it doesn’t ask after sleep, and consider a PIN instead on a laptop you carry around.

Matt Jacobs has been working as an IT consultant for small businesses since receiving his Master’s degree in 2003. While he still does some consulting work, his primary focus now is on creating technology support content for SupportYourTech.com.
His work can be found on many websites and focuses on topics such as Microsoft Office, Apple devices, Android devices, Photoshop, and more.