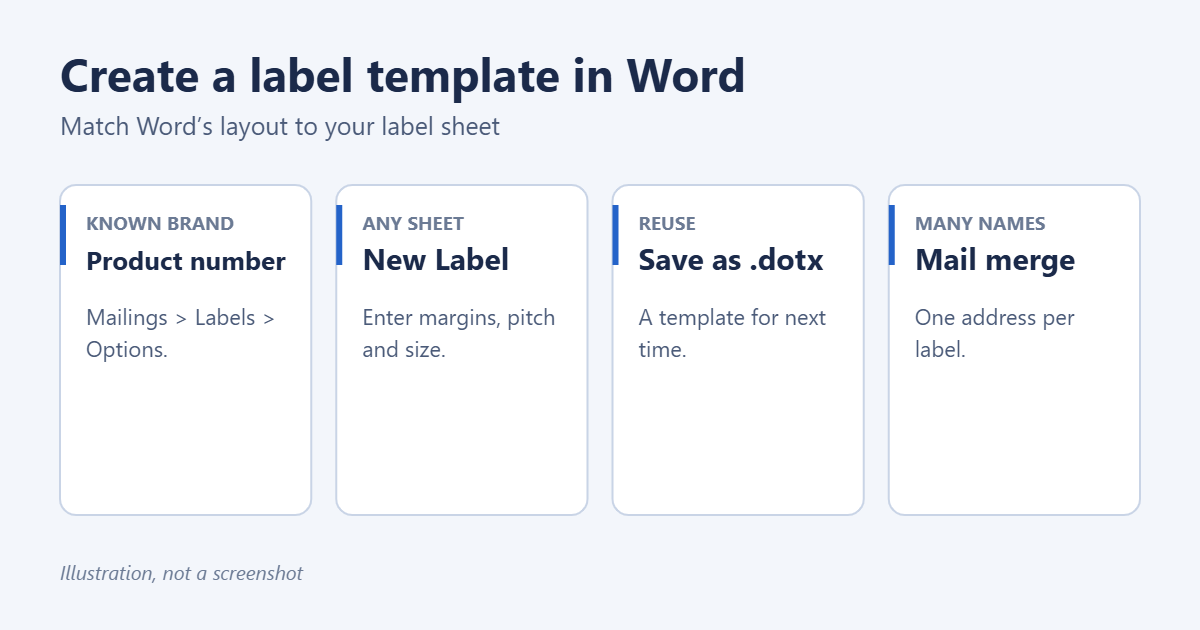
To create a label template in Word, select Mailings > Labels > Options. If your labels are a common brand, choose the Label vendor (such as Avery US Letter) and the Product number printed on the packet. For any other sheet, select New Label and enter its measurements. Select OK, then New Document to get a page laid out as a grid of labels, and save it as a Word template to reuse.
Applies to: Word for Microsoft 365, Word 2024, 2021, 2019 and 2016 on Windows and Mac. Word for the web can’t create labels from these options. Last reviewed October 7, 2026.
Method 1: Use the label’s product number
- Open Word and create a blank document.
- Select Mailings > Labels, then Options.
- Choose your printer type and paper tray.
- Under Label vendors, choose the brand, such as Avery US Letter or Avery A4/A5.
- Under Product number, select the number printed on your label packet, such as 5160 for standard address labels. The size and number per sheet appear on the right.
- Select OK, then New Document.
Word creates a page divided into a table, one cell per label. On a Mac, select Mailings > Labels (or Tools > Labels) and the same Options button.
Method 2: Create a custom label size
If your brand or product isn’t listed, enter the measurements yourself. They’re usually on the packet or the maker’s website; otherwise measure a sheet with a ruler.
- Select Mailings > Labels > Options > New Label.
- Type a Label name you’ll recognize.
- Enter the measurements:
- Top margin: from the top of the sheet to the top of the first label.
- Side margin: from the left edge to the left of the first label.
- Vertical pitch: from the top of one label to the top of the next one down.
- Horizontal pitch: from the left of one label to the left of the next one across.
- Label height and Label width.
- Number across and Number down.
- Page size, such as Letter or A4.
- Check the preview, select OK, then OK and New Document.
Your custom label then appears under Other/Custom in the vendor list for next time.
Method 3: Start from a designed template
Select File > New, search for labels, and choose a design that matches your label size, such as shipping, return address or name badge labels. The template’s description shows the matching product number.
Fill in the labels
- See the label edges: click in the table, then select Table Layout > View Gridlines. Gridlines don’t print.
- Same text on every label: before selecting New Document, type the text in the Address box of the Labels dialog and choose Full page of the same label.
- Different text on each label: click in each cell and type, or use Mail Merge to fill them from a list. See how to use Mail Merge in Word.
- Logos and pictures: insert a picture into the first label, set its wrapping to In Line with Text and size it to fit, then copy it to the other cells.
Save it as a reusable template
- Select File > Save As.
- Set Save as type to Word Template (*.dotx), name it and select Save.
Next time, open it from File > New > Personal. For more on templates, see how to make your own template in Word.
Print a test sheet first
- Print one page on plain paper.
- Hold it over a label sheet against a window or light to check that the text lines up.
- If it’s slightly off, adjust the Top margin or Side margin in your custom label and try again.
When printing labels, set Scale to 100% or Actual size in the printer dialog; scaling to fit shifts everything.
Troubleshooting
Text drifts further off on each row
The Vertical pitch is slightly wrong. Measure from the top of the first label to the top of the fifth, divide by four, and enter that value.
The last row spills onto a second page
Word adds a paragraph mark after the table. Select it and set its font size to 1 point, or reduce the bottom margin slightly.
Printing addresses from Excel?
See how to print addresses on envelopes from Excel, which uses the same Mail Merge steps.
Related: how to insert a placeholder in Word.
Related: how to print envelopes from Word.
Related: How to Edit a Template in Word.
Related: how to create a resume in Word without a template.

Matt Jacobs has been working as an IT consultant for small businesses since receiving his Master’s degree in 2003. While he still does some consulting work, his primary focus now is on creating technology support content for SupportYourTech.com.
His work can be found on many websites and focuses on topics such as Microsoft Office, Apple devices, Android devices, Photoshop, and more.