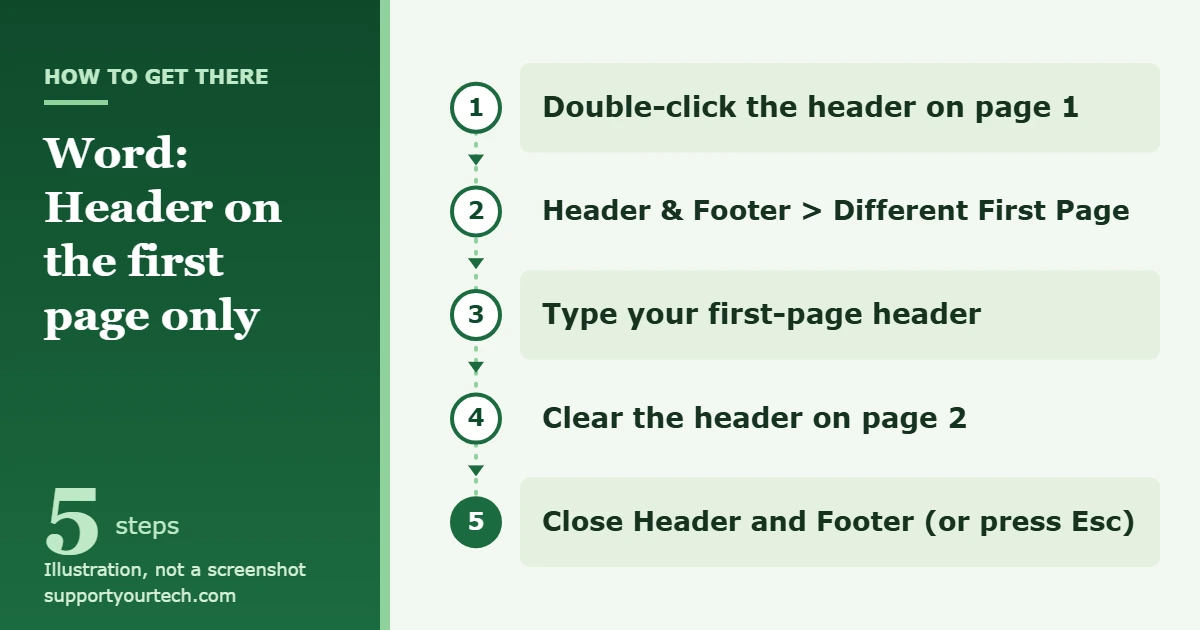
To have a header only on the first page in Word, double-click the header area at the top of page 1, select Different First Page on the Header & Footer tab, and type your header on page 1. Then go to the header on page 2, delete anything there, and select Close Header and Footer (or press Esc). Page 1 now has its own header, and every later page shows an empty one.
Applies to: Word for Microsoft 365, Word 2024, Word 2021, Word 2019 and Word 2016 on Windows, with notes for Word for Microsoft 365 for Mac and Word for the web. Checked against Microsoft Support on October 7, 2026.
How Different First Page works
A Word header normally repeats on every page of a section. Different First Page gives the first page of the section a separate header (and footer) of its own, while page 2 onward keeps using the regular one. That is why a first-page-only header takes two actions, not one: you put the content in the first-page header, and you leave the regular header on the later pages empty.
Two details catch many people out:
- Turning the option on clears the first-page header. Microsoft notes that selecting Different First Page removes the existing content from the first page’s header or footer. If your document already has a header you want to keep on page 1, copy it before you start (see the next method).
- The option is a toggle. Selecting it again turns it off, so check that it ends up on.
A short, single-page document also needs the empty regular header. As soon as the text flows onto page 2, Word uses that regular header there.
Put a header on the first page only in Word for Windows
Use this method for a new header, such as a letterhead, report title or name block on a cover page.
- Open the header on page 1. Double-click the top margin of the first page. You can also go to Insert > Header > Edit Header. The header area becomes editable, and the Header & Footer tab appears on the ribbon.
- Turn on Different First Page. On the Header & Footer tab, select Different First Page. Any content that was in the header on page 1 is removed, and page 1 now has its own header.
- Add your first-page header. Type the text, or insert an image such as a logo, in the header on page 1. Anything you add here appears only on the first page.
- Clear the header on page 2. Scroll to the header at the top of page 2. If it shows text, select it and delete it. This header is shared by page 2 and every page after it, so clearing it once clears all of them.
- Close the header. Select Close Header and Footer, or press Esc. You return to the document body, and the header on page 1 stays in place.
Keep an existing header on page 1 only
If your document already shows the same header on every page and you want it on page 1 only, move the content instead of retyping it. Otherwise, turning on Different First Page clears page 1 and leaves the text on every other page.
- Double-click the header on page 1, select all of its content, and copy it.
- On the Header & Footer tab, select Different First Page. The header on page 1 empties, while page 2 still shows the original text.
- Click in the header on page 1 and paste the content.
- Go to the header on page 2, select the original text and delete it. If an empty line is left behind, delete that too.
- Select Close Header and Footer, or press Esc.
Word for Mac and Word for the web
Microsoft’s instructions for a different first-page header apply to Word for Microsoft 365 for Mac and Word for the web as well: double-click the header on page 1, select Different First Page, and then select Close Header and Footer or press Esc. After that, changes you make to the page 1 header affect only the first page. To clear the later pages, double-click the header on page 2 and delete its content.
Microsoft also notes that the desktop versions of Word have the most complete header and footer options, and some features are limited in Word for the web and the mobile apps. If you need section-by-section headers, use the desktop app.
Give the first page of a later section its own header
Different First Page works per section, not per document. That matters for reports or books with chapters, where each chapter starts a new section. To set it up in Word for Windows:
- Click at the start of the page where the new section should begin, then go to Layout > Breaks > Next Page. If a regular page break is already there, remove it first, because a page break does not start a new section.
- Double-click the header on the first page of the new section.
- On the Header & Footer tab, turn off Link to Previous so this section’s header no longer copies the one before it. Headers and footers are linked separately, so turn it off for the footer too if it should differ.
- Select Different First Page for this section, add the first-page content, and clear or edit the regular header on the next page.
- Select Close Header and Footer, or press Esc.
For more on breaks, see our guide on how to add a section break in Word. Microsoft covers the same setup in Configure headers and footers for different sections of a Word document.
Check that it worked, or undo it
- Check: Close the header and scroll from page 1 to page 2. The header should appear at the top of page 1 only. If your document has several sections, also check the first two pages of each section.
- Undo: Double-click the header on page 1 and select Different First Page again to turn it off. Page 1 then goes back to the regular header, which is empty if you cleared it in step 4.
- Remove every header: Go to Insert > Header > Remove Header. In a document with more than one section, repeat this in each section. Our guide on how to delete a header in Word walks through it.
Troubleshooting
The header still appears on every page
Different First Page only separates page 1 from the rest; it does not empty the later pages. Open the header on page 2 and delete its content. If the header reappears further down, the document probably has another section. Open the header in that section, check whether Link to Previous is on, and clear or unlink it as needed.
The header disappeared from page 1
This is expected when you turn on Different First Page: Word removes the content from the first-page header, but the original text is still in the regular header on page 2. Copy it from page 2, paste it into the header on page 1, then delete it from page 2.
I can’t find Different First Page
The option is on the Header & Footer tab, which appears only while the header or footer is open for editing. Double-click the top margin of the page, or use Insert > Header > Edit Header, and the tab should appear. If you are in Word for the web and need options beyond the first-page setting, open the file in the desktop app.
The page number vanished from page 1
Different First Page applies to the footer as well as the header, so a page number in the footer of page 1 is cleared too. If you want a number on page 1, add it to that page’s footer again with Page Number. If you want the opposite, a cover page with no number, our guide on removing the page number from the first page covers it.
Frequently asked questions
Does Different First Page also work for footers?
Yes. The same setting gives page 1 its own footer, so you can have a footer only on the first page, or keep a footer on every page except the first. Edit the footer on page 1 and page 2 separately.
Can page 2 onward have a different header instead of none?
Yes. After turning on Different First Page, type the header you want for the rest of the document on page 2 instead of deleting it. Page 1 keeps its own header.
Will the header come back when I add more pages?
No. New pages in the same section use the regular header. If you left it empty, new pages stay without a header. A new section, however, starts linked to the previous section’s header settings until you change them.
How do I remove the header from one page in the middle of a document?
Different First Page only affects the first page of a section. For another single page, put the page in its own section with Layout > Breaks > Next Page, turn off Link to Previous, and then remove or change that section’s header. Microsoft explains it in Change or delete a header or footer on a single page.
Can I combine a first-page header with different odd and even pages?
Word has a separate setting for that. With the header open, select Different Odd & Even Pages to give odd and even pages separate headers, a common layout for printed booklets. Edit page 1, an odd page and an even page separately, and check each one before you print.
Can I put a logo in the first-page header?
Yes. With the header on page 1 open, insert the image as you would in the document body. Because Different First Page is on, the logo appears only on page 1.
Once the first page looks right, save the document. If you plan to reuse the layout, such as a letterhead, consider saving it as a Word template so new documents start with the first-page header already set up. Microsoft’s own steps are in Use a different header on the first page.

Matt Jacobs has been working as an IT consultant for small businesses since receiving his Master’s degree in 2003. While he still does some consulting work, his primary focus now is on creating technology support content for SupportYourTech.com.
His work can be found on many websites and focuses on topics such as Microsoft Office, Apple devices, Android devices, Photoshop, and more.