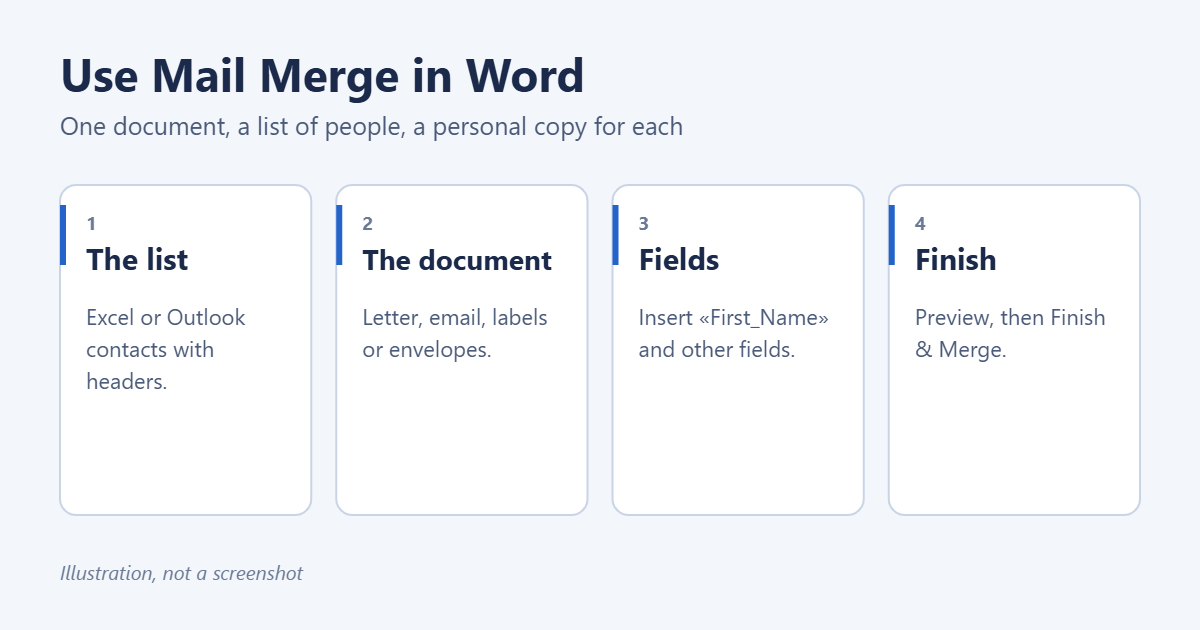
Mail Merge in Word creates a personalized copy of a letter, email, label or envelope for everyone on a list. Set up the list in Excel with column headings such as First Name and Address. In Word, select Mailings > Start Mail Merge and choose the document type, then Select Recipients > Use an Existing List to connect the spreadsheet. Insert fields where each person’s details should go, preview the results and select Finish & Merge.
Applies to: Word for Microsoft 365, Word 2024, 2021, 2019 and 2016 on Windows, and Word for Mac. Word for the web doesn’t support Mail Merge. Last reviewed October 7, 2026.
Step 1: Prepare your list
An Excel sheet works best. Outlook contacts and Word tables also work.
- Put column headings in the first row, such as First Name, Last Name, Address, City, Email.
- Put one person per row, with no blank rows or merged cells.
- Format ZIP codes and phone numbers as Text so leading zeros aren’t lost.
- Save and close the workbook. Word can’t always connect to a file that’s open.
Step 2: Choose the document type
- Open a new or existing Word document.
- Select Mailings > Start Mail Merge.
- Choose Letters, E-mail Messages, Envelopes, Labels or Directory (one list of everyone on the same page).
For labels and envelopes, Word asks for the label product or envelope size. Pick your label brand and product number from the box. For more, see how to create a label template in Word.
Step 3: Connect your list
- Select Mailings > Select Recipients > Use an Existing List.
- Browse to the Excel file and select Open.
- Choose the sheet with your list. Keep First row of data contains column headers ticked, and select OK.
To include only some people, select Edit Recipient List. Clear the boxes for people to skip, or use Filter to pick, for example, only one city.
Step 4: Write the document and insert fields
- Type the text that’s the same for everyone.
- Click where a personal detail goes, select Insert Merge Field and choose the column, such as First_Name. It appears as «First_Name».
- Add spaces and punctuation between fields as you would in normal text, for example Dear «First_Name»,.
Shortcuts: Address Block inserts a formatted address from several columns, and Greeting Line inserts a greeting such as Dear Sam,. Use Match Fields if they don’t pick the right columns.
For labels, add the fields to the first label, then select Update Labels to copy them to every label on the page.
Step 5: Preview the results
- Select Preview Results. The fields are replaced with real data.
- Use the arrows to step through recipients and check spacing and formatting.
- Select Check for Errors if you want Word to report missing fields.
Step 6: Finish the merge
Select Finish & Merge and choose one option:
- Edit Individual Documents: creates a new document with one page or label set per person, which you can check and edit before printing.
- Print Documents: prints straight away.
- Send Email Messages: sends through classic Outlook. Choose the email column in To, type a subject, and choose HTML format.
Save the original merge document too. Next time, open it and Word reconnects to the list, so you only need to update the spreadsheet.
Format numbers and dates correctly
Excel values sometimes come through with too many decimals or in the wrong date format. Right-click the field, choose Toggle Field Codes and add a format switch before the closing brace, for example \# "$#,##0.00" for currency or \@ "d MMMM yyyy" for dates. Right-click again and choose Update Field.
Troubleshooting
Send Email Messages is greyed out
Email merge needs classic Outlook set as the default mail app, with the same Office version. The new Outlook for Windows doesn’t support it. Change the document type to E-mail Messages too.
ZIP codes lost their leading zero
Format the column as Text in Excel, re-enter the zeros, save and reconnect the list.
Every page shows the same person
You printed or saved the main document while previewing. Use Finish & Merge > Edit Individual Documents.
Word asks to run an SQL command when opening the document
That’s normal for a saved merge document. Select Yes to reconnect to the list if you trust the file.
Related guides
- How to do a mail merge in Word from Excel
- How to print addresses on envelopes from Excel
- How to do a mail merge in Outlook from Excel
Related: how to print envelopes from Word.

Matt Jacobs has been working as an IT consultant for small businesses since receiving his Master’s degree in 2003. While he still does some consulting work, his primary focus now is on creating technology support content for SupportYourTech.com.
His work can be found on many websites and focuses on topics such as Microsoft Office, Apple devices, Android devices, Photoshop, and more.