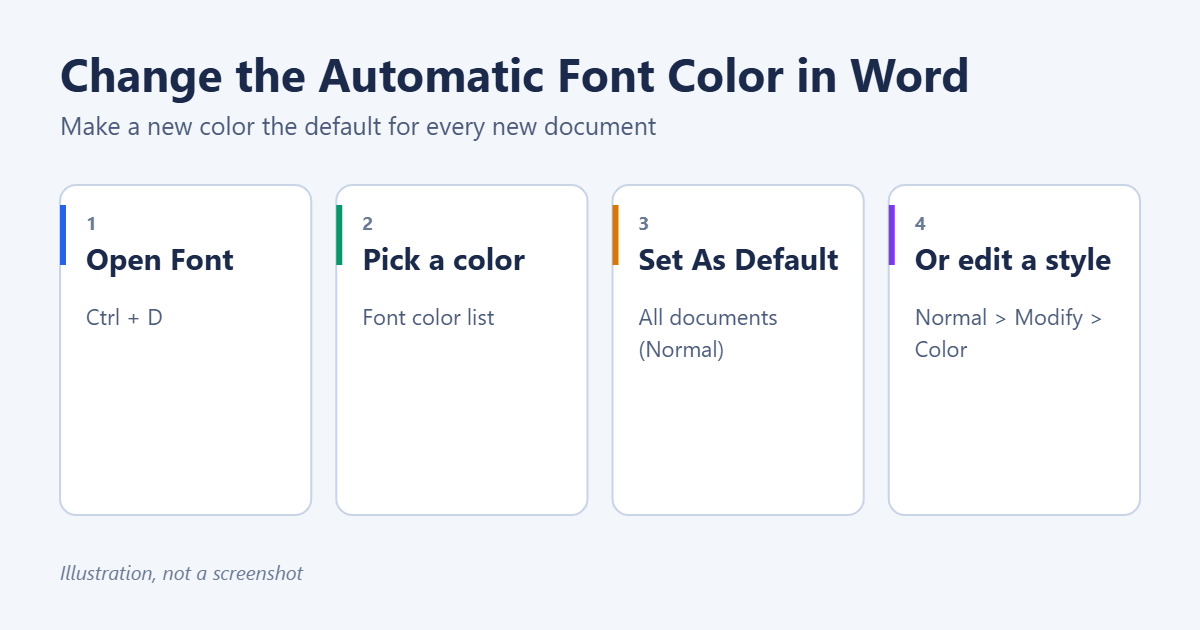
To change the automatic font color in Word, so new documents start with a different text color, press Ctrl + D to open the Font dialog. Choose a color in Font color, then click Set As Default, select All documents based on the Normal template, and click OK. Every new blank document then uses that color. To change the color only in the current document, choose This document only. Here’s how it works, what the “Automatic” color actually does, and how to fix text that suddenly looks white or invisible.
What “Automatic” font color means
Automatic is Word’s default text color. It isn’t a fixed black. It adjusts to the background, showing black on light pages and white on dark pages, shading or table cells. That’s why text can look white when you use dark mode or add a dark page color. If you want text to stay one color no matter what, choose a specific color, such as black, instead of Automatic.
Method 1: Set a new default color with Set As Default
- Open Word and press Ctrl + D. You can also click the small arrow in the corner of the Font group on the Home tab.
- On the Font tab, open Font color and pick a color. Click More Colors for an exact shade.
- Click Set As Default at the bottom left.
- Choose All documents based on the Normal template? and click OK.
Microsoft’s own guide, change the default text color in Word, covers the same steps. The change applies to new documents and to text using the Normal style in the current one. Existing documents keep their colors.
Method 2: Modify the Normal style
- On the Home tab, right-click Normal in the Styles gallery and choose Modify.
- Pick a color from the color drop-down under Formatting.
- At the bottom, choose New documents based on this template.
- Click OK.
Headings use their own styles (Heading 1, Heading 2 and so on), and many have theme colors such as blue. Modify each heading style the same way to change them too. See how to make something a heading in Word.
Method 3: Change the theme colors
Headings, tables and charts often take their colors from the document’s theme. To change them all at once, go to Design > Colors and pick a palette, or choose Customize Colors and set Text/Background – Dark 1. To keep the new theme for future documents, click Design > Set as Default. See how to change the theme in Word.
Change the color of existing text back to Automatic
- Press Ctrl + A to select everything.
- On the Home tab, click the arrow next to Font Color and choose Automatic.
Pasted text often brings its own colors with it. To avoid that, paste with Ctrl + Shift + V, which pastes plain text in the current formatting.
Text looks white or invisible?
- Dark mode: Word’s dark mode flips the page to black, and Automatic text turns white. That only affects the screen, not printing. See how to enable or turn off dark mode in Word, or dark mode in Word on a Mac.
- Page color: A dark page color under Design > Page Color also makes Automatic text white. See how to change the page color in Word.
- Shading: Dark cell or paragraph shading does the same. Choose No Color under Shading.
- White text: The text may actually be set to white. Select it and choose Automatic or black.
Change hyperlink colors
Links use the Hyperlink and FollowedHyperlink styles. To change them, open the Styles pane with Ctrl + Alt + Shift + S, find Hyperlink, click its arrow, choose Modify, and pick a color. If those styles aren’t listed, click Options in the pane and show all styles.
On a Mac
Go to Format > Font, choose a Font color, click Default, and confirm that the change should apply to all documents based on the Normal template.
Troubleshooting
The new default doesn’t stick
Word may not be able to save the Normal template, which often happens with some add-ins or synced folders. Close every Word window and choose Save if you’re asked about Normal.dotm. If it still doesn’t stick, make your own template with the colors you want. See how to make your own template in Word.
Only some text changed
That text uses another style or has direct formatting. Select it and press Ctrl + Space to remove direct character formatting.
Summary
- Press Ctrl + D, choose a font color, and click Set As Default.
- Choose All documents based on the Normal template.
- Change heading styles and theme colors too, if needed.
- Remember that Automatic turns white on dark backgrounds.
Related: change font size in Word.

Matt Jacobs has been working as an IT consultant for small businesses since receiving his Master’s degree in 2003. While he still does some consulting work, his primary focus now is on creating technology support content for SupportYourTech.com.
His work can be found on many websites and focuses on topics such as Microsoft Office, Apple devices, Android devices, Photoshop, and more.