The steps in this article are going to show you how to use the Google Docs iPhone app to insert a page break in your document and force content to the next page.
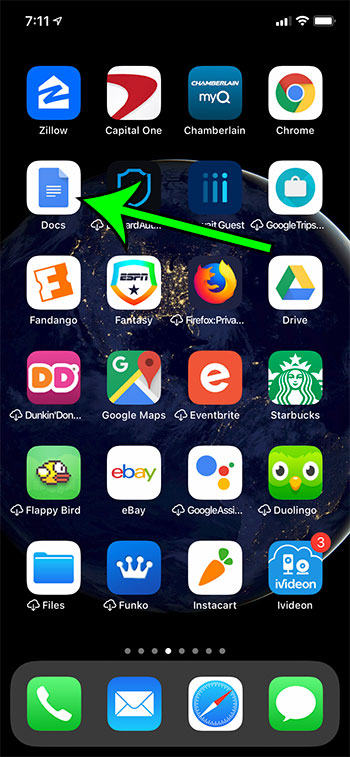
- Open the Google Docs app.
- Choose your document.
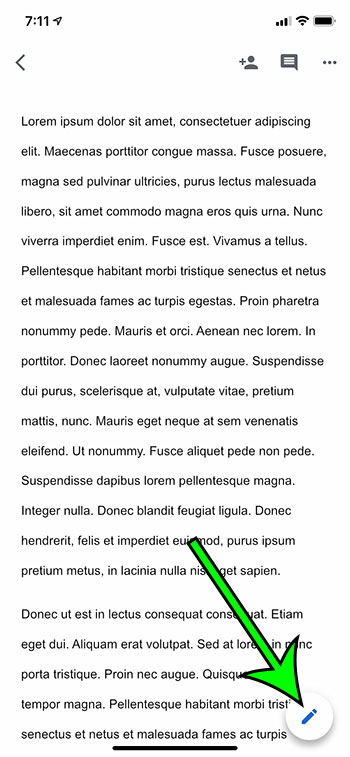
- Tap the pencil icon at the bottom-right of the screen.
- Select the point in the document where you want the page break.
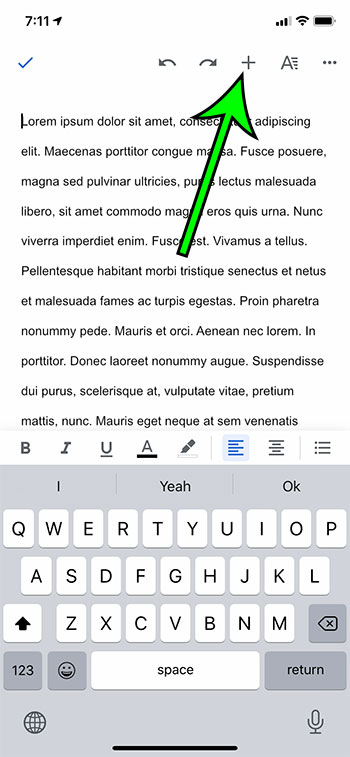
- Touch the + icon at the top of the screen.
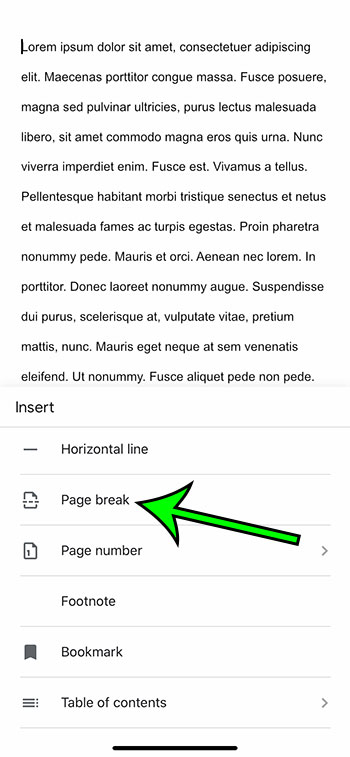
- Choose the Page break option.
When you add content to a document in Google Docs it will automatically paginate your content as you reach the end of a page.
While this may be fine for many documents, and even for most of your current document, you may have a situation where you need to end a page abruptly and force additional content to a new page.
Luckily this can be achieved with the help of a page break, and you can add a page break to a document through the Google Docs iPhone app.
Our tutorial below is going to show you how to open a document in Google Docs, select the location for the page break, then insert the page break into the document.
Google Docs iPhone – How to Insert a Page Break
The steps in this article were performed in the most current version of the Google Docs app available when the article was written. I am using an iPhone 11 in IOS 13.3.
Step 1: Open the Docs app.

Step 2: Choose the document for the page break.
Step 3: Touch the pencil button at the bottom-right of the screen.

Step 4: Select the location where you want to add the page break.
Step 5: Tap the + button at the top-right of the screen.

Step 6: Choose the Page break option.

Now that you know how how to insert a page break in the Google Docs iPhone app, you can start to manually control when your document should move to another page.
Find out how to change the margins in Google Docs if you need to use different margins than the current setting. We discuss performing this in the desktop app as well as the iPhone app.

Matt Jacobs has been working as an IT consultant for small businesses since receiving his Master’s degree in 2003. While he still does some consulting work, his primary focus now is on creating technology support content for SupportYourTech.com.
His work can be found on many websites and focuses on topics such as Microsoft Office, Apple devices, Android devices, Photoshop, and more.