To get rid of a section break in Word, turn on formatting marks with Home > Show/Hide (¶), click just before the dotted Section Break line, and press Delete. To remove every section break at once, open Find and Replace, search for ^b and replace it with nothing. Before you delete one, know that the text above the break will take on the formatting of the section below it, including its margins, orientation, columns, and headers and footers.
Applies to: Word for Microsoft 365, Word 2024, 2021, 2019 and 2016 on Windows and Mac. Last reviewed October 7, 2026.
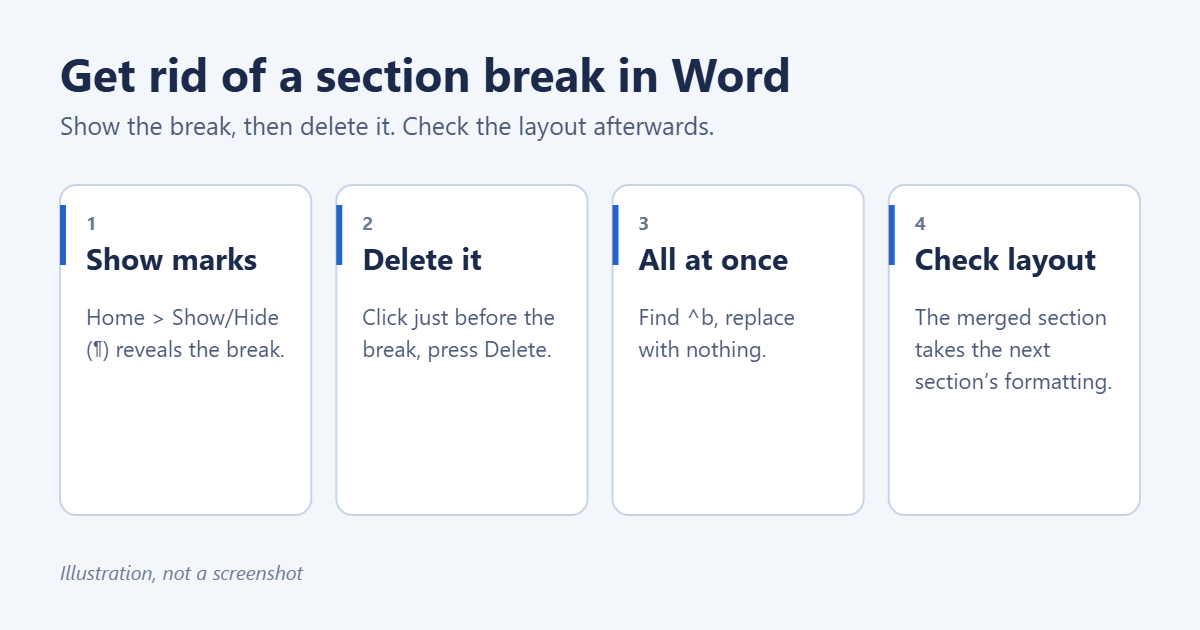
What happens when you delete a section break
A section break stores the formatting for the section above it. When you delete it, Word merges the two sections into one, and the merged section uses the formatting of the section that came after the break. That’s why deleting a break sometimes turns a landscape page portrait, changes the margins, or makes a header disappear.
If you want to keep the formatting of the section above the break, see Keep the formatting when you remove a break below.
Method 1: Delete a single section break
- Select Home > Show/Hide (the ¶ button), or press Ctrl + Shift + 8 (Command + 8 on a Mac). Section breaks appear as double dotted lines labeled Section Break (Next Page), Section Break (Continuous), Section Break (Even Page) or Section Break (Odd Page).
- Click at the very start of the break, just to the left of the dotted line. You can also double-click the line to select it.
- Press Delete.
- Check the pages around where the break was, and press Ctrl + Z if the layout changed in a way you don’t want.
- Select Show/Hide again to hide the marks.
Method 2: Use Draft view if you can’t select the break
In Print Layout, a section break at the end of a line or page can be hard to click. Draft view shows each break on its own line.
- Select View > Draft.
- Click the Section Break line to place the cursor on it, then press Delete.
- Select View > Print Layout to go back.
Method 3: Remove all section breaks at once
- Press Ctrl + H to open Find and Replace. On a Mac, select Edit > Find > Advanced Find and Replace.
- In Find what, type
^b. Or select More > Special > Section Break. - Leave Replace with empty.
- Select Find Next and then Replace to remove them one at a time, or Replace All to remove all of them.
Removing every break makes the whole document use the formatting of its last section. If you only want to get rid of the extra pages that Next Page breaks create, type ^m in Replace with instead. That swaps each section break for a plain page break and keeps the pages separate.
Keep the formatting when you remove a break
Because the merged section takes the formatting from below the break, set the section below to match the one above before you delete it.
- Click anywhere in the section below the break.
- Apply the layout you want to keep from the section above, such as the margins, orientation or columns on the Layout tab. Make sure Apply to is set to This section.
- If the headers or footers differ, double-click the header in the lower section and copy in the content you want to keep.
- Delete the section break.
Another option is to change the break type rather than delete it. Click just after the break, select Layout > Page Setup dialog launcher > Layout tab, and set Section start to Continuous. The sections keep their own formatting but no longer start on a new page.
Each section can have its own header and footer. After you delete a break, the merged section keeps the header and footer from the section that followed it. If you’d rather the whole document used the same header, double-click the header in any later section and select Link to Previous on the Header & Footer tab. To change page numbering, see how to remove the page number from the first page in Word.
Troubleshooting
Nothing happens when you press Delete
The document may be protected or have restricted editing on. Select Review > Restrict Editing and choose Stop Protection if you have the password. If Track Changes is on, the break is only marked for deletion. Accept the change on the Review tab to remove it.
A blank page is still there after removing the break
Check for an Odd Page or Even Page break, which can add a blank page, and for empty paragraphs or a manual page break (Page Break line) at the end of the previous page. Delete those too.
The page orientation changed
The section above took the orientation of the section below. Press Ctrl + Z, then use the steps under Keep the formatting, or keep the break and change its type to Continuous.
Find and Replace says it found no section breaks
Make sure you typed ^b with a lowercase b and that Use wildcards is cleared under More. With wildcards on, Word doesn’t recognize this code.
Frequently asked questions
What’s the difference between a section break and a page break?
A page break only starts a new page. A section break can also change the layout, so pages after it can have different margins, orientation, columns, or headers and footers. To add sections on purpose, see how to create sections in Word.
Can I remove the last section break in a document?
Every document has at least one section, and the formatting of the last one is stored in the final paragraph mark rather than a visible break. You can delete every visible break, but not that final mark.
Why does my document have section breaks I didn’t add?
Word adds them when you change layout for part of a document, for example applying columns or landscape orientation to selected text. Documents built from templates or copied from other files often include them too.
Related: How to make everything fit on one page in Word.
Related: How to use Track Changes in Word.
Related: how to delete a header in Word.
Related: How to Get Rid of a Page Break in Word.

Matt Jacobs has been working as an IT consultant for small businesses since receiving his Master’s degree in 2003. While he still does some consulting work, his primary focus now is on creating technology support content for SupportYourTech.com.
His work can be found on many websites and focuses on topics such as Microsoft Office, Apple devices, Android devices, Photoshop, and more.